Boost humidity for Calatheas, ferns, Monsteras, and more with seven practical methods, plus what actually works (and what’s mostly a myth).
Alocasia Polly (often sold as African mask plant) is one of those houseplants that makes you stop in the aisle and stare. Glossy, arrow-shaped leaves. Bold white veins. Serious tropical drama.
It is also the kind of plant that will absolutely tell you when something is off. If you have ever felt personally judged by a leaf going limp overnight, you are in good company.
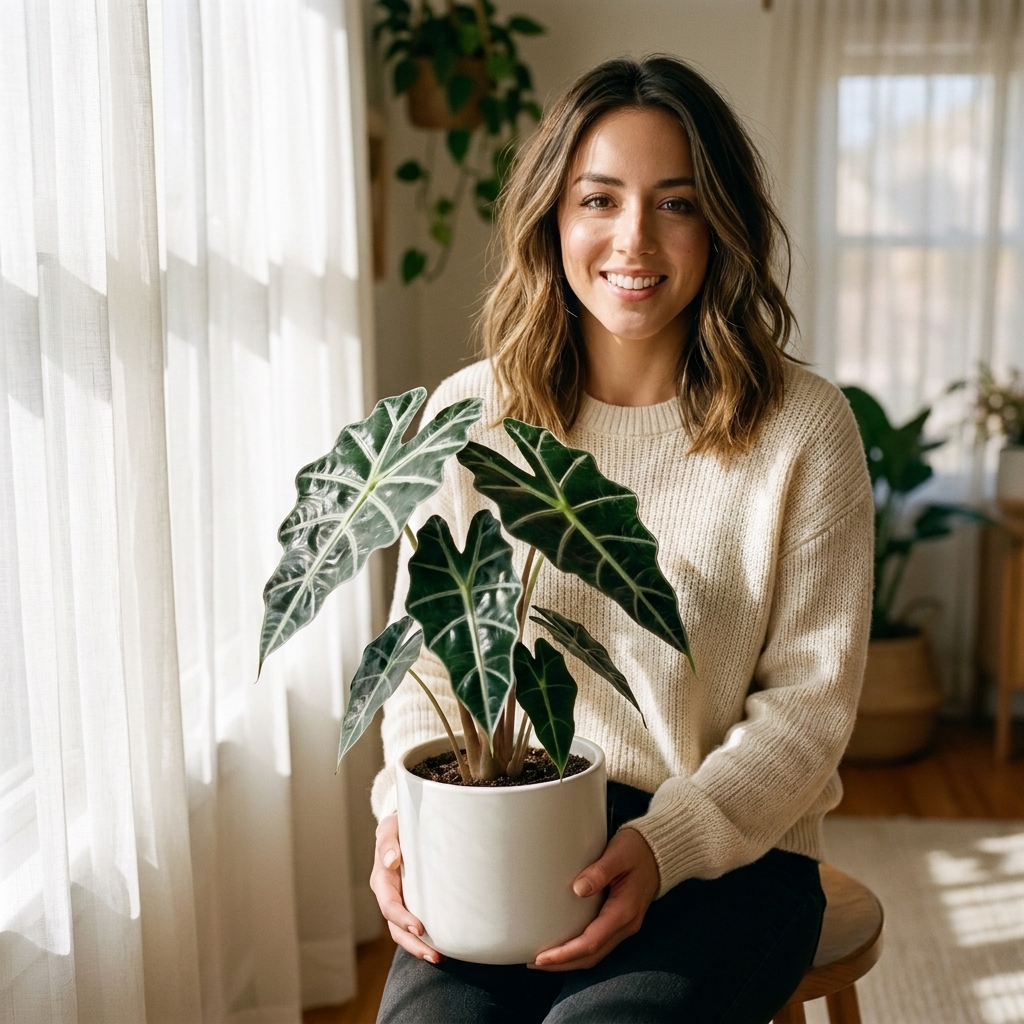
This guide will walk you through the three make-or-break pieces for Alocasia Polly indoors: humidity, watering precision, and its very normal (but alarming) dormancy.
Quick care snapshot
- Light: Bright, indirect light. Avoid harsh midday sun.
- Water: Water thoroughly, then wait until the top 1 to 2 inches of soil dry.
- Humidity: Often does best at 60%+, with 50%+ being a realistic goal in many homes.
- Temperature: 65 to 80°F (18 to 27°C). Keep away from drafts.
- Soil: Chunky, airy aroid mix with excellent drainage.
- Fertilizer: Light, consistent feeding in spring and summer.
- Dormancy: Common in fall and winter. Growth slows and leaves may die back.
- Toxicity: Toxic to pets and people if chewed (calcium oxalate crystals).
Meet Alocasia Polly
Alocasia ‘Polly’ (often sold under Alocasia amazonica in the houseplant trade) is a cultivated hybrid/cultivar grown for its bold leaf shape and veining. Indoors, it behaves like a plant that expects rainforest conditions, because that is basically what it is built for.
Most “Polly problems” come from one of these mismatches:
- Air is too dry (crispy edges, stalled growth, spider mites)
- Soil stays wet too long (yellowing, droop, root rot)
- Light is too low (leggy stems, small leaves, constant decline)
- Seasonal dormancy gets mistaken for death (panic watering makes it worse)
Light: bright and indirect
Your Alocasia Polly wants bright, indirect light, the kind you get near an east window, or a few feet back from a south or west window with a sheer curtain.
How to know your light is right
- Good light: New leaves emerge regularly in spring and summer, leaves stay upright and richly colored.
- Too much sun: Pale patches or crispy scorch spots, especially on the side facing the window.
- Too little light: Smaller new leaves, longer petioles (leaf stems), slower soil dry-down, and a general “sad” lean.
If your home is naturally dim, a small grow light can be a game changer. Aim for 10 to 12 hours daily, positioned above the plant rather than blasting the side of it.

Humidity: the big lever
If there is one thing that makes Alocasia Polly noticeably easier indoors, it is higher humidity. In many homes, especially in winter with the heat running, humidity drops low enough to stress it even if everything else is perfect.
Target humidity
- Often ideal: 60 to 80%
- Works in many homes: 50 to 60% (expect slower growth and you may still see minor crisping)
- Trouble zone: Under 40% (crispy edges, pests, leaf decline)
That said, plants can acclimate. Some Pollys tolerate lower humidity if light, soil, and watering are truly dialed in. But if you are troubleshooting constant crisping and mites, humidity is usually the missing piece.
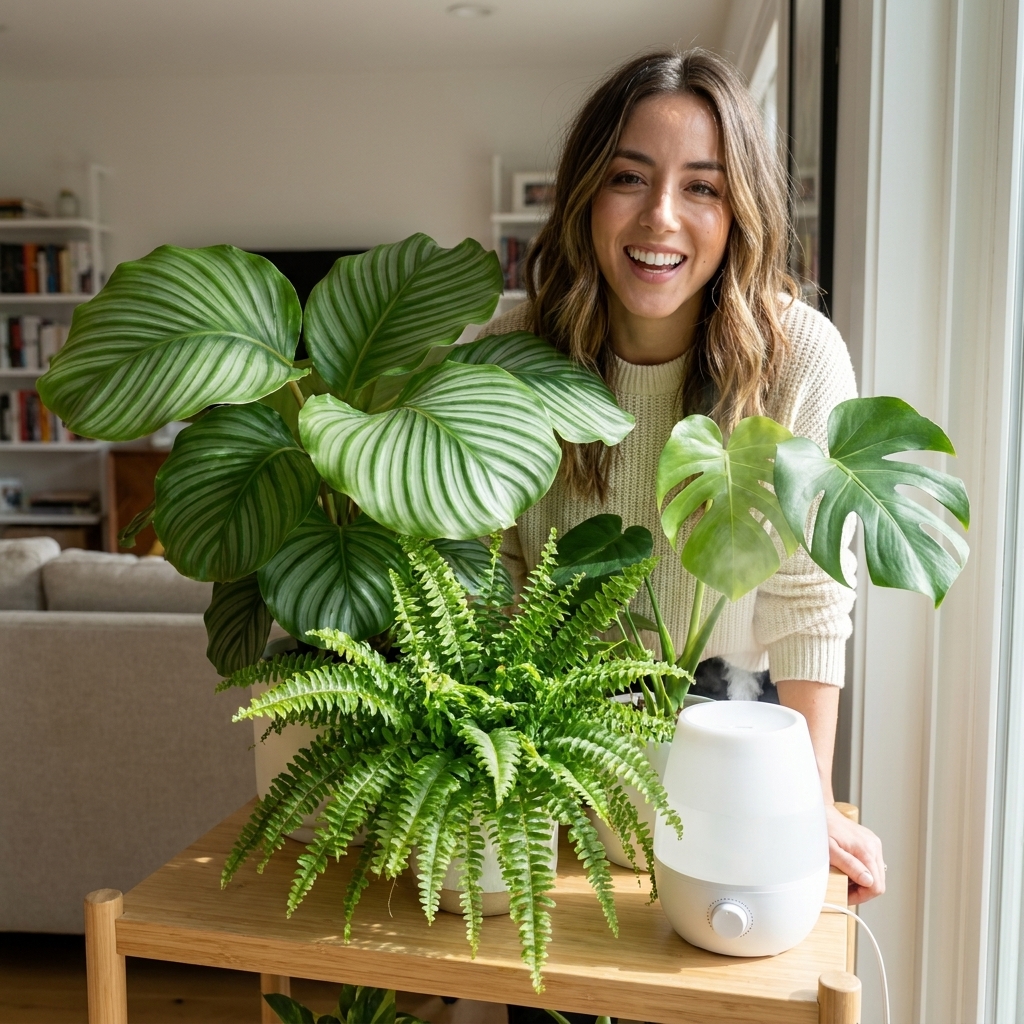
Humidity boosts that actually work
- Humidifier: Best option. Put it nearby and run it consistently, especially at night in winter.
- Plant grouping: Helps a little, especially if you have several tropicals together.
- Bathroom placement: Only if the bathroom has enough light. Steamy showers can be a bonus.
A pebble tray is fine for catching drips, but it rarely moves the needle in an average room. If you want results you can see on the leaves, go humidifier.
Watering: lower rot risk
Alocasia Polly needs even moisture, but it also needs oxygen around the roots. The goal is not “keep it wet.” The goal is “water well, then let it breathe.”
When to water
Check the soil with your finger. Water when the top 1 to 2 inches feel dry, but the soil underneath still feels slightly cool and damp.
In bright light and warm temps, that might be weekly. In winter, it might be every 2 to 3 weeks. Always let the plant and soil dryness set the schedule, not the calendar.
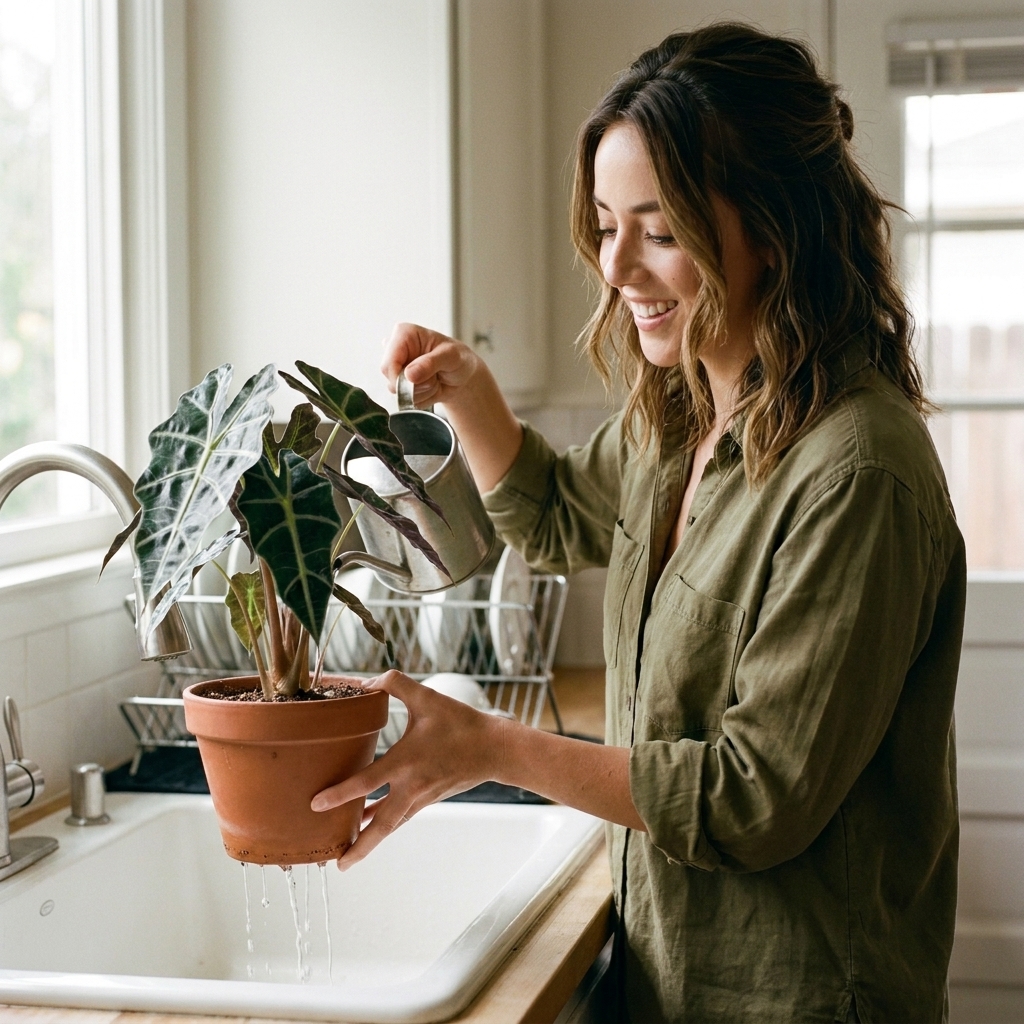
How to water (my no-drama routine)
- Use a pot with a drainage hole, always.
- Water slowly until you see water run out the bottom.
- Let it drain completely. Do not let it sit in a saucer of water.
- Recheck in a few days if your home is humid or cool, because the top can dry while the bottom stays wet.
The two most common watering mistakes
- Small sips too often: Leaves the lower soil soggy and oxygen-starved.
- Watering “on sight” when it droops: Drooping can be thirst, but it can also be rot. Always check the soil before adding water.
Water quality: the quiet factor
If your Alocasia Polly is getting decent humidity but you still see stubborn brown tips or crusty buildup on the pot, look at your water.
- Hard water and fertilizer salts can accumulate and irritate roots over time.
- If you suspect this, try filtered water or tap water that has sat out overnight.
- Flush the pot every month or two during the growing season by watering thoroughly until plenty runs out the bottom. Then let it drain fully.
This is one of those small changes that can make the leaves look cleaner and less “crispy,” even when everything else is fine.
Soil and potting
Most Alocasia Polly plants crash because the soil holds too much water for too long. You want a mix that drains quickly, but still holds enough moisture to avoid constant drought stress.
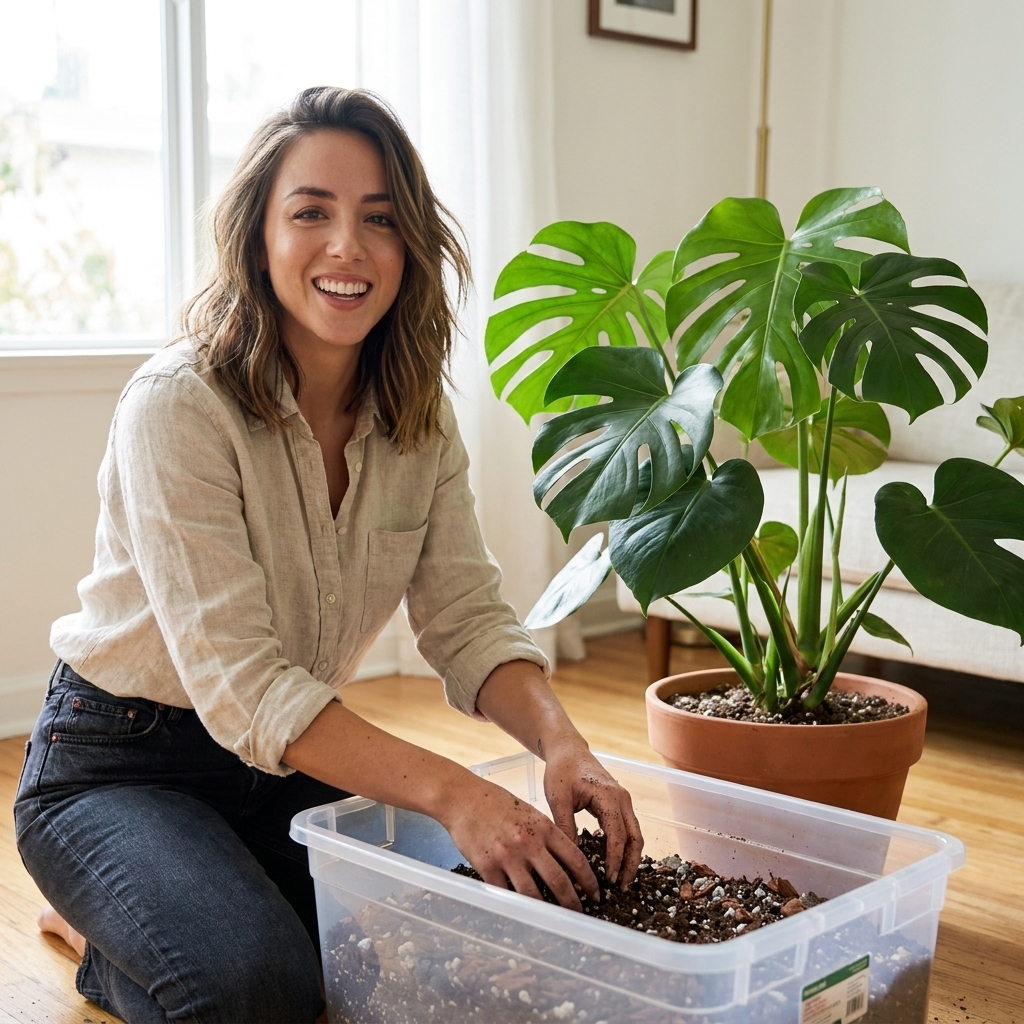
A soil mix that works
A great DIY blend looks like this:
- 2 parts high-quality potting mix or coco coir based mix
- 1 part orchid bark
- 1 part perlite or pumice
If you prefer buying instead of mixing, look for an aroid mix and add extra perlite if it feels dense.
Pot choice
- Terracotta: Helpful if you tend to overwater. It breathes and dries faster.
- Plastic: Fine if your mix is chunky and you are careful. It holds moisture longer.
Size matters. Going up more than 1 to 2 inches wider than the old pot can keep soil wet too long and invite rot.
Temperature and airflow
Alocasia Polly likes warmth and consistency.
- Best range: 65 to 80°F (18 to 27°C)
- Avoid: Cold window glass in winter, AC vents, heating vents, and frequent drafts
If your plant looks fine all day and then wilts overnight, check for a chilly draft. They can be dramatic about cold.
Fertilizer
During spring and summer, Alocasia Polly appreciates nutrients, but it does not want to be overfed.
- Use a balanced liquid fertilizer at half strength every 2 to 4 weeks.
- Fertilize only when the plant is actively growing and you see new leaves emerging.
- Skip fertilizing in fall and winter, especially if growth has slowed or stopped.
If you see crusty white buildup on the soil surface or pot rim, flush the soil with clean water and dial back fertilizer.
Dormancy: the surprise phase
Alocasia Polly can go dormant indoors, especially in fall and winter. That can look like:
- No new growth for weeks or months
- Older leaves yellowing and dying off
- The plant shrinking down to just one leaf, or even none
This is not you failing. It is the plant responding to shorter days, cooler temps, and drier air.
One important caveat: a sudden decline can also be triggered by root stress (especially soggy soil and early rot) or a big environmental change. If the mix is staying wet or the plant smells off, do not write it off as “normal dormancy” until you check the roots.
How to care for a dormant Alocasia Polly
- Reduce watering: Water much less often, only when the mix is mostly dry.
- Keep it warm: Dormancy plus cold soil is a fast track to rot.
- Do not fertilize: It is not using the nutrients.
- Keep light consistent: Bright indirect light still helps it wake up sooner.
If the plant loses all leaves, do not toss the pot right away. As long as the corm and roots are firm and not mushy, it can regrow when conditions improve.
Repotting and corms
Repot in spring or early summer when you see active growth. Signs it is time:
- Roots circling tightly at the bottom
- Soil drying out extremely fast
- The plant feels top-heavy and unstable
Corms
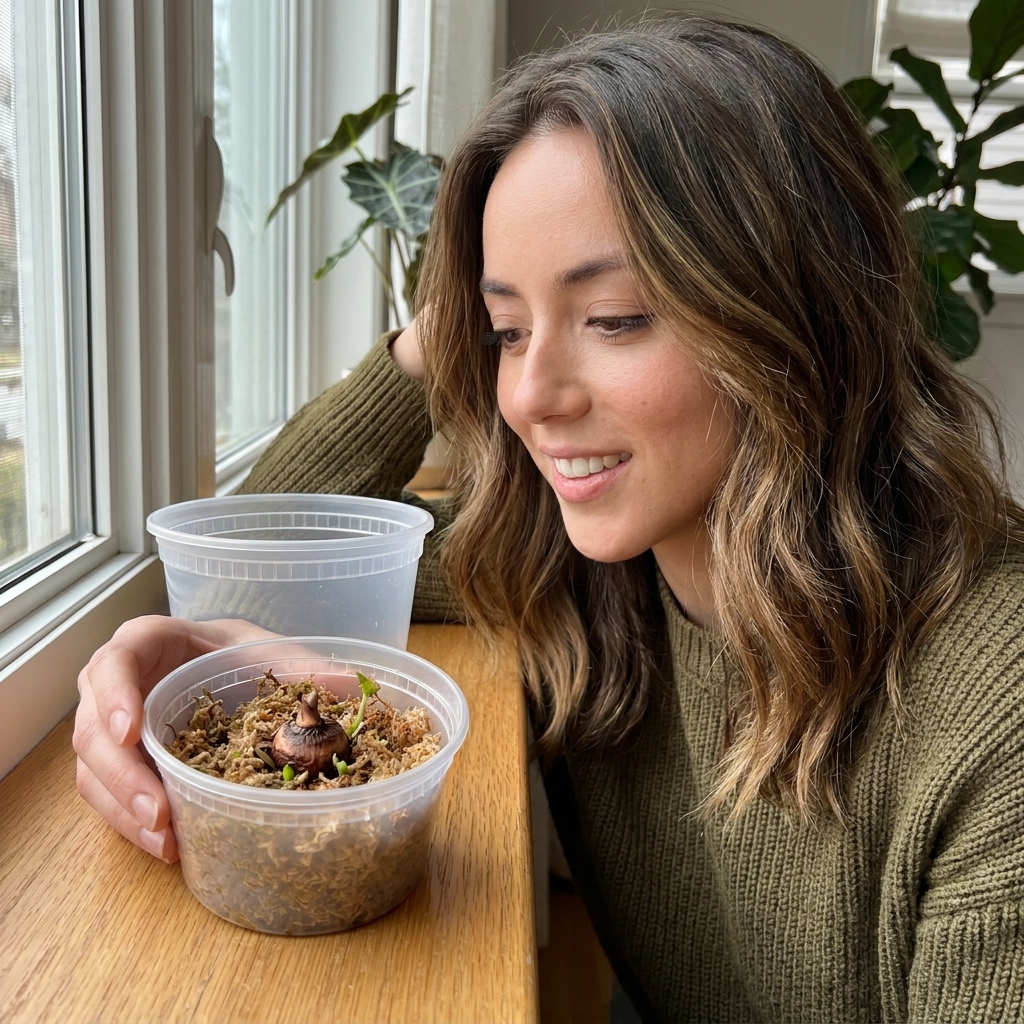
Alocasia Polly often produces little corms (baby bulbs) in the soil. You can leave them to fill out the pot, or gently separate them when repotting.
To propagate a corm, nestle it in lightly moist sphagnum or a very airy mix, keep it warm, keep humidity high, and give bright indirect light. Patience is key. Some sprout quickly, others take weeks.
Common problems and fixes
Yellow leaves
Most common cause: Overwatering or soil staying wet too long.
- Check soil moisture deeper down, not just the surface.
- Confirm your pot drains freely.
- Consider switching to a chunkier mix if the soil feels heavy.
One older leaf yellowing as a new leaf emerges can also be normal leaf turnover.
Drooping leaves
Possible causes: Thirst, cold stress, transplant shock, or early root issues.
- Feel the soil. If it is dry in the top couple inches, water thoroughly.
- If soil is wet and the plant is drooping, stop watering and check for rot signs (sour smell, mushy stems at the base).
- Move it away from vents and cold windows.
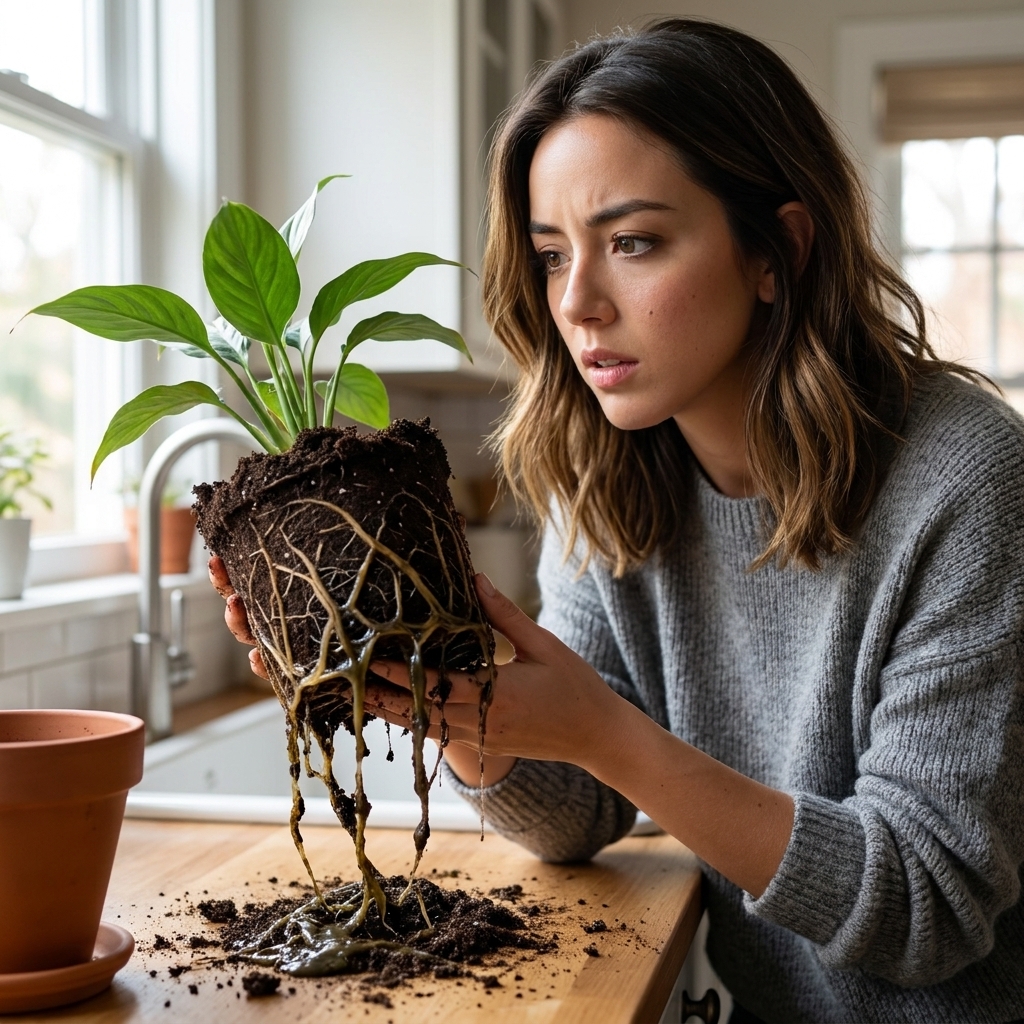
How to check for root rot
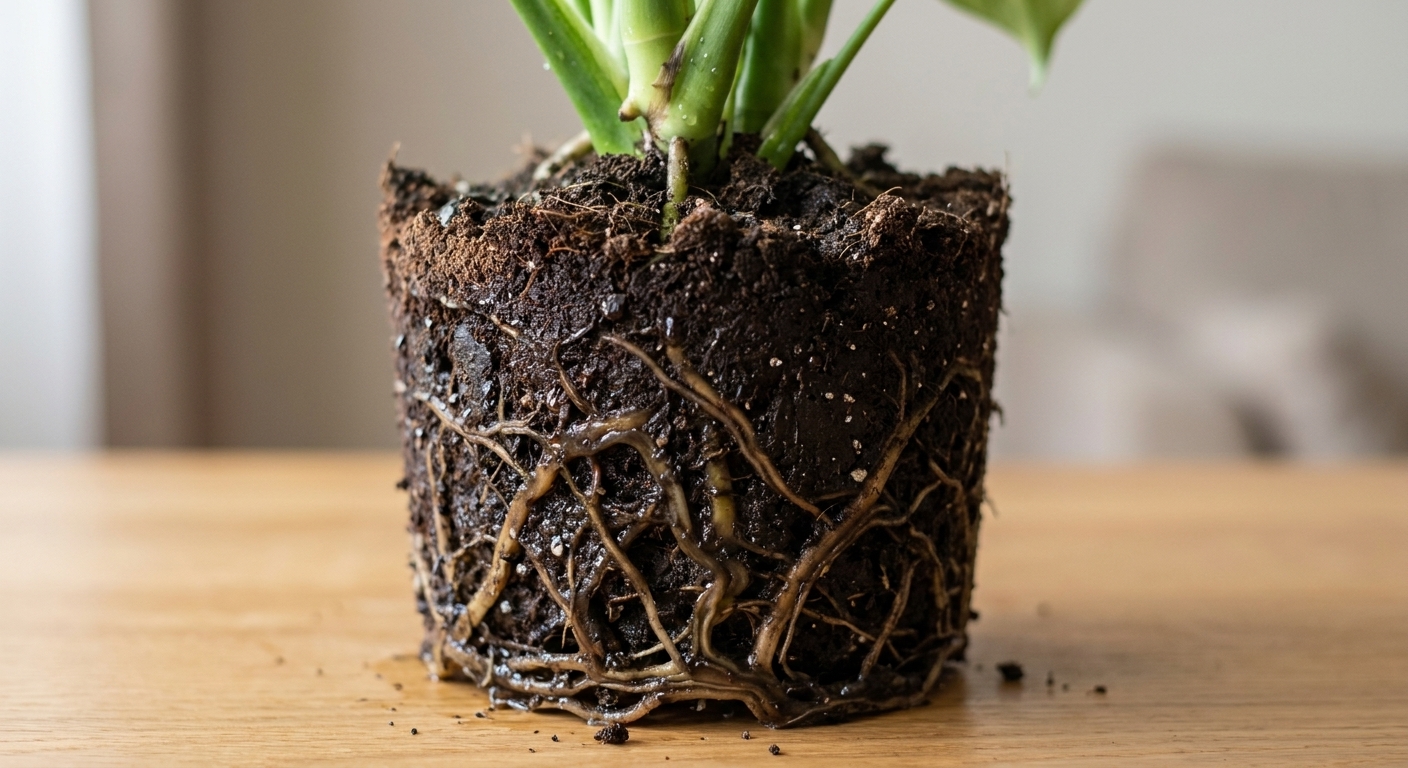
If you suspect rot, slide the plant out and take a look:
- Healthy roots: firm, pale, and springy.
- Rotting roots: brown or black, mushy, and may smell sour.
If you find rot, trim the damaged roots with clean snips, repot into fresh chunky mix, and reduce watering until you see new growth.
Crispy brown edges
Most common cause: Low humidity. But persistent tip burn can also be a water quality or salt buildup issue.
- Raise humidity with a humidifier.
- Make sure it is not in the path of hot or cold airflow.
- Consider filtered water and occasional flushing if tips keep browning.
- Check for spider mites, which love dry air.
Leaf spots
Often caused by: Water sitting on leaves in cool conditions, inconsistent watering, or early fungal issues. Spots can also come from bacterial problems, sunscald, or pest damage, so look for patterns and check the undersides of leaves.
- Water the soil, not the foliage.
- Improve airflow, but avoid strong drafts.
- Remove heavily damaged leaves with clean snips.
No new leaves
Usually: Not enough light, low humidity, dormancy, or a root system that is not happy.
- Increase light gradually.
- Boost humidity.
- If it is fall or winter, assume dormancy and adjust watering.
- If conditions are good but growth is stalled, check the roots for stress.
Pests
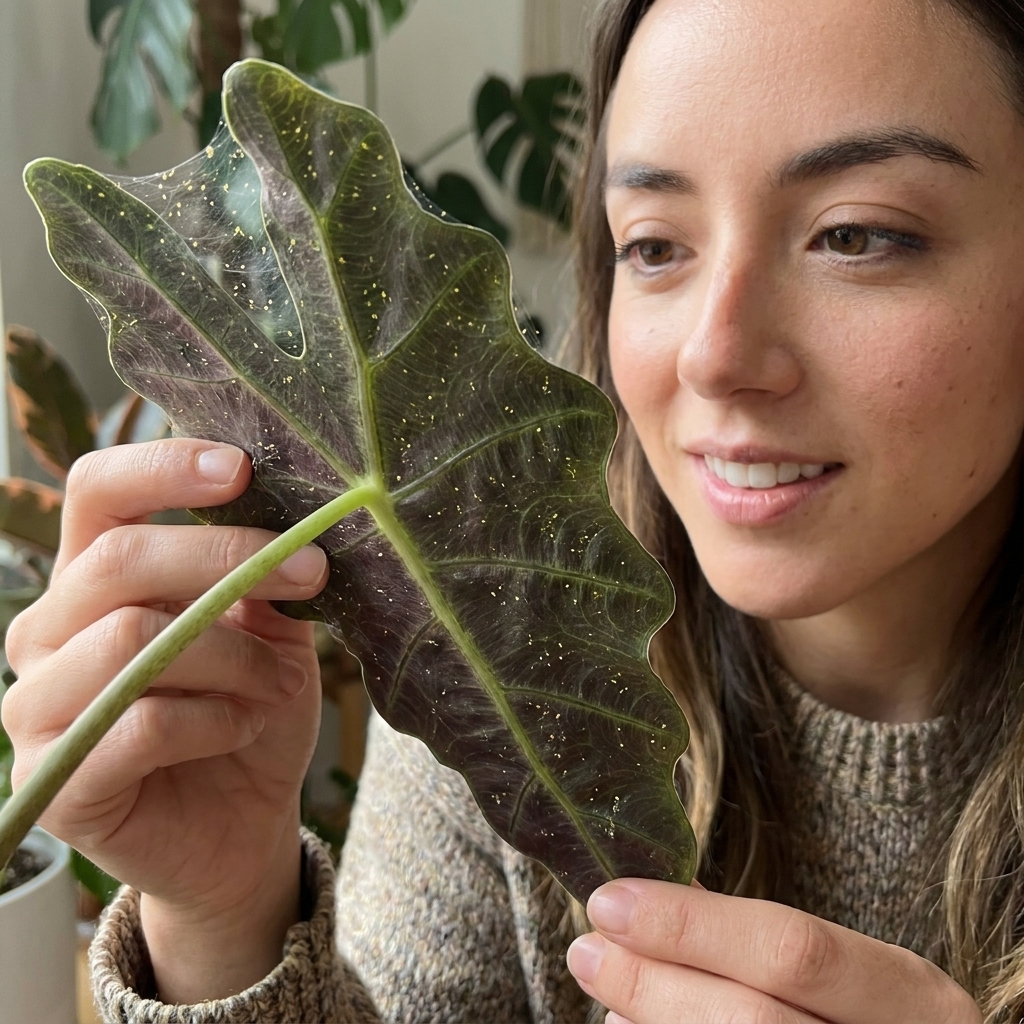
Alocasia Polly is most commonly bothered by spider mites and sometimes thrips or mealybugs.
Early warning signs
- Fine webbing under leaves (spider mites)
- Silvery scarring or tiny black specks on leaves (thrips)
- White cottony clusters in leaf joints (mealybugs)
My go-to pest routine
- Isolate the plant.
- Rinse leaves in the shower with lukewarm water.
- Wipe both sides of leaves with insecticidal soap (my preferred option).
- If you use a castile soap mix, keep it very diluted, avoid using it in strong light, and test a small area first. Too-strong soap can burn foliage.
- Repeat every 5 to 7 days for a few rounds, because eggs hatch in waves.
And yes, humidity helps here too. Spider mites thrive in dry air.
Pet safety
Alocasia Polly is toxic if chewed by cats, dogs, and humans. The plant contains calcium oxalate crystals that can cause oral irritation, drooling, and discomfort.
If you have curious pets, place it out of reach or choose a pet-safer plant. If chewing happens, contact your vet for guidance.
Alocasia Polly FAQ
Should I mist my Alocasia Polly?
Misting can temporarily wet the leaf surface, but it does not reliably raise room humidity. For consistent results, use a humidifier. If you do mist, do it in the morning and avoid soaking the crown.
Why is my Alocasia Polly “crying” water droplets?
That is usually guttation, where the plant releases excess water through leaf pores. It often happens after heavy watering or in high humidity. It is not inherently bad, but if it happens constantly, let the soil dry a bit more between waterings.
Can I cut off a dying leaf?
Yes. If a leaf is more than half yellow or brown, you can snip it near the base with clean scissors. Leaving a slightly damaged leaf is fine too, since the plant can still photosynthesize with it.
Will my Alocasia Polly come back after losing all leaves?
Often, yes, if the corm and roots are still firm. Keep it warm, reduce watering, provide bright indirect light, and wait. Many “dead” Alocasias are simply dormant and regrouping.
The simplest success plan
If you want the least stressful way to keep Alocasia Polly alive indoors, focus on these three habits:
- Bright, indirect light every day.
- Chunky soil and a draining pot to protect the roots.
- Real humidity support, especially in winter.
And when it inevitably has a moment, because most Alocasias do, try not to take it personally. This plant is not punishing you. It is communicating. Once you learn its language, it gets so much easier.