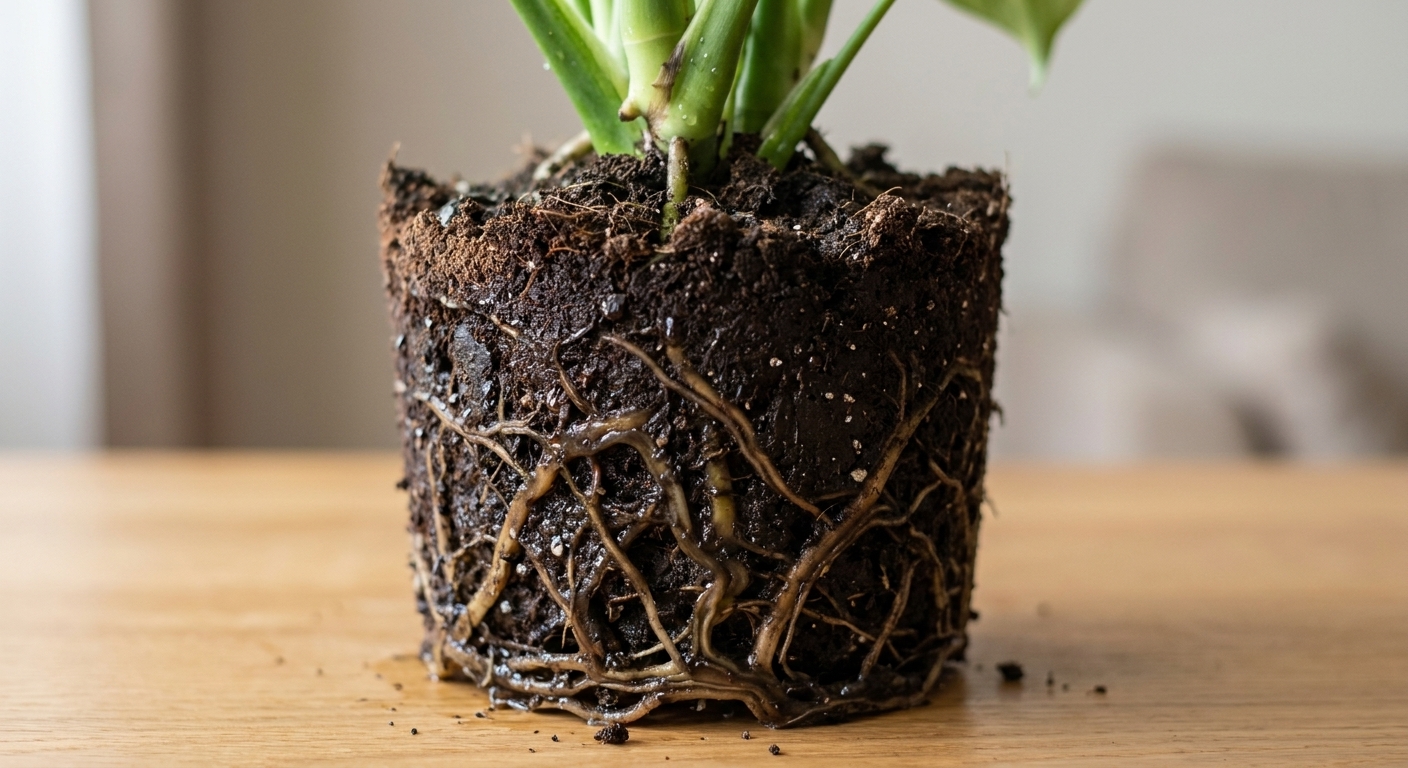
A calm, step-by-step root rot rescue: how to unpot, trim mushy roots, repot in fresh mix, and prevent future rot in any houseplant.
I killed my first few plants by loving them a little too enthusiastically with the watering can, so if you are staring at a sad plant and thinking, "I ruined it", pause. Root rot is common, it is not a moral failing, and in many cases it is treatable. The key is learning what to look for and acting before the entire root system collapses.
What root rot is
Root rot is not one single disease. It is a breakdown of root tissue caused by roots sitting in conditions with too little oxygen, usually from consistently wet soil, poor drainage, or a potting mix that stays heavy and waterlogged. Once roots weaken, opportunistic fungi and water molds can move in and accelerate the decay.
In plain terms: the roots cannot breathe, then they cannot drink, and the plant starts showing symptoms above the soil line.
Early warning signs
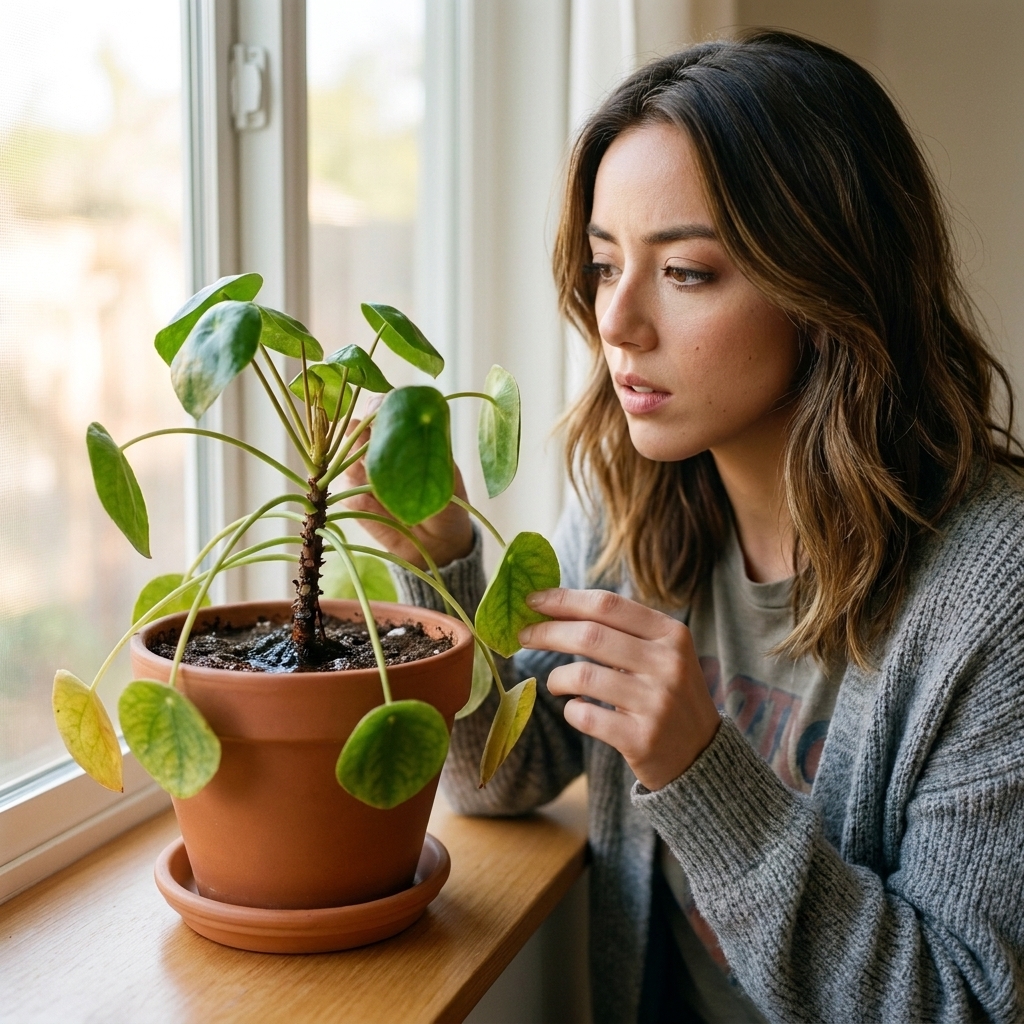
The tricky part about root rot is that the leaves can look like the plant is thirsty, even though the soil is wet. If any of the signs below show up together, it is time to investigate. (If the soil is bone dry, you may be dealing with plain old underwatering instead.)
- Wilting in wet soil, especially a day or two after watering
- Yellowing leaves that start low on the plant and slowly move upward
- Soft, limp stems near the soil line
- Sudden leaf drop or leaves that feel thin and papery
- Slow or stalled growth during the growing season
- Fungus gnats hovering around consistently damp soil
Quick reality check: One yellow leaf here and there is normal. Root rot usually looks like the plant is steadily getting worse despite your best efforts.
Confirm root rot
If your plant is declining and the soil stays wet for days, do a gentle inspection. You do not need to unpot every plant for every problem, but when root rot is suspected, looking is the fastest way to get an honest answer.
Step 1: Smell the soil
Healthy potting mix smells earthy. Rot often smells sour, swampy, or like something is fermenting.
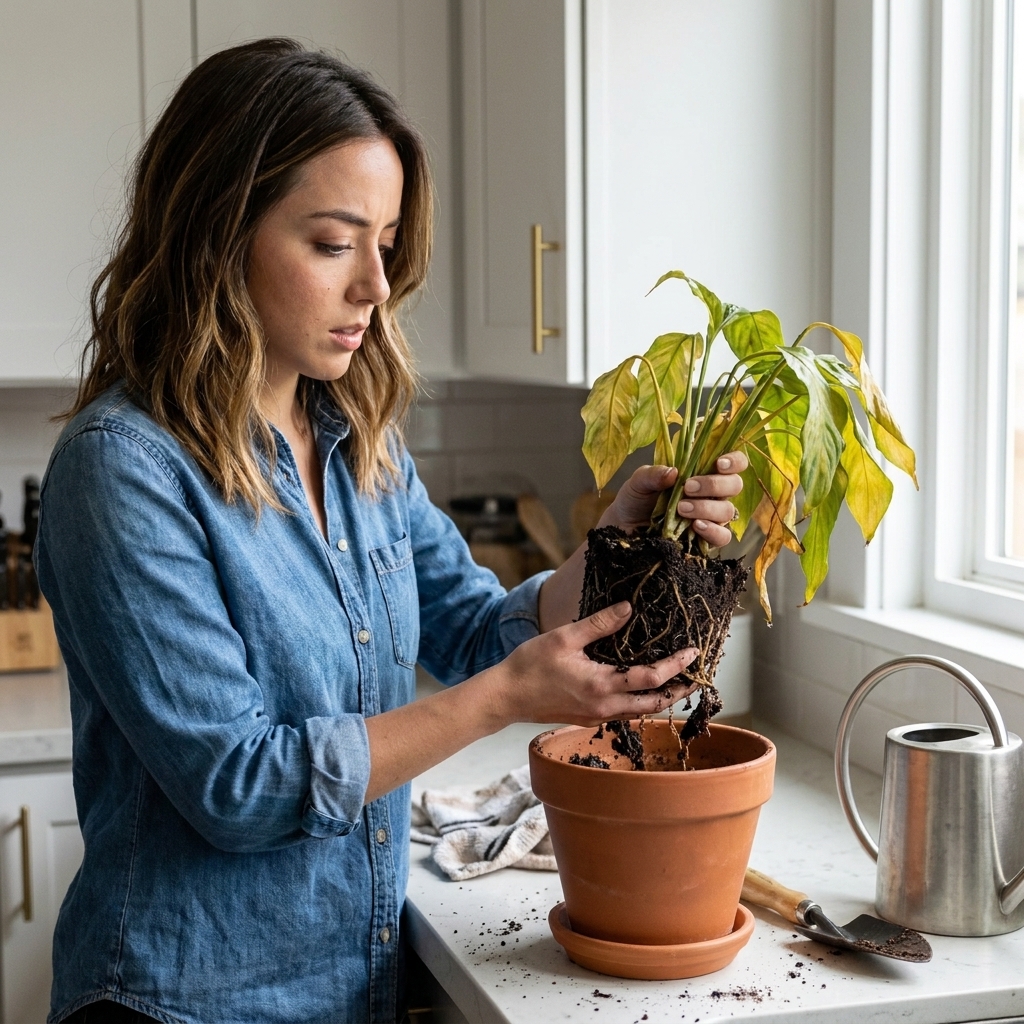
Step 2: Slide the plant out
Tip the pot on its side, support the plant at the base, and ease the root ball out. If it is stuck, squeeze a plastic nursery pot or run a dull knife around the inside edge of a rigid pot.
Step 3: Check roots
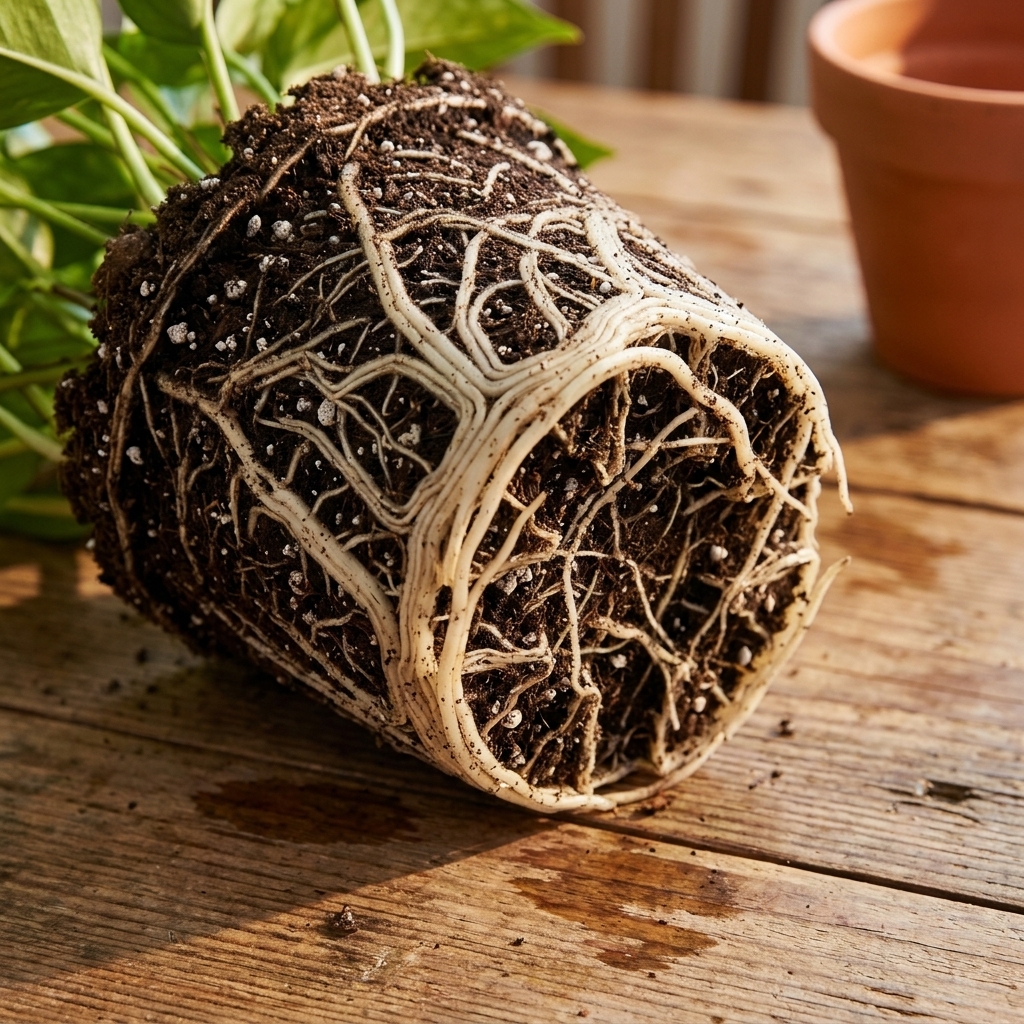
- Healthy roots: firm, springy, usually white, cream, or light tan
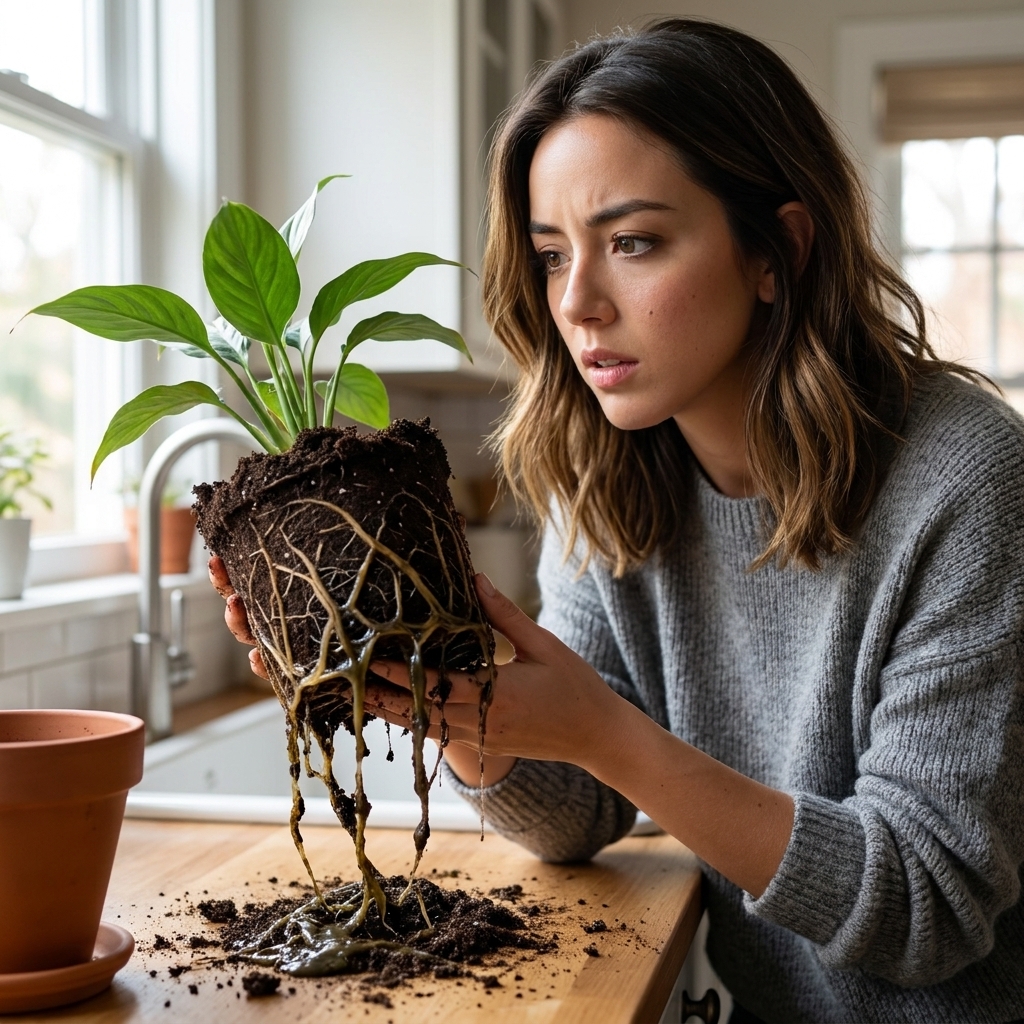
- Rotten roots: brown to black, mushy, hollow, or sloughing off like wet paper when you tug gently
One helpful nuance: Some plants naturally have darker roots. Color is a clue, but firmness matters more than shade.
Treat root rot
If you find rot, the goal is simple: remove decayed tissue, reset the plant in airy soil, and change the conditions that caused it. The sooner you do this, the better your odds.
What you will need
- Clean scissors or pruning shears
- Fresh potting mix (more on the right mix below)
- A pot with drainage holes
- Paper towels or a clean towel
- Optional: rubbing alcohol for tool sanitizing
Step 1: Isolate and sanitize
Move the plant away from others while you work. Wipe your blades with rubbing alcohol before you start and between plants if you are treating more than one.
If rot was advanced, it also helps to wash the pot. Scrub it with hot, soapy water and rinse well. If you want to be extra cautious, a brief soak in a diluted bleach solution can reduce lingering microbes, then rinse thoroughly and let it dry.
Step 2: Remove old soil
Gently loosen and shake away as much wet mix as possible. If the soil is glued to the roots, rinse with lukewarm water to see what you are doing. This is one of the few times I like a rinse indoors because visibility matters.
Step 3: Trim the rot
Snip off every mushy, dark, hollow root. Trim back to firm tissue. If you can slide the outer root layer off like a sleeve, that section is done and should go.
How much can you cut? Plants can often recover even after losing a significant portion of their roots, but it varies by species, season, and the health of the remaining stem or crown. Your job is to leave only what is solid and viable.
Step 4: Right-size the pot
This is a big one. If you removed a lot of roots, do not put the plant back into an oversized pot. Too much empty, wet soil around a reduced root system is how rot comes back.
Rule of thumb: Choose a pot that is just slightly larger than the cleaned-up root mass, often about 1 to 2 inches wider. The point is faster, more even drying, not giving the plant a swimming pool.
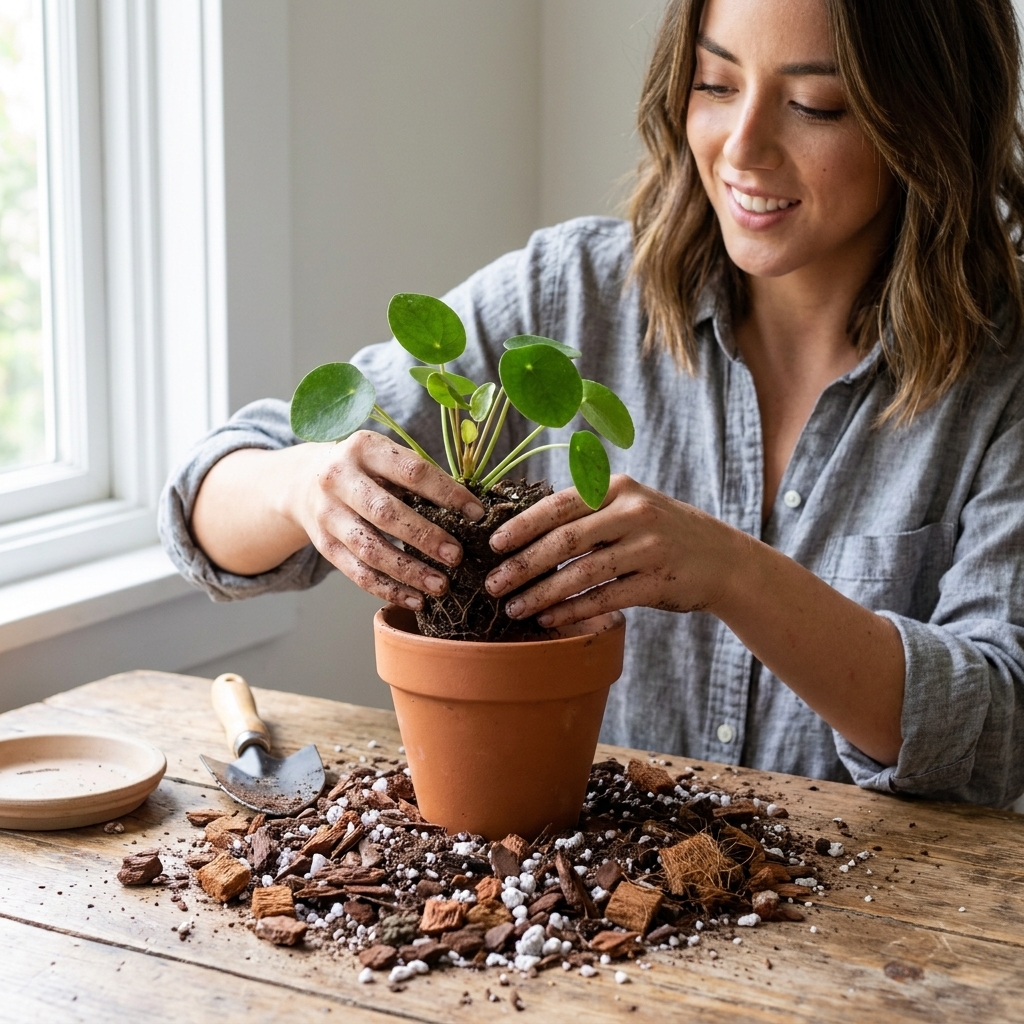
Step 5: Repot in a breathable mix
Use fresh mix. Reusing soggy, compacted soil is like putting clean laundry back into a damp gym bag.
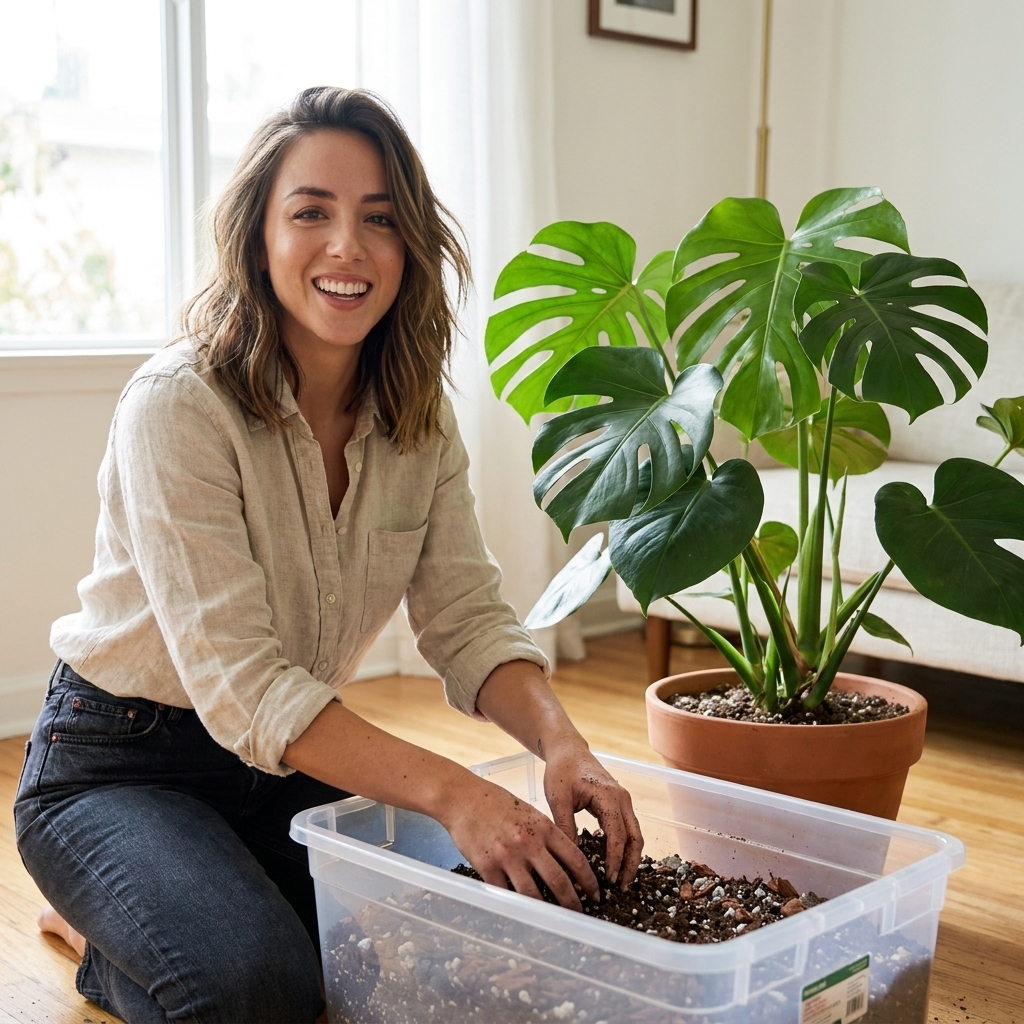
For many common houseplants (pothos, philodendron, monsteras, hoyas), a reliable airy blend is:
- 2 parts high-quality indoor potting mix
- 1 part orchid bark
- 1 part perlite or pumice
For moisture-loving plants (many ferns), you still want drainage, just not a bone-dry mix. Use less bark, and focus on structure rather than extreme chunkiness.
Step 6: Water once, then pause
After repotting, water to settle the mix. For most pots, that means watering until you see a small amount of water come out of the drainage holes, then stopping and letting it drain completely.
Then pause. Let the top portion of the soil dry before watering again. Your plant has fewer roots now, so it cannot use water as quickly.
Step 7: Recovery conditions
- Bright, indirect light (avoid harsh direct sun while stressed)
- Warm, steady temps
- Good airflow
- Hold fertilizer until the plant is back in motion, typically 4 to 6 weeks or when you see fresh, healthy new growth
When it will not work
Sometimes the best save is a strategic restart.
Roots mostly gone
If nearly all roots are mushy and you are left with only a nub, your best option may be propagation (for plants that root easily in water or moist sphagnum, like pothos, philodendron, tradescantia, many begonias).
Take healthy cuttings from firm stems, remove lower leaves, and root them. It feels heartbreaking, but it is often the fastest path back to a full plant.
Base is soft
If the plant is mushy at the soil line, rot may have reached the crown. Trim above the damaged area and propagate if possible. If the entire base is soft, recovery is unlikely.
Common causes and fixes
1) Watering on a schedule
Most root rot starts with good intentions and a calendar reminder.
Fix: Water based on soil dryness, not the date. For many houseplants, wait until the top 2 inches are dry, then water thoroughly and let excess drain.
2) No drainage holes
A decorative pot without drainage is fine only if it is used as a cachepot with a plastic nursery pot inside.
Fix: Always grow in a pot with drainage holes. If you love a cover pot, keep the plant in a holed nursery pot and pour off standing water after watering.
3) Soil that stays dense
Old potting mix breaks down over time and holds water longer. Some mixes are also too peat-heavy for certain plants and homes.
Fix: Refresh potting mix every 12 to 24 months for fast growers, and add perlite or bark for airflow.
4) Low light plus frequent watering
In low light, plants drink slowly. The soil stays wet longer, even if you are watering what seems like a normal amount.
Fix: In winter or low light apartments, water less often and consider a small grow light to increase water use.
5) Cold, wet conditions
Roots slow down in chilly rooms, near drafty windows, or on cold floors.
Fix: Keep tropical plants away from cold glass in winter and use a plant stand or insulating saucer if needed.
Prevention habits
- Lift test: Learn the weight of your pot when dry versus freshly watered. This becomes your fastest “do I water?” tool.
- Use a chopstick: Insert a wooden chopstick into the soil. If it comes out damp with soil sticking, wait.
- Consider a meter, lightly: Moisture meters can be helpful, but they are not perfect. Use them as a second opinion, not the final verdict.
- Empty saucers: Do not let pots sit in runoff water for hours.
- Match pot to plant: A tiny plant in a huge pot is a rot trap.
- Quarantine new plants: Not because root rot is contagious, but because you can assess moisture habits, pests, and soil quality before it joins the collection.
Hydrogen peroxide or fungicide?
You will see hydrogen peroxide recommended a lot. It can help reduce microbial load and add temporary oxygenation, but it is not a substitute for removing rot and fixing the wet conditions.
- Hydrogen peroxide: If you use it, use the common 3% solution properly diluted and sparingly, and avoid repeat treatments that can irritate roots. Follow reputable horticultural guidance for ratios and test on a less precious plant if you are unsure.
- Fungicide: Generally not necessary for typical houseplant root rot if you correct drainage and remove affected roots. It may be appropriate for valuable plants with recurrent issues, but the environment is still the main battle.
If you love simple and effective, focus on: airier soil, drainage holes, and watering when the plant actually needs it.
Aftercare timeline
Root rot recovery is often quiet at first. The plant is rebuilding below the soil.
- Week 1: Some droop is normal. Keep light bright and gentle. Do not fuss.
- Weeks 2 to 4: Leaves should stop yellowing rapidly. Soil should dry at a reasonable pace between waterings.
- Weeks 4 to 8: New growth may appear, especially in spring and summer.
If the plant keeps declining after repotting, do a quick recheck. Sometimes rot was more advanced than it looked, or the mix is still staying too wet for your light and temperature.
Root rot FAQ
Can a plant come back from root rot?
Yes, if there are still some firm roots left or the plant can be propagated. The earlier you act, the better the odds. Recovery also depends on the plant type, time of year, and whether the stem base is still healthy.
Why is my plant wilting when the soil is wet?
Rotten roots cannot move water to the leaves. The plant behaves thirsty even though it is surrounded by moisture.
Do I need to let roots dry out before repotting?
You do not need to air dry roots for hours. Focus on trimming rot, using fresh airy mix, and not overwatering after repotting.
What plants get root rot most easily?
Anything kept too wet can rot, but it is especially common in aroids (pothos, philodendron, monstera) and succulents when they are watered too often for the light they receive.
A gentle pep talk
If you are dealing with root rot right now, you are not alone. Most of us learn watering the hard way. The win is not never making mistakes. The win is learning to read your plant sooner each time. Do the root check, make the cuts, repot into breathable soil, and give it a little patience. Roots regenerate. Confidence does too.