Spot root rot early, remove damaged roots, repot the right way, and prevent it from coming back with smarter watering, better drainage, and healthier soil.
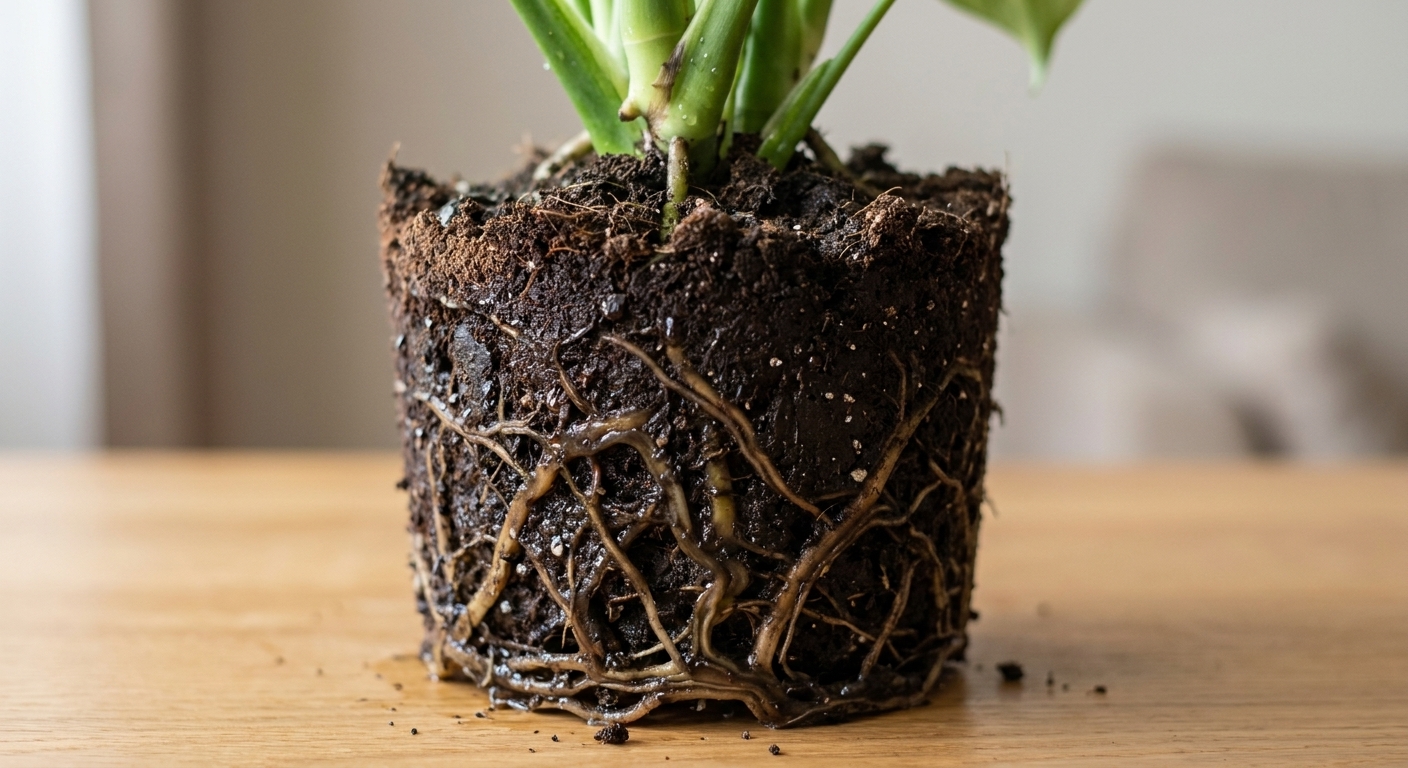
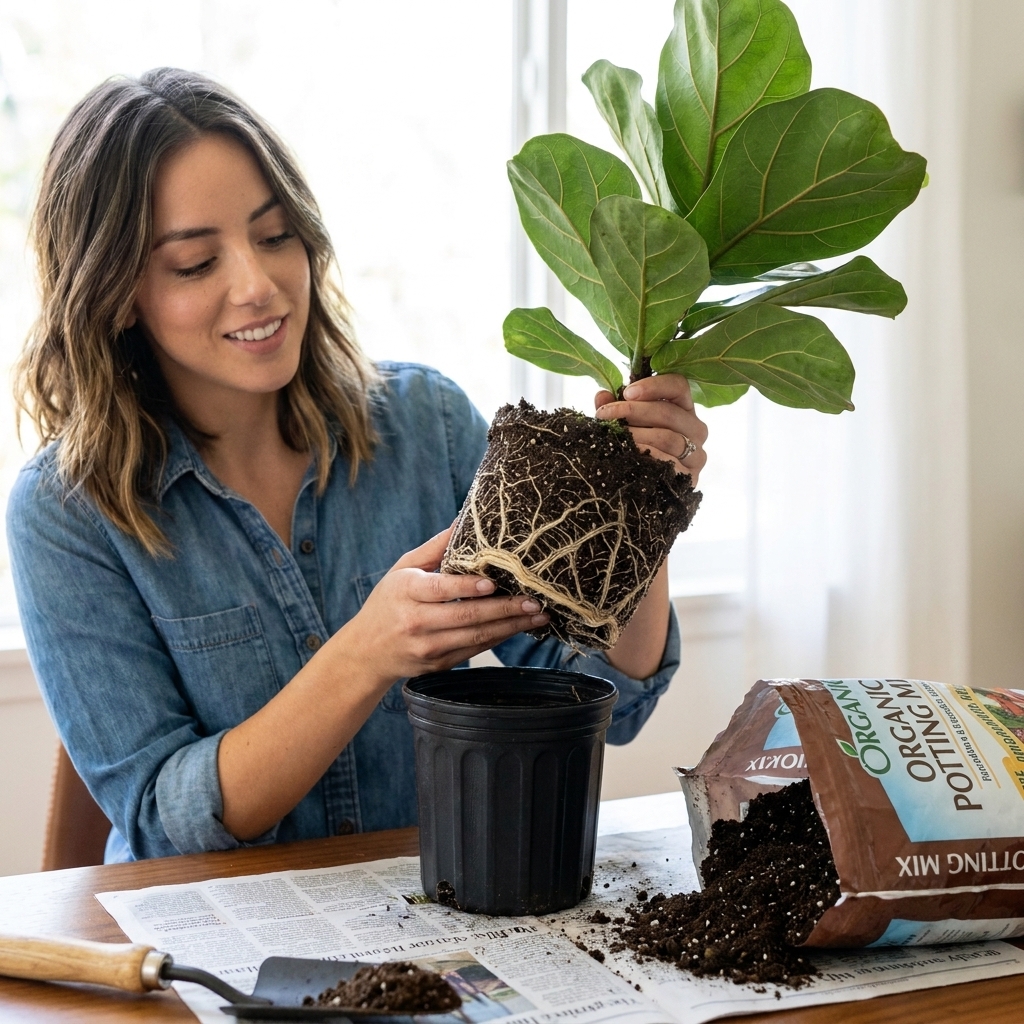
If you have ever pulled a plant from its pot and found a tight, spiraled “root basket” (a ring of roots wrapped around the pot) staring back at you, take a breath. A root-bound houseplant is not a bad plant parent moment. It is simply a plant that has been growing, steadily and faithfully, until it ran out of real estate.
The good news: repotting a root-bound plant is one of the most satisfying fixes in indoor gardening. Done gently, it can perk up growth, improve watering habits, and prevent long-term issues like chronic wilting and nutrient deficiencies.
What “root-bound” means
A plant becomes root-bound (or pot-bound) when the roots have filled most of the container and begin circling, tangling, and compressing themselves. In mild cases, it just means your plant needs a little more soil volume. In severe cases, roots can form a tight mat that sheds water, dries out too fast, and limits new growth.
Being root-bound is common for fast growers like Pothos, Philodendrons, Spider Plants, Peace Lilies, many Hoyas, and even some Ficus. Some plants tolerate snug roots for a while, but none thrive forever in a pot that is too small.
Signs your plant needs a bigger pot
You do not need to unpot your plant weekly to check. Look for a pattern of symptoms, then confirm with a quick inspection.
Above-the-soil signs
- Water runs straight through and drains rapidly, even though you watered thoroughly. (This can also happen when peat-heavy potting mix becomes hydrophobic and repels water.)
- Soil dries out very fast (think: bone dry in 1 to 2 days) compared to its usual rhythm.
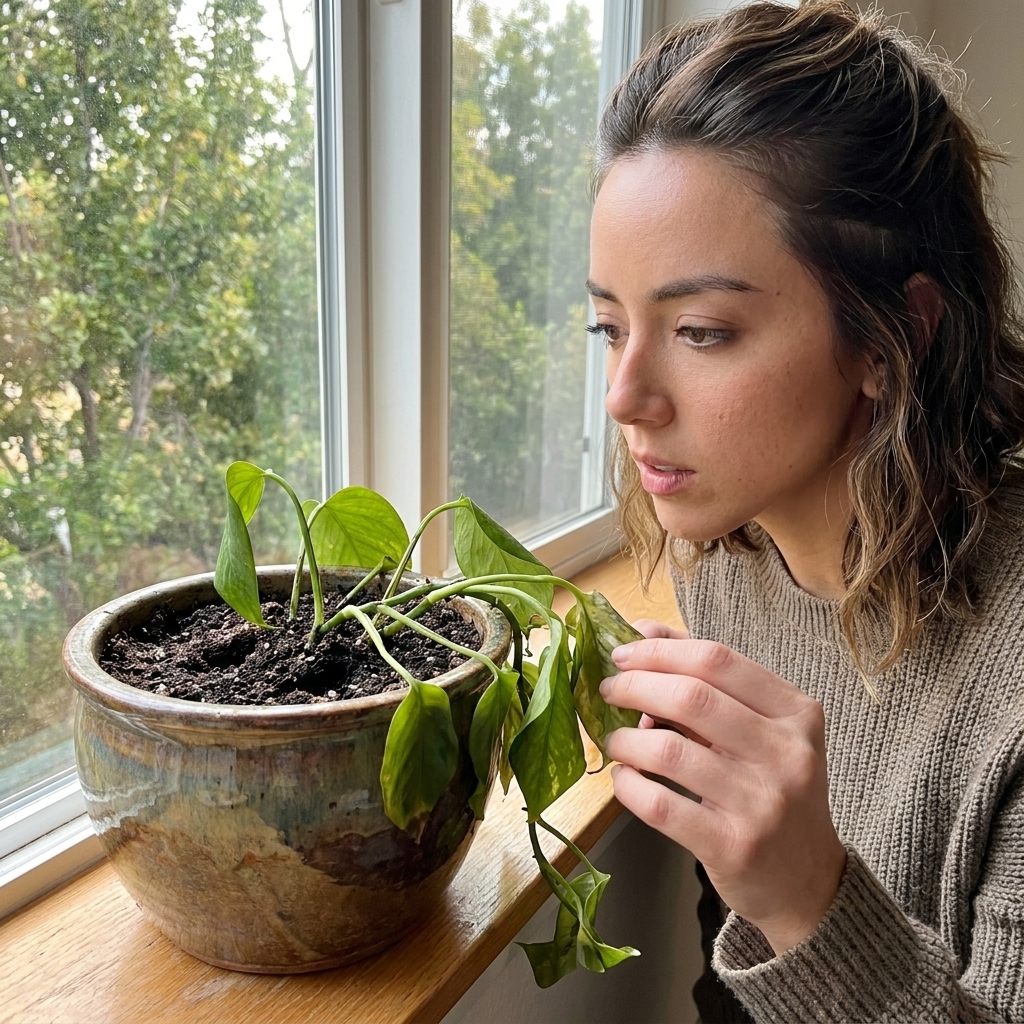
- Frequent wilting that improves right after watering but returns quickly.
- Stalled growth during the growing season despite good light and regular feeding.
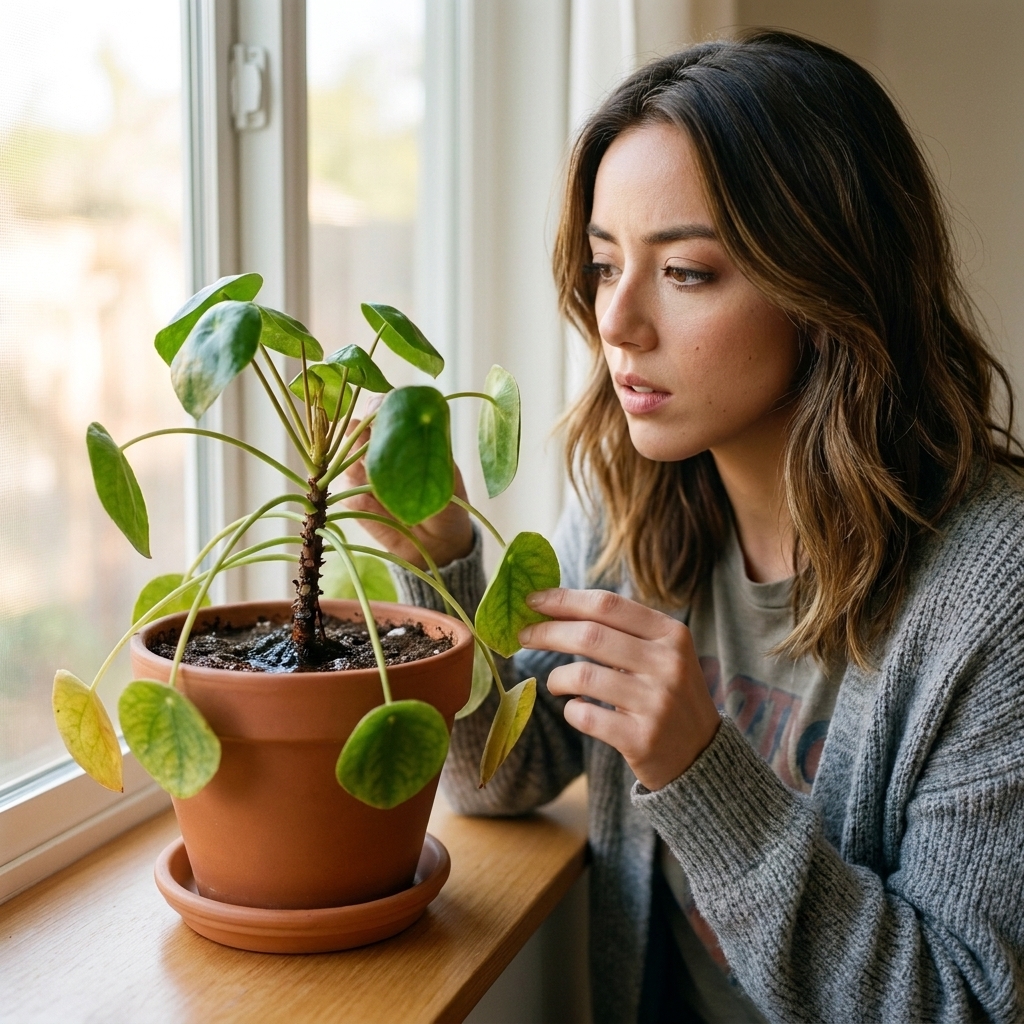
- Yellowing leaves that does not match your normal watering pattern, often from stress and limited nutrient uptake.
- The pot feels top-heavy and the plant tips more easily.
In-the-pot clues
- Roots are coming out of the drainage holes in thick clusters.
- The plant lifts up as one tight mass when you tug gently at the base.
- You see circling roots pressed against the pot wall when you slide it out to peek.
If your plant is wilting but the soil is staying wet for days, that is not classic root-bound behavior. It usually means the roots are struggling, often from poor drainage, compacted soil, or early root rot. In that case, focus on drainage, soil texture, and a quick root check for mushy or smelly sections.
Before you repot
Best time
Repot in spring through early summer when most houseplants are actively growing and can recover quickly. You can repot in other seasons if the plant is truly suffering, but be extra gentle and keep aftercare consistent.
Choose the right size
For most houseplants, go 1 to 2 inches wider in diameter than the current pot (or one standard pot size up).
- Small plants (4 to 6 inch pots): usually 1 inch up is enough.
- Medium plants (8 to 10 inch pots): 1 to 2 inches up.
- Large floor plants: often 2 inches up, or consider top-dressing if the pot is already huge.
Going too big is a common reason plants sulk after repotting. A large volume of fresh soil can hold moisture longer than the roots can use it, increasing the risk of root rot.
Non-negotiable
Drainage holes. Always. If you love a decorative cachepot with no drainage, keep your plant in a nursery pot and place it inside.
What you will need
- A new pot with drainage holes
- Fresh potting mix suited to your plant type
- A saucer or tray
- Gloves (optional, but helpful)
- Pruners or scissors (for trimming dead roots only)
- A chopstick, skewer, or your fingers to loosen roots
Quick safety note: Many common houseplants have irritating sap (including Philodendron and Ficus). If you are cutting roots or handling a lot of plant tissue, gloves help, and it is smart to avoid touching your eyes and wash your hands afterward.
Soil tip: a high-quality indoor potting mix is a good baseline, but many plants do better with added aeration. For aroids (Monstera, Philodendron, Pothos), I like mixing in orchid bark and perlite. For succulents and cacti, use a gritty cactus mix.
How to repot a root-bound houseplant
1) Water lightly first
Slightly moist roots are more flexible and less likely to crack or tear. You are aiming for damp, not soggy. The day before is ideal, but a few hours before can also help. If your plant is already wet, skip this step.
2) Prep the new pot
Add a small layer of fresh mix to the bottom, but do not overdo it. After you set the plant in and finish backfilling, you want the final soil level to land with the top of the root ball about 1 inch below the rim. That space makes watering easier and reduces overflow.
3) Remove the plant
Gently squeeze the pot sides (if it is plastic). Tip the plant on its side and support the base with your hand. If it is stuck:
- Run a dull knife around the inside edge of the pot.
- Tap the pot bottom on a padded surface.
- As a last resort for thin nursery pots, cut the pot away.
4) Loosen the roots
This is the step that prevents the plant from continuing to circle in the new pot.
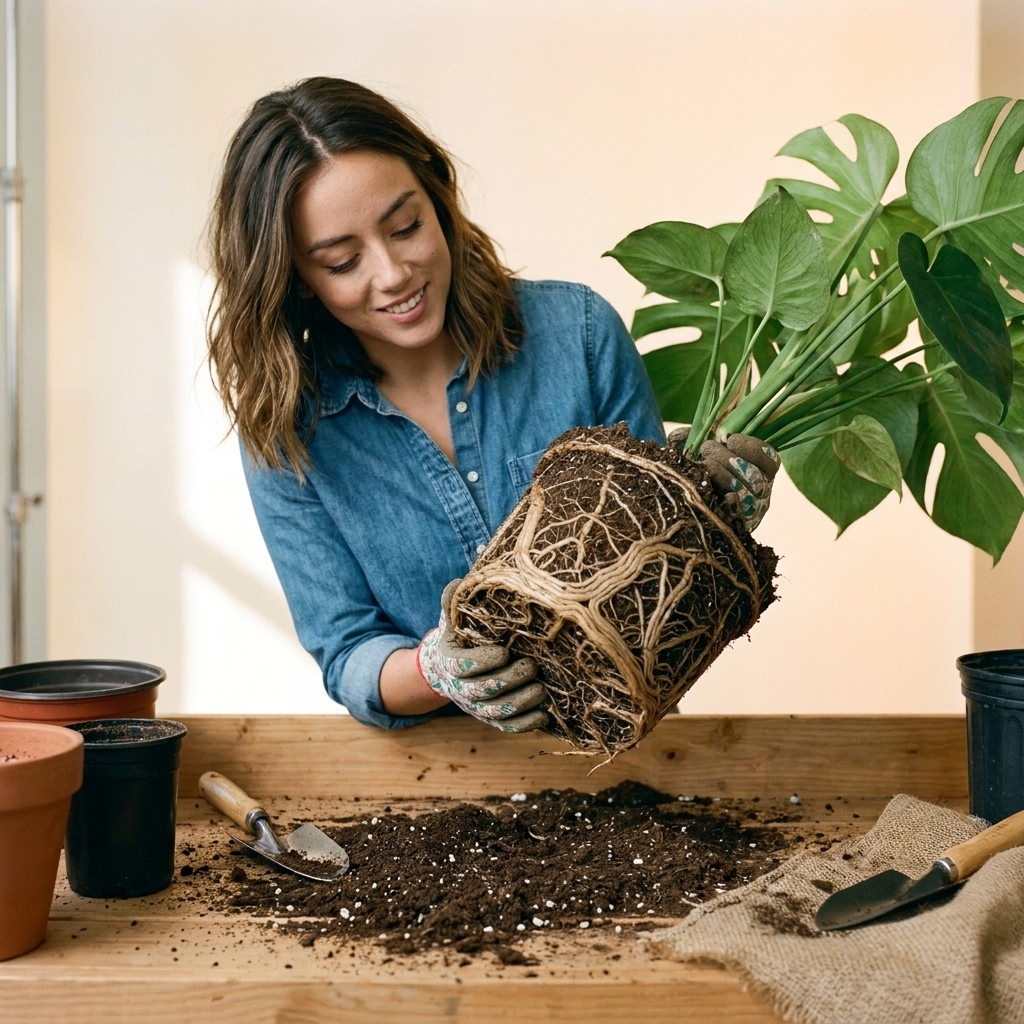
- Tease the outer roots: Use your fingers to loosen and pull apart the bottom and sides of the root mass.
- Start with the bottom pad: Root-bound plants often have a dense pancake at the base. Break this up first.
- If the root ball is extremely tight: You can score the sides with a few shallow vertical cuts (often 3 to 6, about 1/8 to 1/4 inch deep). Keep cuts shallow, and skip this on very fine-rooted or easily stressed plants. The goal is to encourage roots to grow outward into fresh mix, not to carve it up.
Do not aggressively shake off all soil. For most houseplants, you want minimal disruption, not a full bare-root reset.
5) Trim only what is truly dead
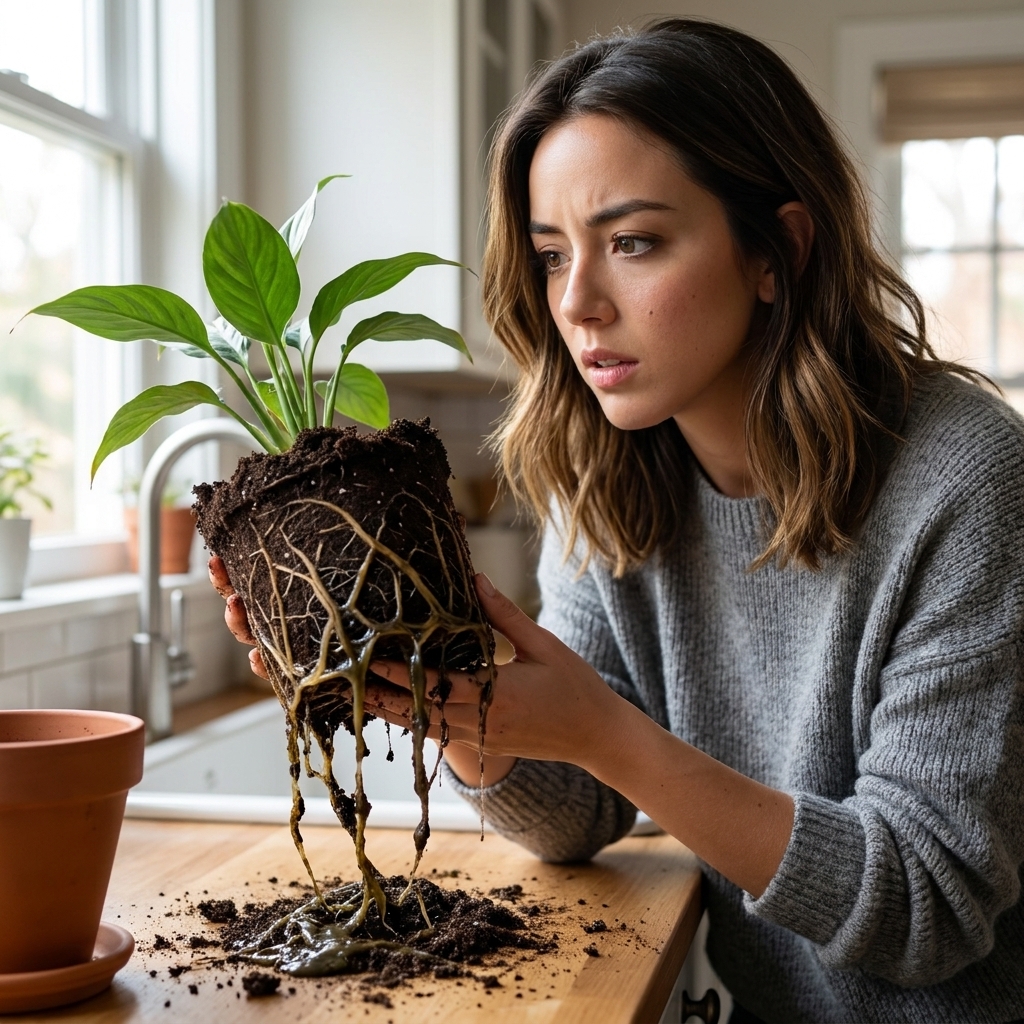
Healthy roots are usually white, cream, or light tan and feel firm. Dead or rotting roots are often brown or black, mushy, hollow, or smelly.
- Trim dead roots with clean scissors.
- If you remove more than about 20 to 25 percent of the root system, plan to baby the plant afterward with extra-stable light and careful watering.
6) Place and backfill
Set the plant in the center. Add potting mix around the sides, gently pressing to remove large air pockets. Keep the stem base at the same level it was before. Burying the stem deeper can invite rot for many plants.
Aim for snug, not compacted. You want air in that soil.
If your plant is tall or top-heavy, consider a simple stake or support for a week or two while new roots anchor in.
7) Water in, then drain
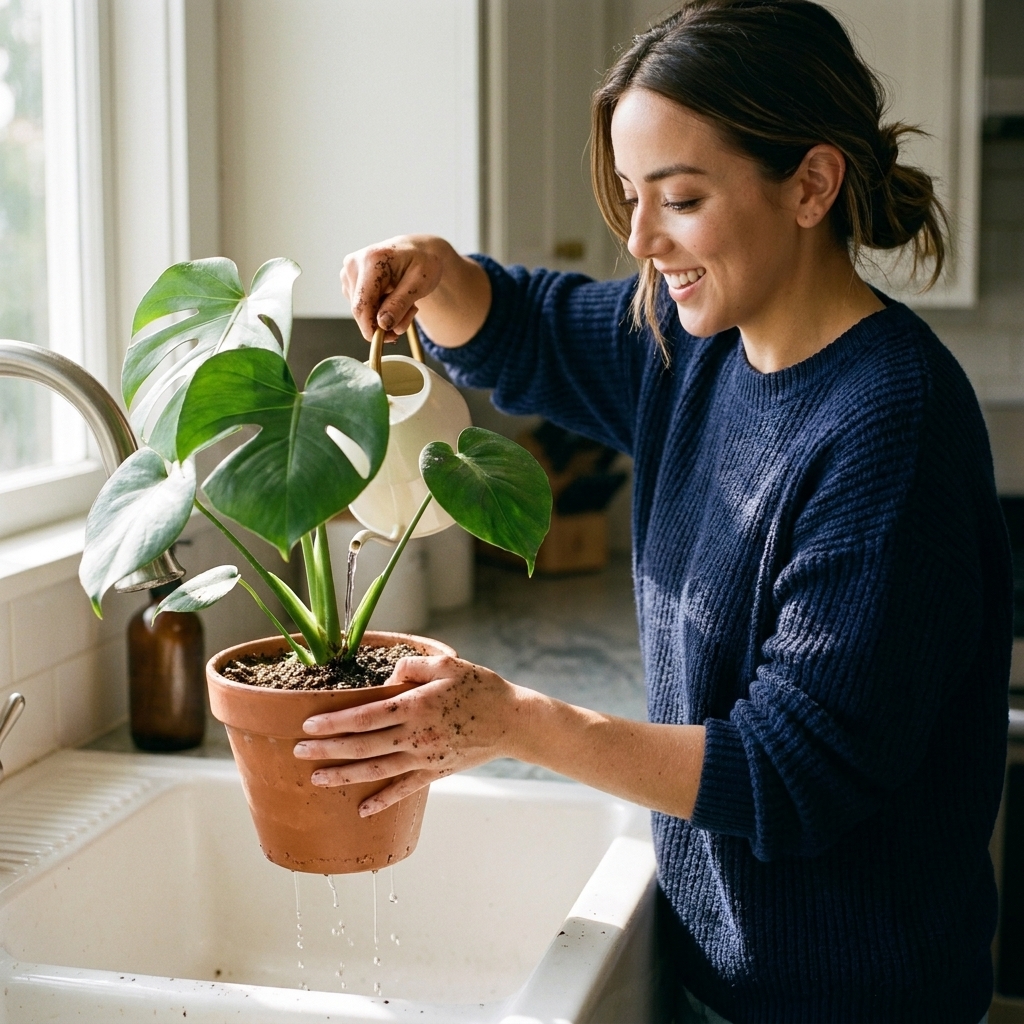
Water until you see water flowing from the drainage holes. This helps the mix settle around the roots. Let it drain completely before returning it to a decorative pot or saucer.
If the soil level drops a lot after watering, top up with a little more mix.
How to prevent transplant shock
Transplant shock is mostly a stress response from root disturbance plus environmental change. The trick is to keep everything else as steady as possible.
For the first 1 to 2 weeks
- Keep light consistent: bright indirect light for most plants. Avoid moving it to a harsher window to help it grow.
- Skip fertilizer: hold off for 3 to 4 weeks. Fresh mix often has nutrients, and tender roots are easier to burn.
- Water by feel, not habit: new soil holds moisture differently. Check the top 1 to 2 inches before watering again.
- Avoid extra stress: no major pruning, no propagation, no drafty vents, no heat blasts.
- Expect mild droop: a little sulking for a few days can be normal. You are watching for steady improvement, not instant perfection.
Common repotting mistakes
Using a pot that is too large
Oversizing is one of the fastest ways to accidentally create wet soil that lingers. If you are between sizes, choose the smaller upgrade.
Not loosening circling roots
If you keep the root ball intact like a brick, the roots often keep circling in the new pot. Teasing them out feels slow, but it pays off.
Using the wrong mix
Dense mixes can suffocate roots indoors where airflow is lower. If your plant is prone to root rot, add aeration (perlite, pumice, orchid bark) so the mix breathes.
Fertilizing right away
Fresh roots are sensitive. Wait a few weeks, then feed lightly during active growth.
Special cases
Root-bound and root rot
This happens when a plant is severely root-bound, then gets overwatered or sits in a pot with poor drainage. In that case:
- Trim all mushy roots.
- Switch to a chunkier, faster-draining mix.
- Downsize the pot if the remaining root system is much smaller.
- Water less frequently until you see new growth.
Plant is too big to size up
For big floor plants where repotting is a whole workout, you have options:
- Top-dress: remove the top 2 inches of old soil and replace with fresh mix.
- Root prune and refresh: every year or two, lift it out, trim a small amount of outer roots and soil, and return it to the same pot with fresh mix. (This is advanced, but very effective.)
Plants that like it snug
Some plants can bloom well when they are slightly snug in their pots, including many Hoyas and Peace Lilies. Slightly snug is different from roots forming a solid spiral brick that makes watering difficult. If growth has stalled, the plant dries out constantly, or roots are circling hard, it is time to repot.
Quick FAQ
Should I break up the root ball?
Yes, gently. Focus on loosening the outer layer and especially the bottom. You do not need to shred it, just encourage roots to grow outward.
Do I need rocks in the bottom for drainage?
No. A pot with drainage holes and a well-aerated mix is what helps. Rocks can reduce the usable soil area and complicate moisture behavior.
How long will recovery take?
In good conditions, many plants look better within 1 to 2 weeks. Full recovery can take longer, especially for slow growers, winter repots, or plants that needed heavy root work. Watch for small signs of progress like perkier leaves, steadier moisture, and new growth.
Can I repot a plant that is flowering?
You can, but it may drop blooms from stress. If it is not urgent, wait until after flowering. If it is urgent (severe root-bound, tipping, or drying out constantly), repot gently and keep conditions stable.
The confidence check
If you are nervous about repotting, I want you to know this: plants are built to grow roots. You are not hurting it by giving it room. Your job is simply to be steady and gentle, then let the plant do what it already knows how to do.
If you want a simple next step, set a reminder to check moisture a little more intentionally for the next two weeks. That alone prevents most post-repot panic.