Identify and eliminate common indoor plant pests naturally using practical, non-toxic methods you can do at home.
If you have ever felt like houseplant problems appear overnight, you are not imagining it. A small pest pocket can turn into a full infestation surprisingly fast, especially under warm, dry conditions. And a slightly-too-wet pot can slide into root rot quietly until the leaves start dropping.
The best antidote is a predictable, low-stress routine. Once a month, I do the same quick inspection on every plant. It takes less time than a full watering day, and it saves me from the big emergencies later.
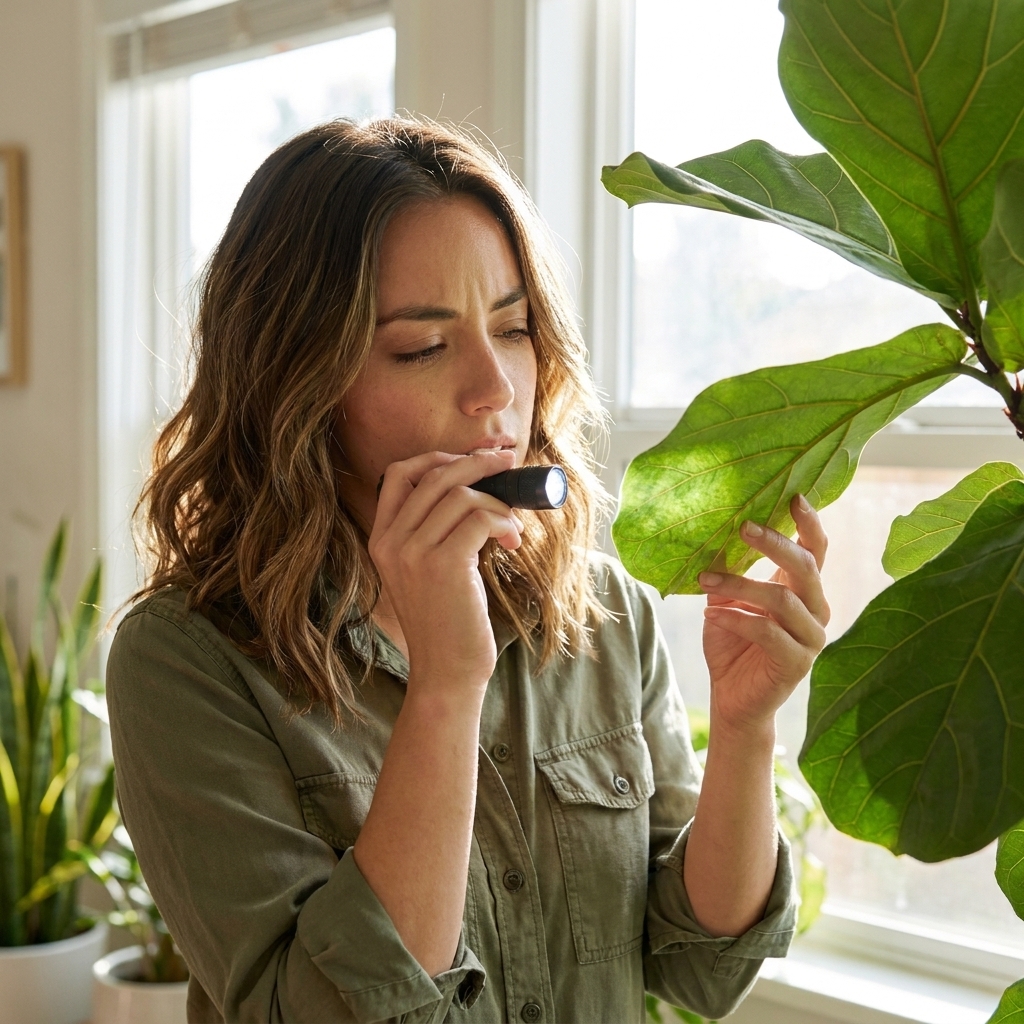
Your monthly plant check-in (15 to 25 minutes)
You do not need fancy tools. You just need consistency.
Grab these basics
- Small flashlight (your phone light is perfect)
- Soft cloth or paper towel for wiping leaves
- Cotton swabs for spot treating pests
- Magnifying glass (optional, but helpful for mites and thrips)
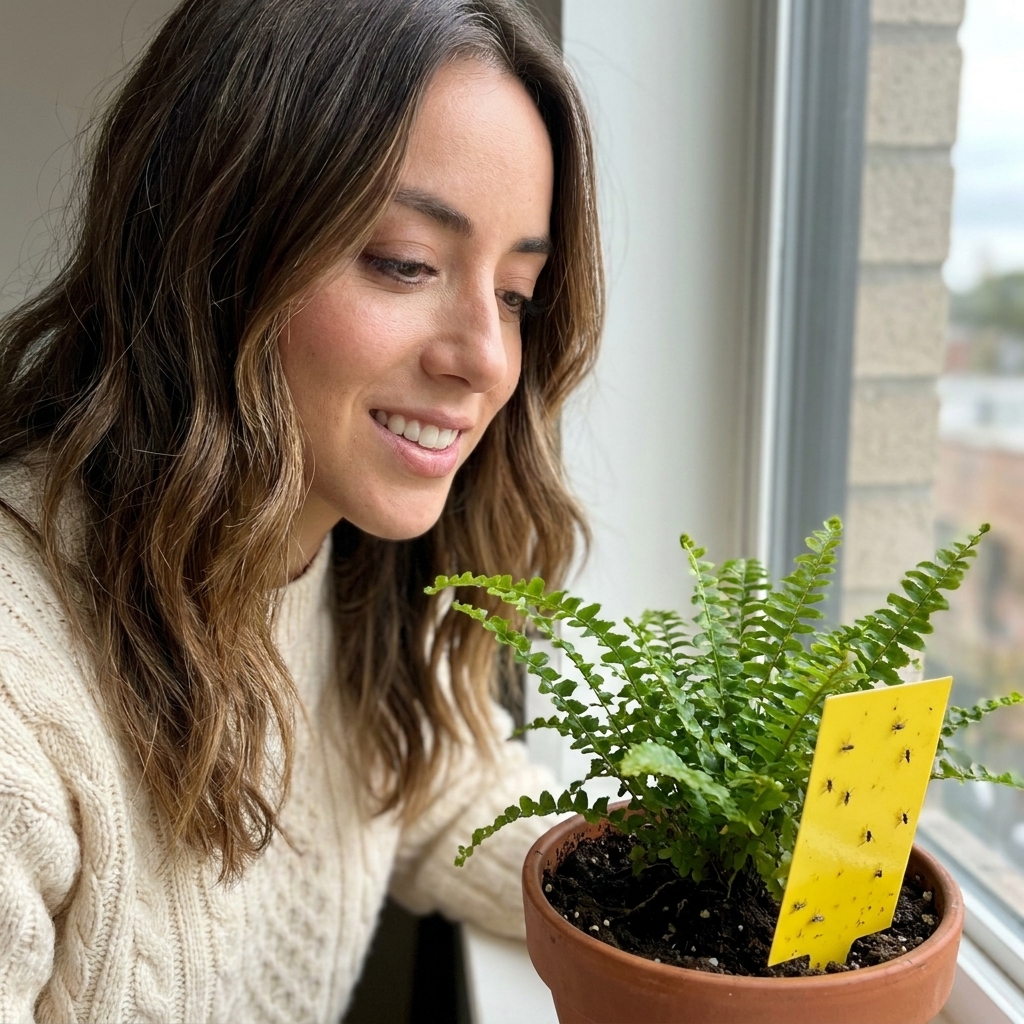
- Sticky traps (optional, great for fungus gnat monitoring)
- Isopropyl alcohol (70%) for mealybugs and scale spot treatment
- Notebook or notes app for quick patterns
Do it in this order
Start at the top of the plant and work down. Then check the pot, then the soil, then the roots if something looks off. This keeps you from missing the small stuff that turns into a “why is my plant dying” moment.
Quick hygiene rule: If you are trimming anything suspicious (disease spots, mushy stems, rot), wipe your scissors between plants. A little rubbing alcohol on a cloth works well.
1) Leaves: the fastest place to spot trouble
Leaves are your plant’s mood ring. They show early stress long before the roots wave a white flag.
What to look for
- New spots (brown, black, yellow, water soaked, or crispy)
- Stippling (tiny pale dots) or a dusty look
- Silvery streaks or scratchy patches
- Sticky residue (honeydew) on leaves or nearby surfaces
- Leaf curl, twisted new growth, or deformed leaves
- Sudden yellowing of multiple leaves at once
Flip the leaves, especially these plants
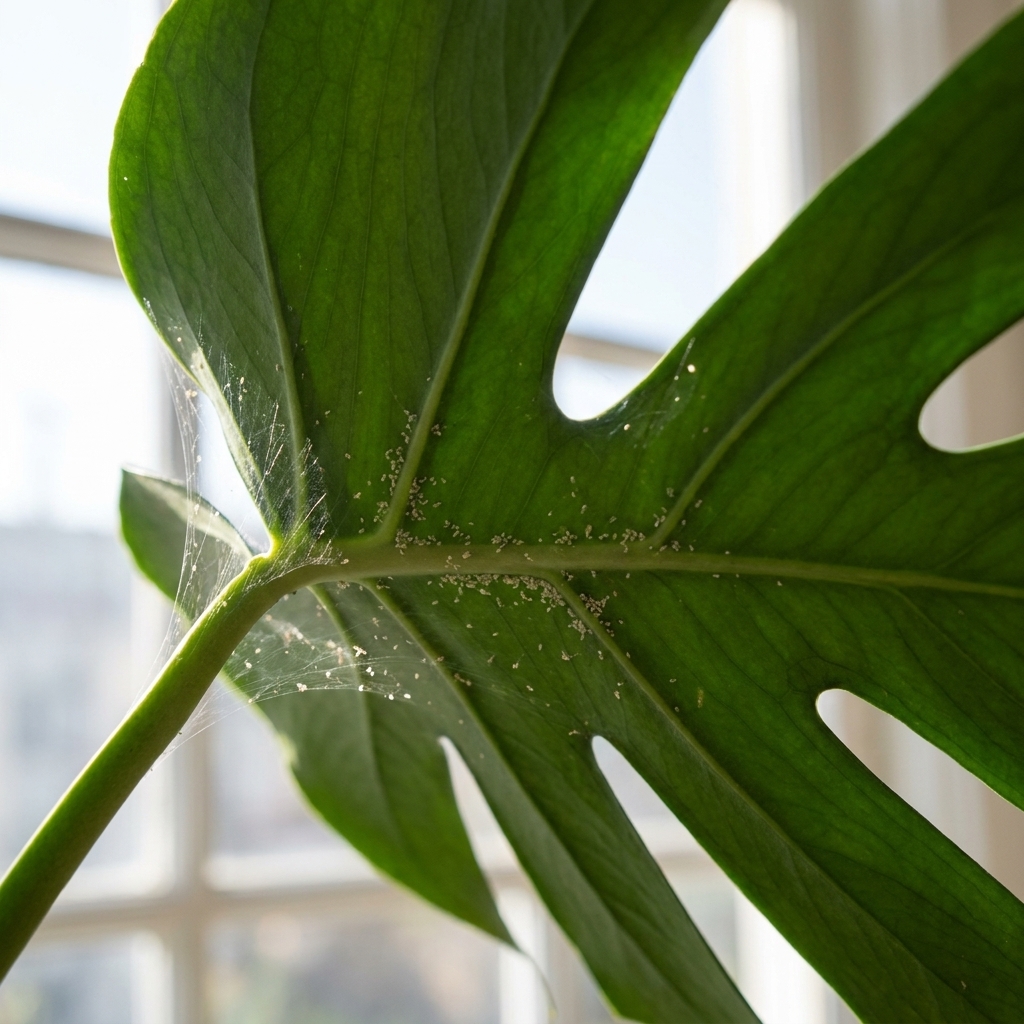
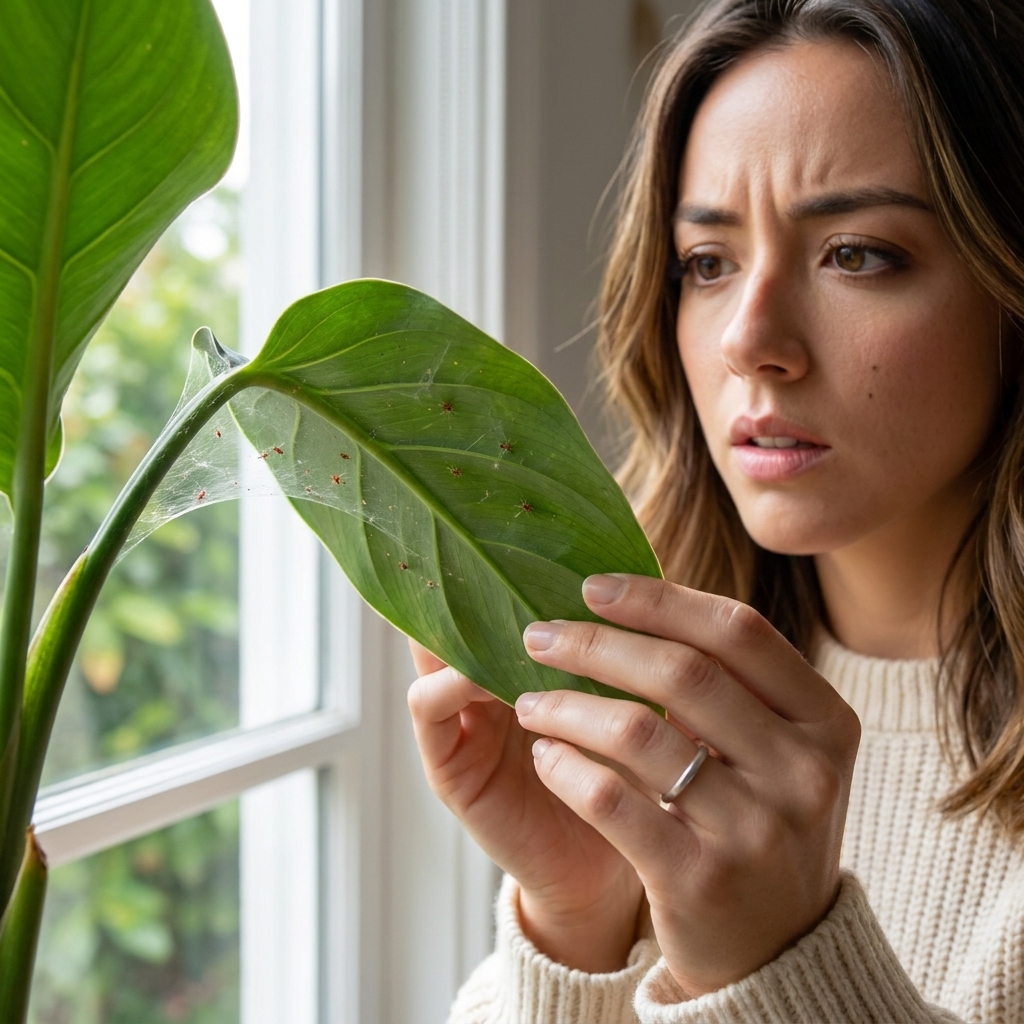
Spider mites, thrips, and mealybugs love to hide on the undersides. Give extra attention to Calatheas, Alocasias, Hoyas, Monsteras, Fiddle Leaf Figs, and any plant that lives near a heater vent.
Quick monthly action
- Wipe dusty leaves with a slightly damp cloth. Dust blocks light and gives pests a cozy hiding place.
- Pinch or trim leaves that are heavily damaged or clearly diseased, then discard them in the trash, not your compost.
Note: If you grow cacti or succulents, skip the “wipe every leaf” mindset. A gentle dust-off is fine, but those plants often want a lighter touch and a very different watering rhythm.
2) Stems and nodes: the pest hot spots
Many pests tuck themselves into tight joints where leaves meet stems, or where vines branch. If you only ever look at the big leaf surfaces, you can miss the source.
What to look for
- White cottony clusters at nodes (often mealybugs)
- Brown bumps that do not brush off easily (often scale)
- Black sooty film (often growing on honeydew left by pests)
- Mushy stem bases (a red flag for rot)
Quick monthly action
- Mealybugs: dab with a cotton swab dipped in 70% isopropyl alcohol. Recheck weekly for a month.
- Scale: gently scrape off with a fingernail or soft tool, then wipe the area with alcohol on a cloth.
Alcohol safety: Spot test first, avoid soaking tender new growth, and keep it away from kids and pets. Never mix it with other pesticides or sprays in the same bottle.
3) The soil surface: where watering issues show up first
I know soil can feel like the boring part, but it is where the real story is.
What to look for
- Fungus or mold on top of soil
- Soil pulling away from the pot edge (often hydrophobic, very dry mix)
- Constantly damp soil weeks after watering
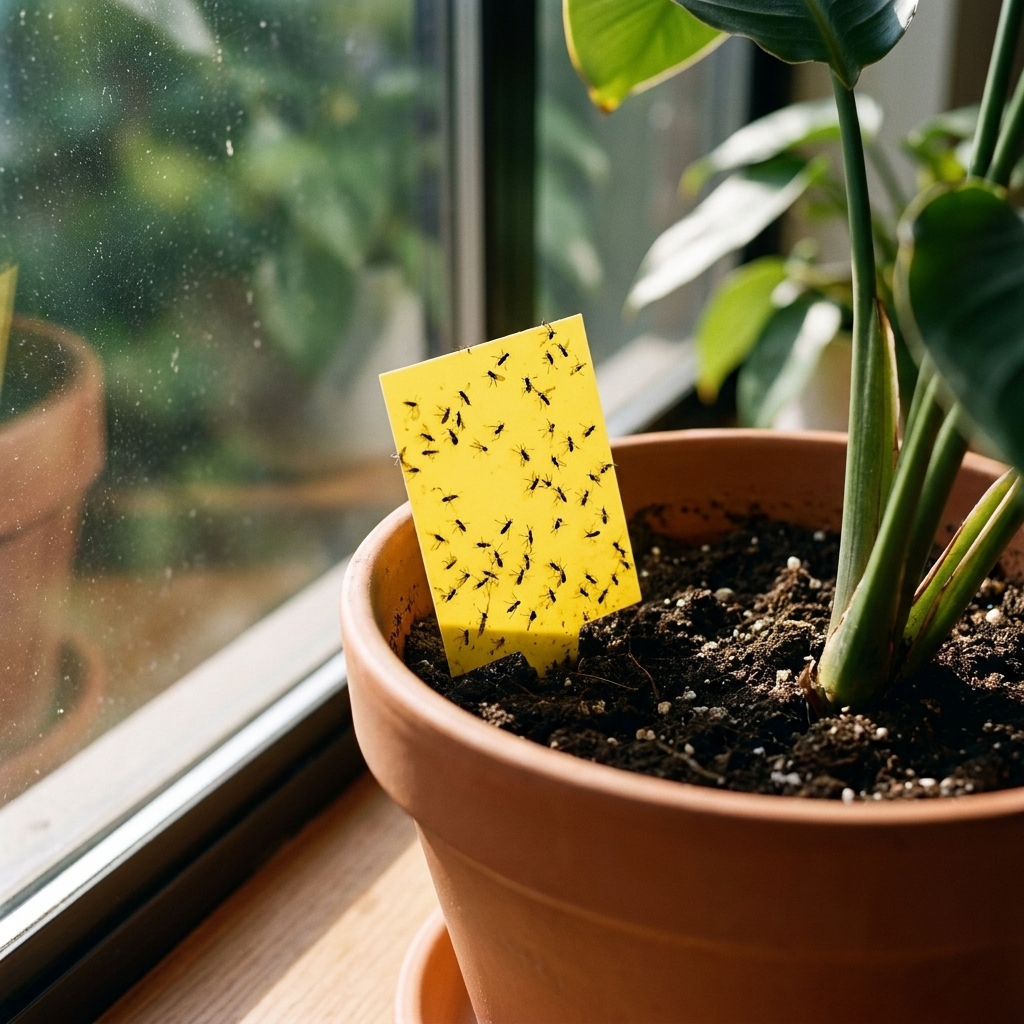
- Tiny flies that pop up when you nudge the pot (fungus gnats)
- Crusty white buildup (mineral salts from hard water or fertilizer)
Quick monthly action
- Top dress cleanup: remove dead leaves or dropped petals. Rotting debris invites fungus gnats.
- Salt reset (optional): if you see heavy crusting, flush the pot thoroughly with water until it runs freely out the bottom. Let it drain completely.
- Fungus gnats: let the top 1 to 2 inches dry, use sticky traps to monitor adults, and use BTI (often sold as Mosquito Bits) per label directions. During active outbreaks, treatments usually need repeating weekly for a few rounds to catch multiple life cycles.
4) Pot and drainage: the root rot prevention zone
If I could only pick one habit to prevent plant heartbreak, it would be checking drainage every month. Many indoor plant declines are moisture problems wearing different outfits. Light, pests, and temperature swings can also be the real culprit, but drainage is the easiest win to lock in.
What to look for
- Standing water in a cachepot or saucer
- Roots poking out of drainage holes (possible root bound plant)
- Cracked nursery pots or warped plastic that makes watering uneven
- Musty smell near the soil or drainage hole
Quick monthly action
- After top-watering, empty saucers and cachepots once the plant has finished draining (often 10 to 20 minutes).
- Lift test: pick up the pot. If it still feels heavy many days after watering, you may have compacted soil, low light, or early rot brewing.
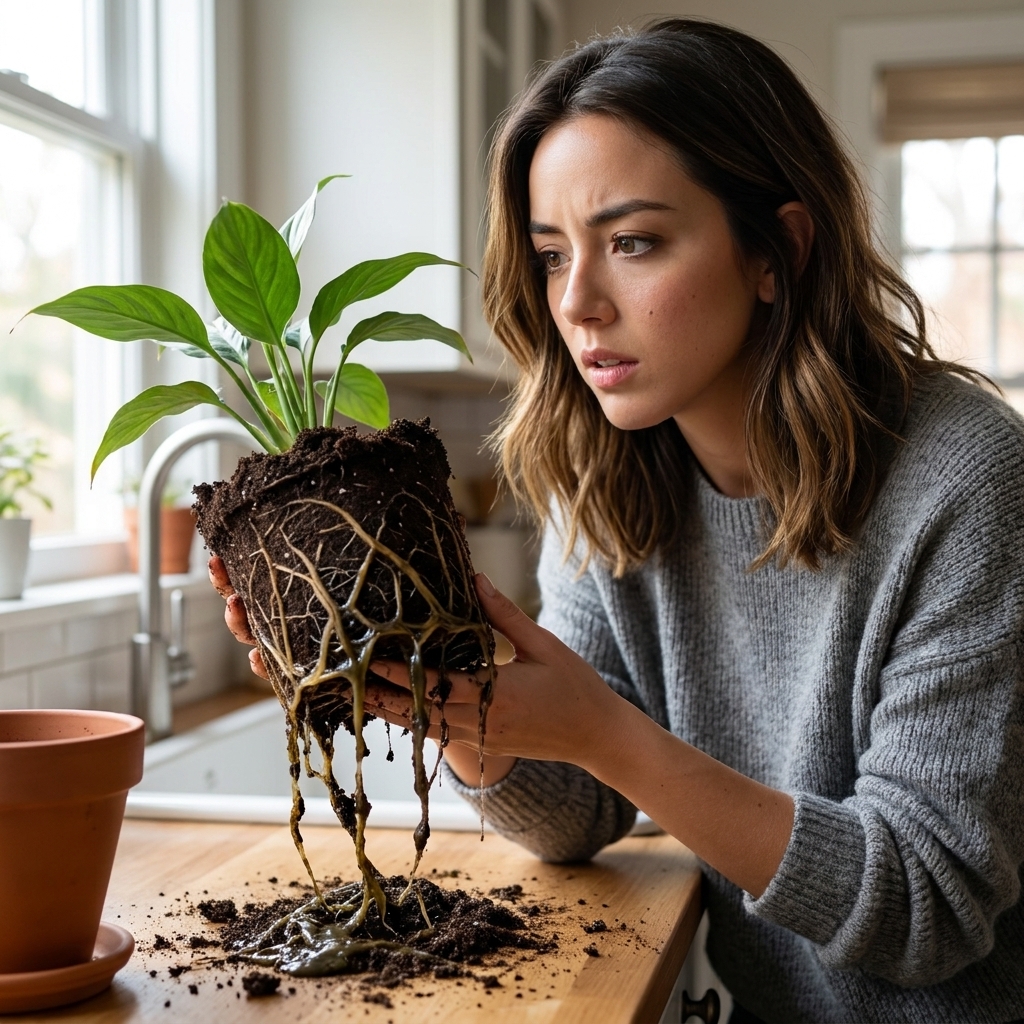
5) Roots: only check when something feels off
You do not need to unpot healthy plants monthly. But you should know when to look at roots, because roots tell the truth.
Signs it is time for a root check
- Soil stays wet for a long time
- Plant wilts even when the soil is moist
- Sudden yellowing or leaf drop
- Persistent fungus gnat issues
- A sour or swampy smell
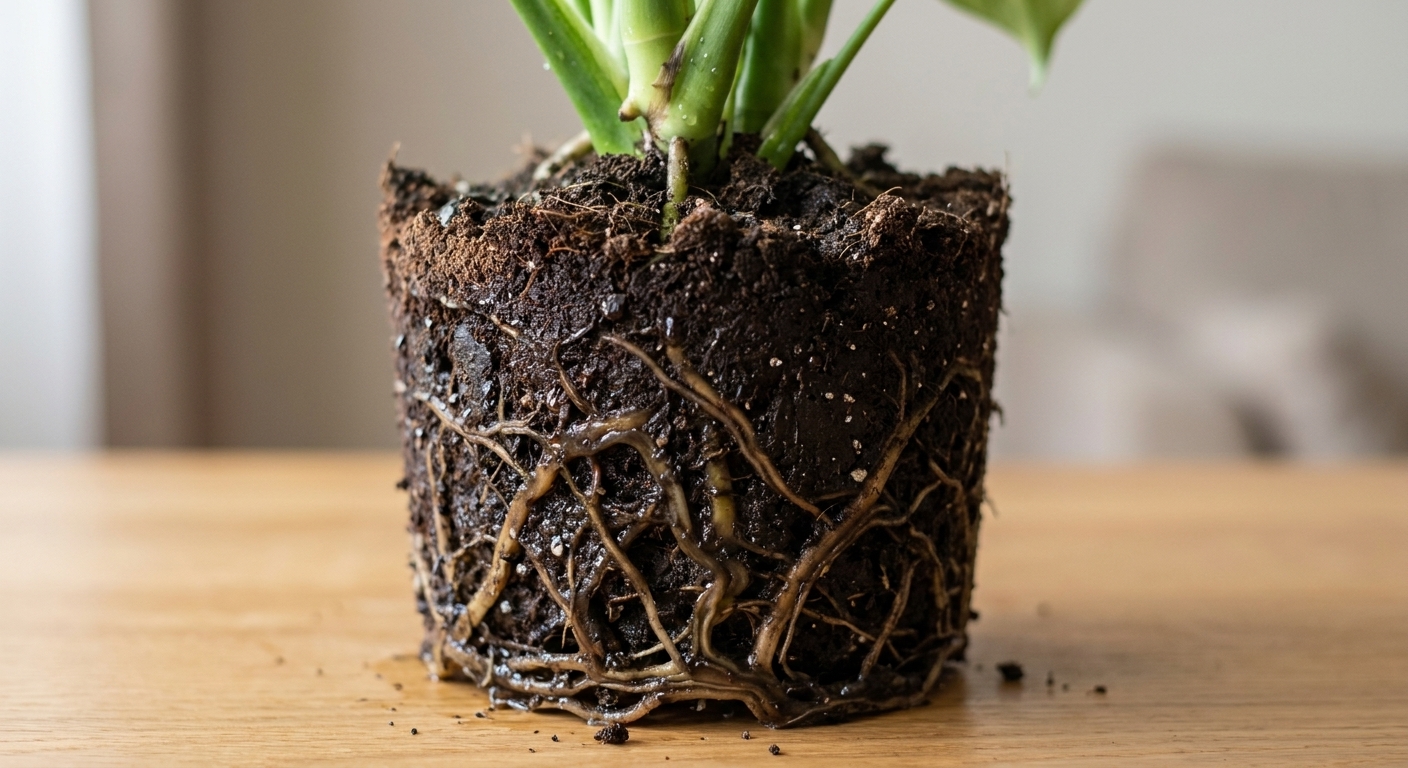
What healthy roots look like
- Firm and springy
- Light colored (often cream or pale tan, depending on the plant)
- Earthy smell, not sour
What unhealthy roots look like
- Mushy or slimy sections
- Dark brown or black roots that pull apart easily
- Strong rot odor
Quick monthly action if you find rot
- Trim away mushy roots with clean scissors.
- Repot into fresh, airy mix in a pot with drainage.
- Do not fertilize for 4 to 6 weeks while it recovers.

6) New growth: your early warning system
New leaves are where subtle problems show up first. If pests are feeding, if humidity is too low, or if your plant is stressed, the newest growth often looks the weirdest.
What to look for
- Deformed or stuck leaves (often low humidity, inconsistent watering, or pests)
- Scarred, silvery patches on unfurling leaves (thrips love tender growth)
- Very small new leaves (often low light or depleted nutrients)
- Long bare stems with tiny leaves (stretching for light)
Quick monthly action
- Support humidity sensitive plants: group plants together or add a small humidifier near Calatheas and ferns.
- Rotate the pot a quarter turn for balanced growth, especially in low light apartments.
7) Pests: a monthly scan that actually works
Here is the truth: you do not need to identify every insect perfectly. You just need to notice “something is living here” early, isolate the plant, and act consistently.
Where pests hide
- Undersides of leaves
- Leaf joints and nodes
- Along the midrib and veins
- On the soil surface and rim of the pot
- On nearby windowsills and the plant stand
What to watch for (cheat sheet)
- Spider mites: fine webbing, stippled leaves, dusty look
- Thrips: silvery streaks, black specks (frass), damaged new growth
- Mealybugs: cottony clusters at nodes, sticky leaves
- Scale: hard brown bumps on stems and leaf veins
- Fungus gnats: tiny flies around soil, worse after watering
Quick monthly action
- Isolate any suspicious plant immediately, even before you are 100% sure.
- Rinse and wipe: a lukewarm shower or sink rinse plus a leaf wipe removes a surprising number of pests.
- Follow up weekly: most pest life cycles require repeated treatment. Monthly is for prevention, weekly is for active treatment.
8) Disease: what to catch before it spreads
Indoor plant diseases often look like spots, mush, or fuzzy growth. The goal is not to panic. The goal is to stop the spread.
Red flags
- Water soaked spots that expand quickly
- Yellow halos around brown spots
- Gray fuzzy growth on leaves or stems
- Soft blackened stems near soil line
Quick monthly action
- Remove affected leaves with clean scissors.
- Improve airflow by spacing plants slightly and avoiding constantly wet foliage.
- Adjust watering so the soil is not staying saturated.
One gentle reality check: spotting is not always disease. Sunburn, edema, and chemical burn can look surprisingly similar. If you are unsure, isolate the plant, stop misting, keep water off the leaves, and watch whether the damage spreads over the next 7 to 10 days.
9) Environment: light, airflow, and seasons
The same plant can behave completely differently in January vs July. A monthly check-in is your chance to make tiny adjustments before stress builds.
Light
- Is the plant leaning hard toward the window?
- Are new leaves smaller than older leaves?
- Did the sun angle change and now scorch marks are appearing?
Monthly action: rotate pots and pull sun sensitive plants back from hot afternoon windows. If you live in a low light apartment, consider a small grow light for winter.
Airflow and heat
- Is a plant directly in the path of a heater or AC vent?
- Is condensation building on windows behind the plant?
Monthly action: move plants a few feet away from vents and wipe condensation. Stagnant, damp corners encourage fungal issues.

A simple monthly checklist
If you want the whole routine in one place, here it is. I like to walk room by room so nothing gets missed.
- Leaves: check tops and undersides, wipe dust, look for spots and stippling
- Stems and nodes: inspect for cottony clusters, bumps, sticky residue
- Soil surface: remove debris, check for mold, gnats, salt crust
- Pot and drainage: confirm drainage holes are clear, no standing water, lift test
- New growth: inspect unfurling leaves, look for deformation or scarring
- Environment: quick light check, rotate, check vents and drafts
- Quarantine check: any new plant stays separate for 2 to 4 weeks with extra inspections
What to do if you find a problem
This is where plant guilt loves to swoop in. Please do not let it. Catching an issue early is a win, not a failure.
Step 1: Isolate
Move the plant away from others. Most pest and disease spread indoors happens plant-to-plant through proximity.
Step 2: Take one clear photo and one note
Photo of the damage and a quick note like “sticky leaves on lower stems” helps you track whether your treatment is working.
Step 3: Start with the gentlest effective option
- Rinse and wipe for light pest pressure
- Alcohol swabs for mealybugs and scale (spot test first)
- Adjust watering and airflow for mold or leaf spot tendencies
Step 4: Recheck weekly for a month
Monthly checks prevent. Weekly checks eliminate.
FAQ
Is monthly often enough?
For prevention, yes. If you have an active pest issue or a plant in recovery (root rot, repot stress), switch to weekly quick checks until it stabilizes.
Should I use neem oil every month as prevention?
For most homes, I do not recommend routine oil spraying as a default. It can stress some plants, it can spot leaves under bright light, and it is messy. Instead, do monthly inspections and use targeted treatments when you actually see signs of pests.
What if I cannot tell if a spot is pest damage or disease?
Look for movement or residue. Pests often leave stippling, webbing, black specks, or stickiness. Many diseases create spreading spots with yellow halos or water soaked edges. If you are unsure, isolate the plant, keep the foliage dry, improve airflow, and monitor for 7 to 10 days.
What is the number one thing that prevents root rot?
Drainage plus drying. Use pots with drainage holes, an airy potting mix, and water only when the soil has dried to the depth your plant prefers. Then always dump excess water from saucers and cachepots once the plant is done draining.
My gentle challenge
Pick one day each month and make it your “plant health lap.” Put on a podcast, grab your flashlight, and inspect without judgment. Your plants do not need perfection. They need a patient plant parent who notices small changes early, and that is absolutely something you can become.