Stop guessing. Use clear symptom clues, simple soil checks, and step-by-step rescue plans to fix overwatering or underwatering fast.
Root rot is one of the most common reasons indoor plants decline, and also one of the most misunderstood. If you have ever pulled a plant from its pot and found brown, mushy roots that smell a little like a swamp, you have met it.
Here is the good news: root rot is not a moral failing. It is usually a mismatch between the plant, the pot, the soil, and the way water moves through all of it. With a careful cleanup and a few small habit changes, many plants bounce back beautifully.
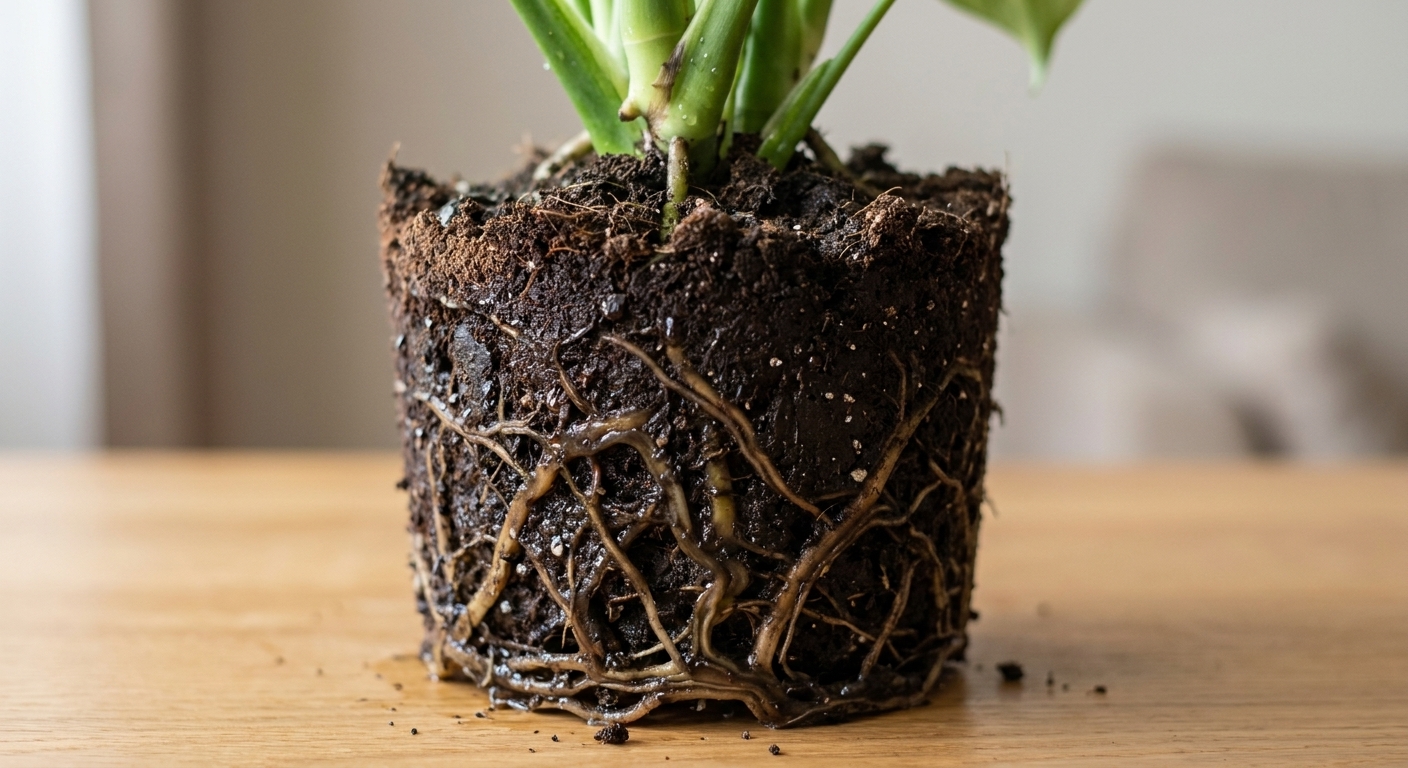
What root rot is
Root rot is root tissue that has begun to break down, usually after staying wet for too long. In consistently soggy conditions, roots cannot access oxygen. That stress opens the door for opportunistic fungi and fungus-like organisms (commonly water molds) to move in and multiply. The end result is the same: roots stop functioning, the plant cannot drink properly, and the top of the plant can look wilted even though the soil is wet.
Think of healthy roots like straws and rotten roots like soggy paper towels. They are still there, but they are not doing the job anymore.
How to identify root rot
Above-the-soil symptoms
Root rot can look like a lot of other issues at first, so I like to check for a pattern rather than a single symptom.
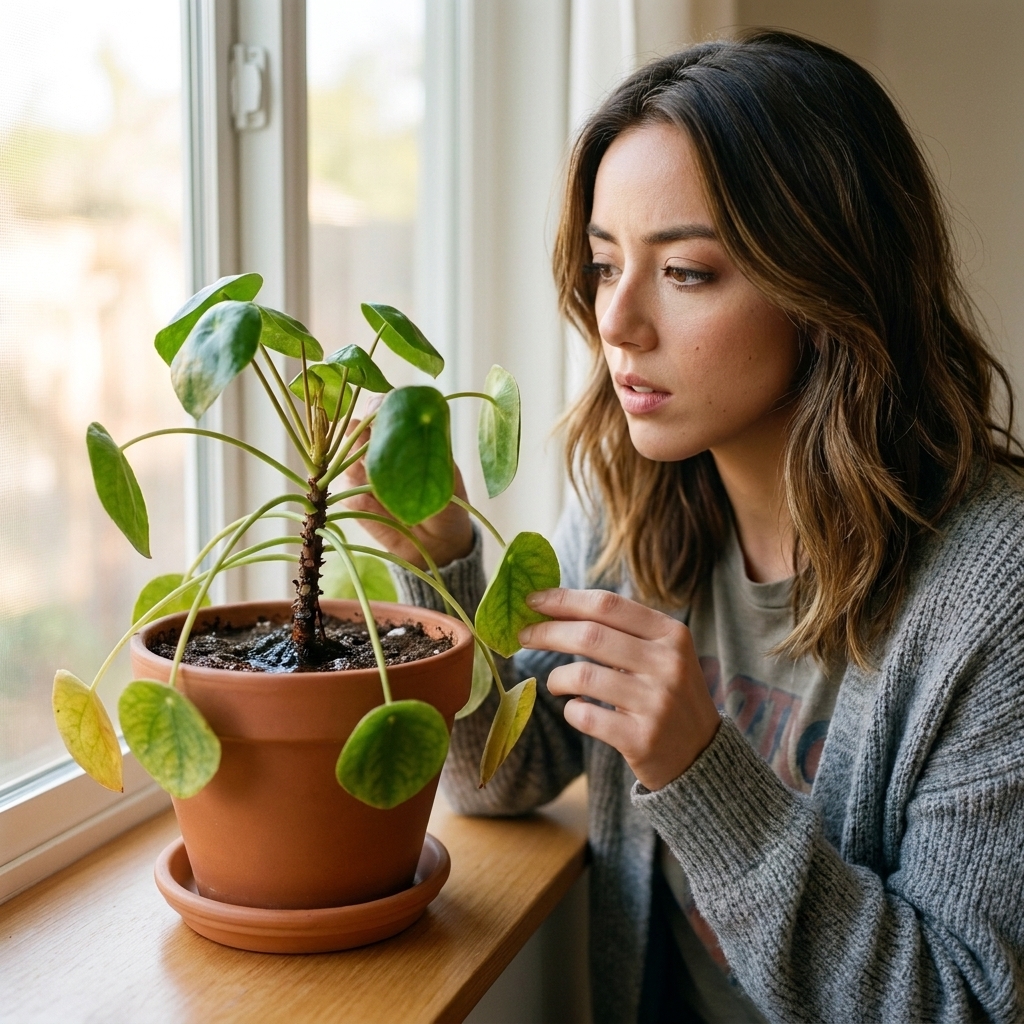
- Wilting in wet soil (a big red flag). The plant droops, but the pot feels heavy and damp.
- Yellowing leaves, often starting low on the plant.
- Soft, dark stems at the soil line, especially on plants like pothos, philodendron, peperomia, and begonias.
- Slow or stalled growth during a season when it normally grows.
- Leaves dropping easily with a gentle tug.
Soil and pot clues
- Soil stays wet for many days after watering.
- A sour or musty smell coming from the pot.
- Fungus gnats hovering around consistently moist soil (they do not cause root rot, but they love the conditions that do).
- No drainage hole, or a drainage hole that is blocked by compacted soil or a saucer kept full of water.
The only true confirmation: check the roots
If your plant shows multiple signs above, it is time for a root check. Healthy roots are usually firm and pale (white, tan, or light orange depending on the plant). Rotted roots are typically brown to black, soft, and may slough apart when you pinch them.
Quick look-alikes
Before you panic, know that wilt and yellow leaves can also come from underwatering, heat stress, a plant being rootbound, a sudden cold draft, or pests. The difference with root rot is the combination: wet soil plus decline, and then the root check confirms it.
Before you start
You do not need fancy tools, just clean ones.
- Pruners or sharp scissors
- Isopropyl alcohol or hot soapy water for cleaning tools
- Fresh potting mix (more on picking the right mix below)
- A pot with drainage (same size or slightly smaller if many roots are removed)
- Paper towels or an old towel
- Optional: nitrile gloves
A quick safety note: if your plant is in a decorative cachepot, always remove the inner nursery pot to water. Standing water at the bottom is root rot’s favorite buffet.
Sanitation tip: discard the old potting mix (do not reuse it). Wash the pot with hot soapy water, then rinse well. If you want to go the extra mile, disinfect with a dilute bleach solution, then rinse again and let it dry. Clean tools between plants.
How to treat root rot
Step 1: Pause watering
If you suspect root rot, do not flush it out by watering more. Let the plant dry a bit while you gather supplies. Bright, indirect light and warm temperatures help with recovery, but avoid harsh sun right after surgery.
Step 2: Unpot gently
Support the base of the plant with one hand and tip the pot with the other. If it is stuck, squeeze flexible nursery pots or run a blunt knife around the inside edge of a rigid pot.
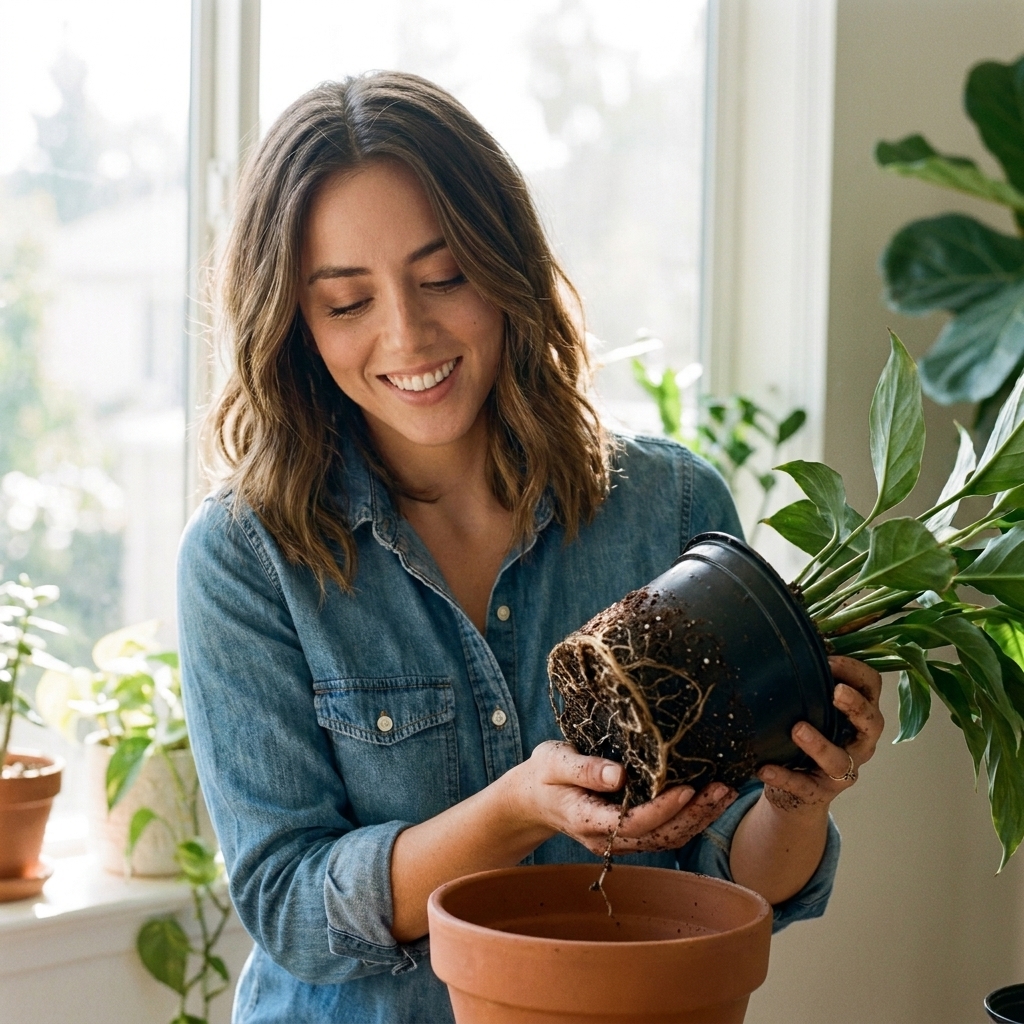
Step 3: Clear away wet soil
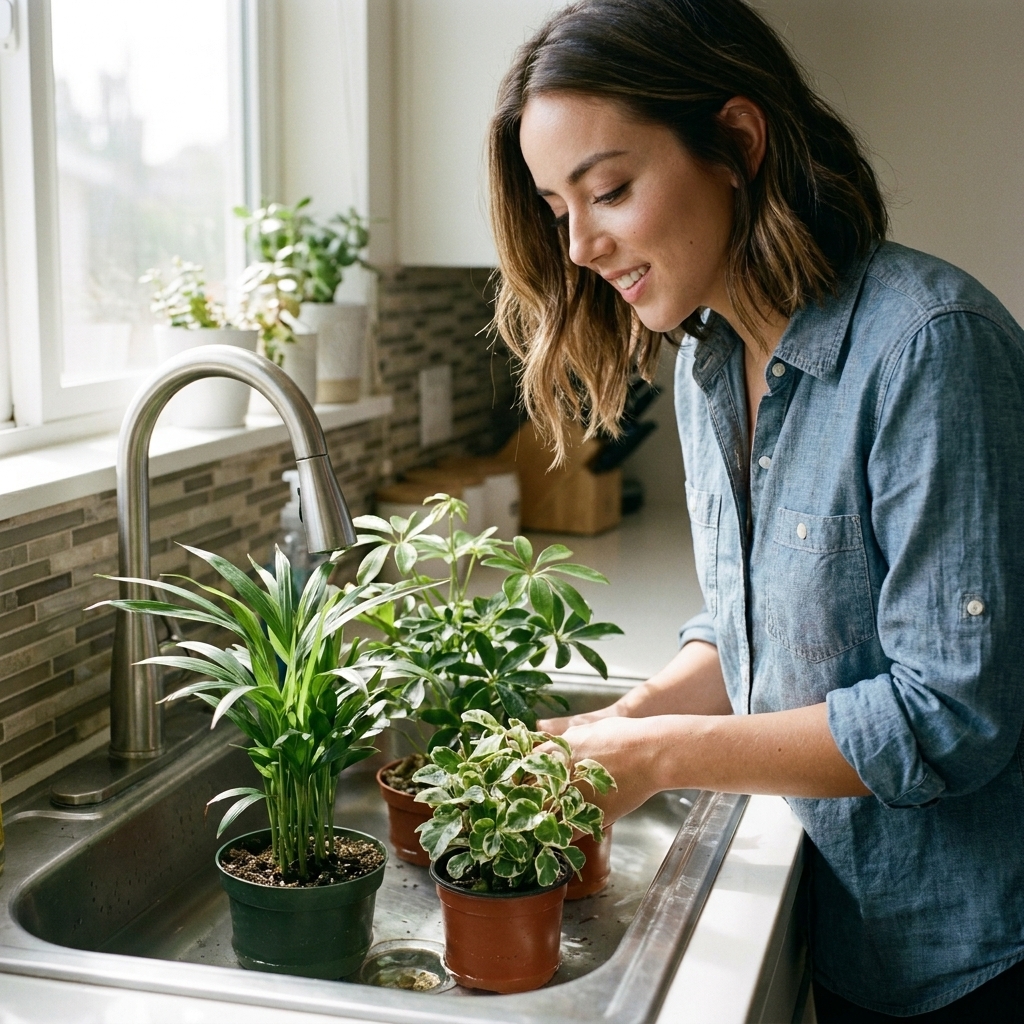
Shake off loose soil. If the mix is very muddy, you can rinse the roots with room-temperature water so you can see what you are working with. Be gentle around the crown (where stems meet roots).
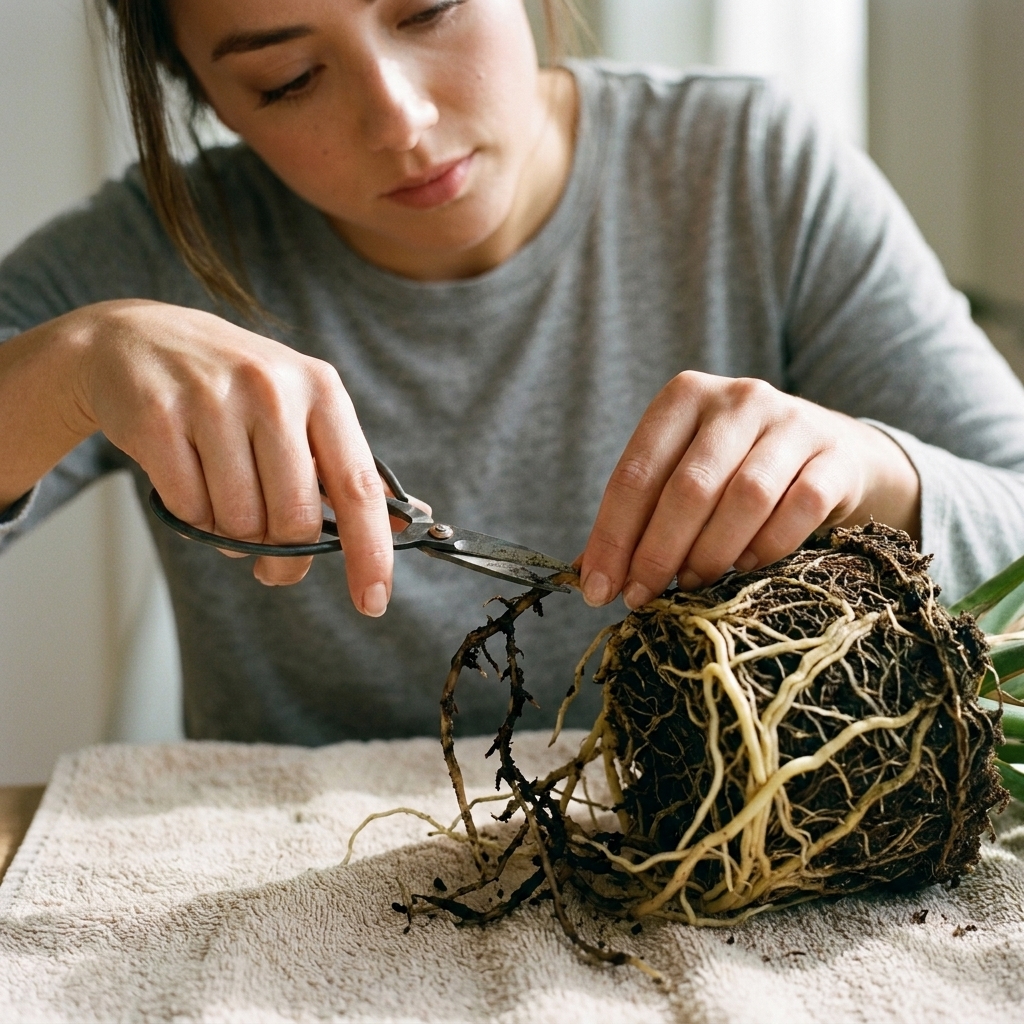
Step 4: Trim mushy roots
Sanitize your scissors first. Then trim back to firm, healthy tissue. If a root strand is brown but still firm, it can stay. If it is slimy, collapsing, or smells foul, it should go.
- Healthy: firm, springy, light-colored
- Rotten: dark, mushy, stringy, outer layer slides off
If you need to remove a lot, that is okay. Many houseplants regrow roots faster than you think, especially pothos, philodendrons, monsteras, syngoniums, and tradescantia.
Step 5: Air-dry briefly
Set the plant on a towel just long enough for surface moisture to evaporate. For many plants, 10 to 30 minutes is plenty. The goal is not to dry roots crispy, it is simply giving fresh cuts a short moment before they go back into mix. If the roots are very fine or the room is dry, keep this step on the shorter end.
Step 6: Use the right pot size
After trimming, your root mass is smaller. If you put it back into an oversized pot full of soil, that soil will stay wet longer, which is exactly what we are trying to avoid.
- If you removed less than about one third of the roots: you can often reuse the same pot.
- If you removed a lot of roots: size down so the root ball fits comfortably with 1 to 2 inches of space around it.
Always use a pot with drainage holes.
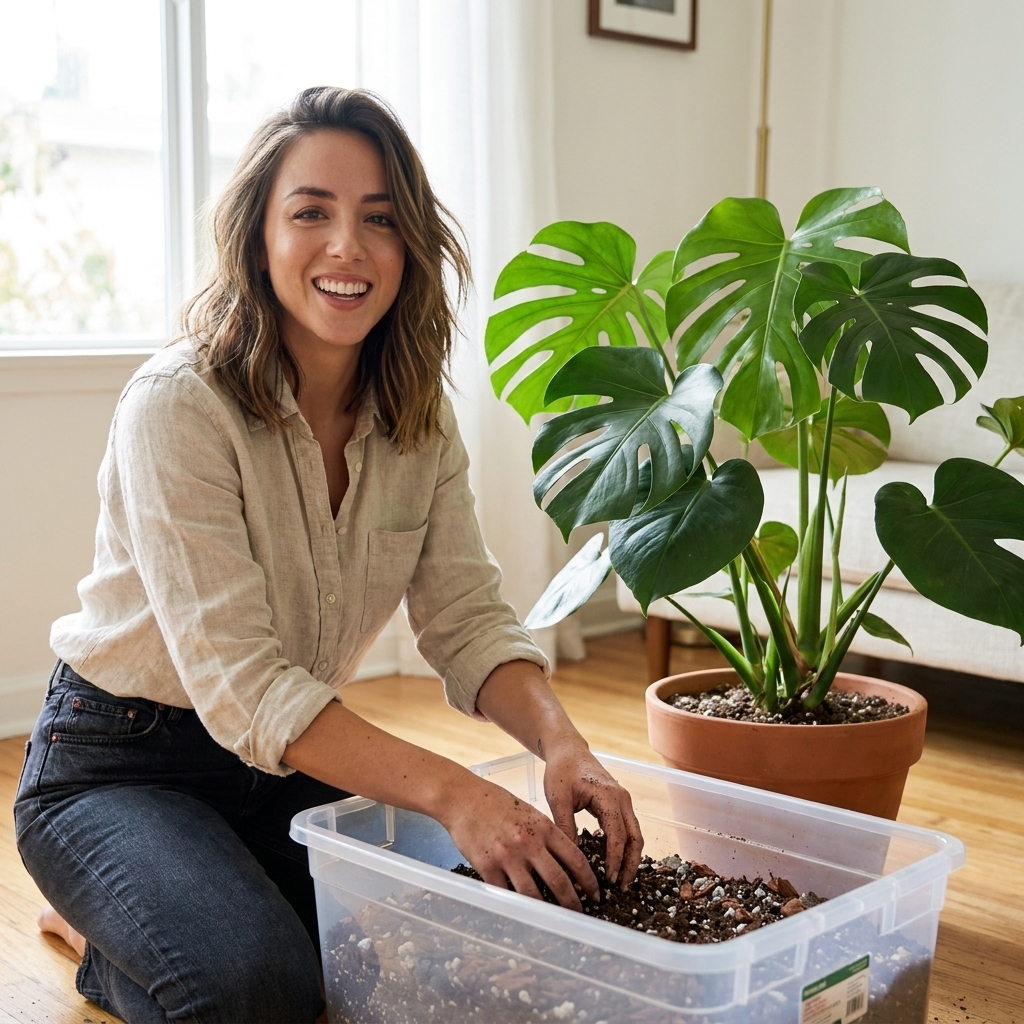
Step 7: Repot in fresh, airier mix
Do not reuse the old soil. It is often holding onto the moisture problem, and it may contain the organisms that took advantage of the soggy conditions.
For many common indoor plants, a simple chunky mix works beautifully:
- 2 parts quality indoor potting mix
- 1 part perlite or pumice
- 1 part orchid bark (or coco chips)
For plants that like more moisture (calatheas, many ferns), keep it less chunky: potting mix plus a smaller amount of perlite. For plants that demand fast drainage (succulents, cacti), use a cactus mix and add extra pumice or perlite.
If your plant truly hates root disturbance, treat this whole process like a delicate operation. Keep the root check brief, minimize rinsing, and trim only what is clearly rotten.

Step 8: Water to settle, then wait
This is the part that surprises people. After repotting a plant with trimmed roots, you do not always need a full drench, but you also do not want big dry pockets of soil around damaged roots.
- In most cases: water enough to evenly moisten the mix and settle it around the roots (often a moderate watering that produces a little drainage).
- Then: pause and let the soil dry to the right level before watering again.
Your goal is to encourage new root growth in a lightly moist, oxygen-rich environment. Constant saturation slows recovery.
Step 9: Aftercare for the next 2 to 4 weeks
- Light: bright, indirect light is ideal.
- Temperature: keep it warm and stable, away from cold drafts.
- Fertilizer: skip it for about a month. Damaged roots are sensitive, and extra salts can stress a plant that is already struggling to regulate water.
- Pruning: If you removed many roots, consider trimming a little foliage so the reduced root system is not trying to support too much top growth.
When it is too far gone
Sometimes the base of the plant is mushy, the roots are mostly gone, and the stem is collapsing at the soil line. That does not always mean it is over.
Use propagation as a rescue plan
If the crown is rotting but you have healthy stems above it, take cuttings.
- Pothos, philodendron, monstera, syngonium: cut below a node and root in water or moist sphagnum.
- Tradescantia: snip and stick directly into slightly moist soil.
- Begonias: take healthy stem sections, root in water or a light mix.
It can feel like starting over, but it is often the fastest way to save the genetics of a plant you love.
Why root rot happens
Overwatering is the headline, but it is usually a combination of factors.
- Low light: in dim conditions, plants use water slowly, so soil stays wet longer.
- Dense or old potting mix: peat-heavy mixes compress over time and lose airflow.
- No drainage or poor drainage: water has nowhere to go.
- Oversized pot: extra soil stays wet even when the root zone does not need it.
- Cold temperatures: evaporation slows and roots metabolize more slowly.
- Watering on a schedule: the calendar does not know what your soil is doing.
How to prevent root rot
Use soak-and-dry
For most tropical houseplants, I recommend watering thoroughly, then letting the soil dry to the right level before watering again.
- Check moisture 2 to 3 inches down with your finger or a wooden chopstick.
- If it comes out damp or with soil stuck to it, wait.
- If it comes out mostly clean and dry, it is watering time.
Match soil to your home
If you live in a low-light apartment, or your plant sits far from a window, you will usually need a faster-draining mix than the one it came in. Nurseries often use mixes that work in greenhouses, not living rooms.
Choose pots that drain
- Drainage hole: non-negotiable for most plants.
- Terracotta: helpful if you tend to overwater because it wicks moisture.
- Plastic: fine, but it holds moisture longer, so be extra mindful.
Empty saucers and cachepots
After watering, let the pot drain completely, then pour out any collected water. Roots should never sit in a puddle.
Refresh chronically wet soil
If a plant is not rotting but dries painfully slowly, you do not have to wait for disaster. Repot into a chunkier mix, even if it is not repot season. Prevention is kinder than surgery.
Common questions
Should I use hydrogen peroxide?
Diluted hydrogen peroxide is sometimes used as a short-term tool because it can reduce microbial load and add a brief oxygen boost. I consider it optional, not essential. The long-term fix is always airflow and better drying cycles. If you choose to try it, use a very mild dilution and do it once, not repeatedly. Repeated use can stress roots.
Can a plant recover after losing most of its roots?
Yes, many can, especially fast growers. The key is to reduce stress: bright indirect light, stable warmth, no fertilizer, and careful watering while new roots form.
Why does my plant look thirsty in wet soil?
Rotten roots cannot absorb water well. The plant is surrounded by moisture but cannot drink it. That is why just watering more makes the situation worse.
Is root rot contagious?
Not in the way pests are, but it is not zero-risk either. Pathogens can spread through reused potting mix, shared runoff water, dirty pots, and unclean tools. With fresh soil, clean containers, and basic tool hygiene, the risk drops dramatically.
A gentle pep talk
If you are feeling guilty because you think you overwatered, I want you to know you are in very good company. I once loved three succulents right into the afterlife in college. Root rot is how many of us finally learn what plants are actually asking for: oxygen around the roots, not just water.
Take it one step at a time. Unpot, assess, trim, repot, and then let the plant do what it does best: try again.