A calm, step-by-step root rot rescue: how to unpot, trim mushy roots, repot in fresh mix, and prevent future rot in any houseplant.
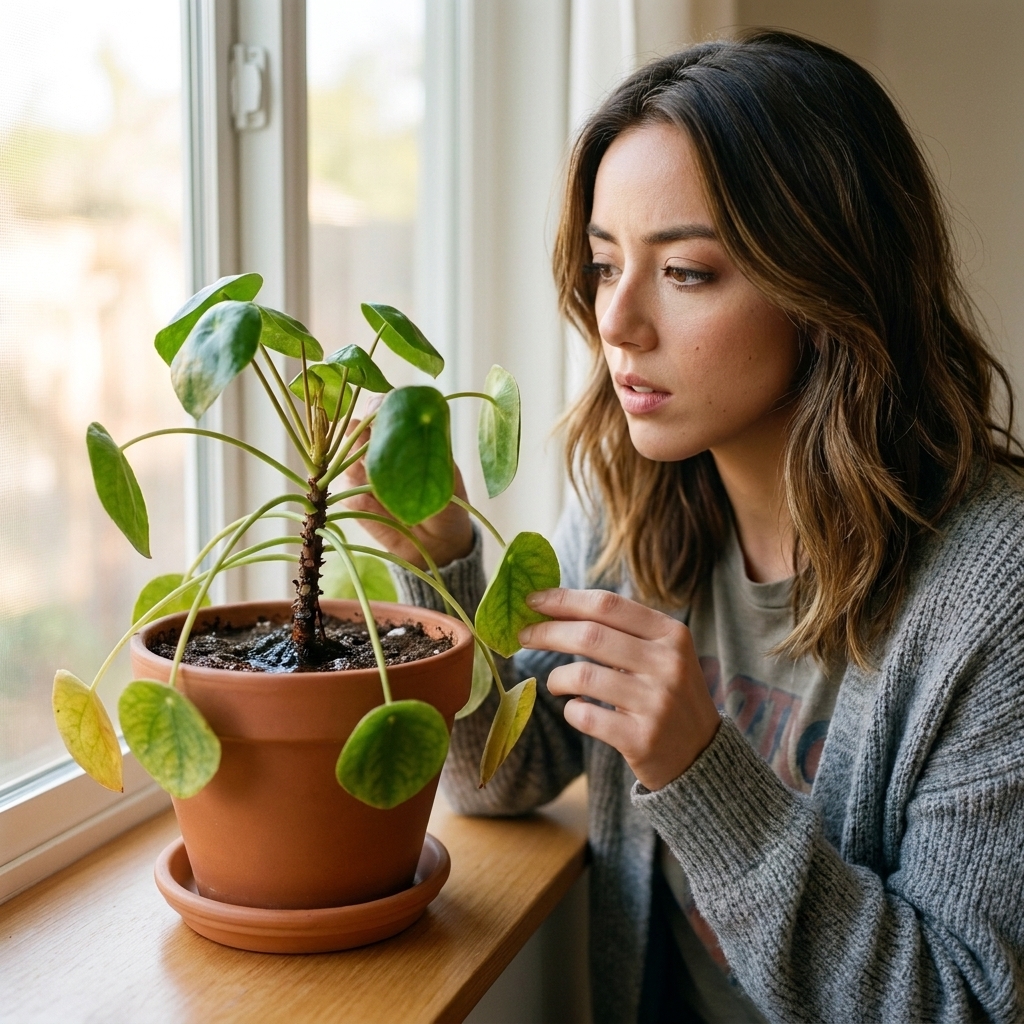
If your houseplant looks like it is actively giving up, take a breath. You do not need a miracle, you need a plan. When a plant is severely declining, the goal is not “perfect care.” The goal is stability and damage control: stop whatever is harming it, remove what is beyond saving, and create conditions where new roots and leaves can regrow.
I have been there. In college, I loved my first succulents to death by watering them like they were thirsty tropicals. The good news is that most plant emergencies follow a few predictable patterns, and once you know what to look for, triage becomes surprisingly straightforward.
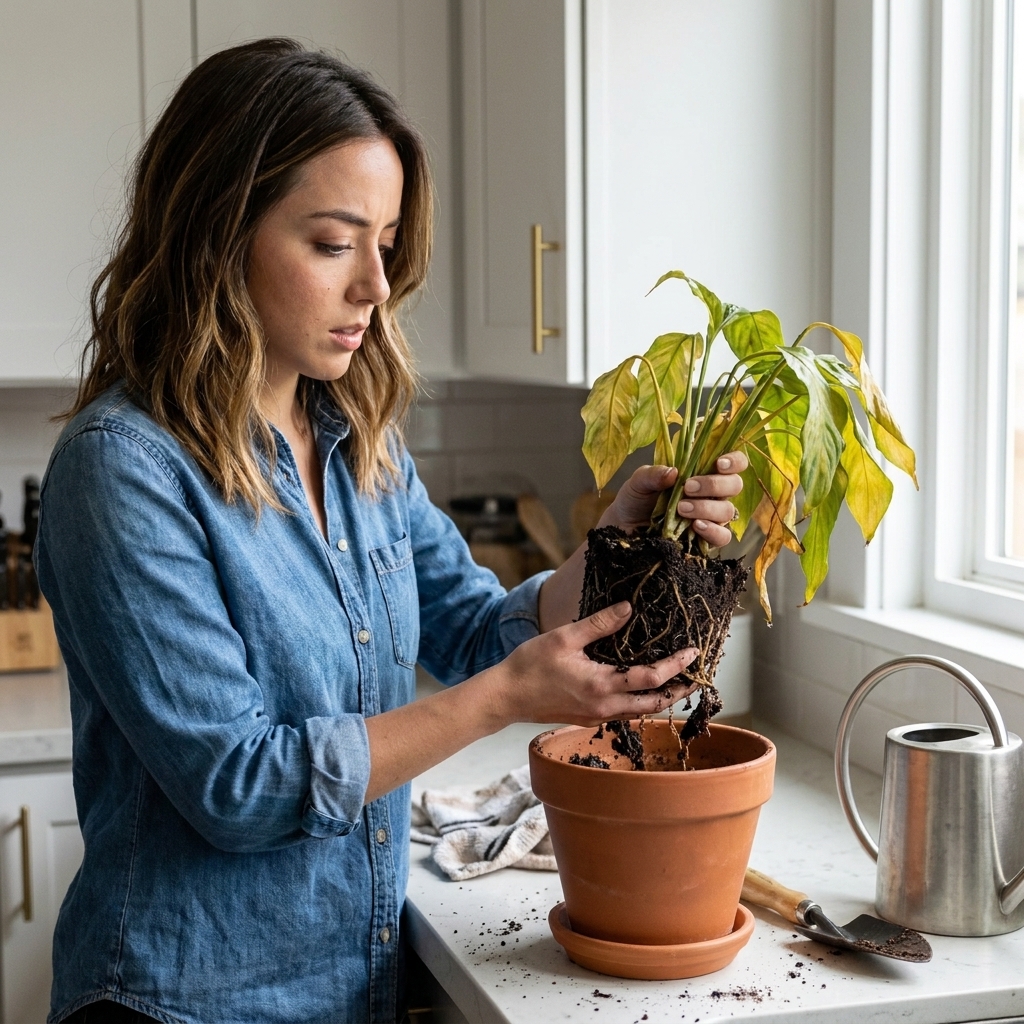
Before you start: your 10-minute rescue kit
You can do triage with basic supplies. Gather these first so you are not juggling a dripping root ball while searching for scissors.
- Clean snips or scissors (wash, then wipe with rubbing alcohol)
- Paper towels or an old towel
- A bowl or tray to catch soil
- Fresh potting mix (or at least something dry and fluffy you trust)
- A pot with drainage (or the current pot plus a plan to clear drainage holes)
- Gloves if you have them
- Optional but helpful: a chopstick for loosening soil, a small fan for airflow, sticky traps if pests are involved
If you suspect pests or disease, disinfect your snips between plants (and even between major cuts) so you do not spread problems.
Step 1: Confirm it is still alive
Severely declining plants can look fully gone when they are not. Check these quick signs before you do anything drastic.
Do the scratch test
On a stem near the base, gently scrape a tiny patch of outer bark or skin with your fingernail.
- Green and moist underneath: there is life left. Proceed with triage.
- Tan, dry, brittle: that stem is dead. Test a lower spot closer to the soil line.
Look for growth points
On many plants (pothos, philodendron, dracaena, ficus), a plant can drop most leaves and still push new growth from nodes or the crown if the roots recover.
Check the soil, not just the leaves
A swampy, sour smell often means the soil has stayed too wet and oxygen-poor for too long, which can lead to root rot. Very dry soil can also become stubborn and repel water, especially in older peat-heavy mixes.
Step 2: Identify the emergency
Most “dying plant” situations come down to one of these. You can absolutely have more than one at once.
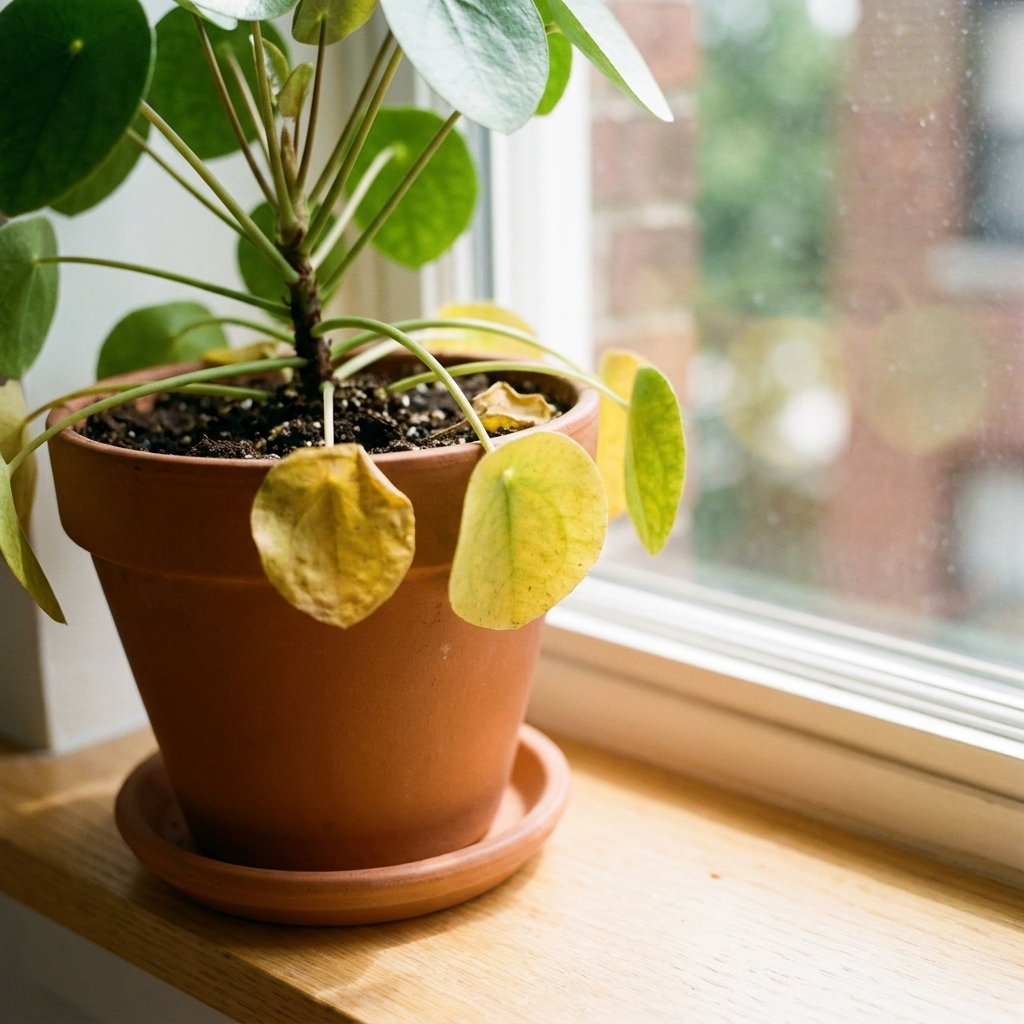
- Overwatering and low oxygen (often leads to root rot): yellowing leaves, soft stems, soil stays wet for days, foul smell, and fungus gnats that often show up in persistently damp mix
- Severe underwatering: drooping, crispy leaves, bone-dry mix, soil pulling from pot edges
- Light shock: sudden leaf drop after moving locations, pale new growth, scorched patches from sunburn
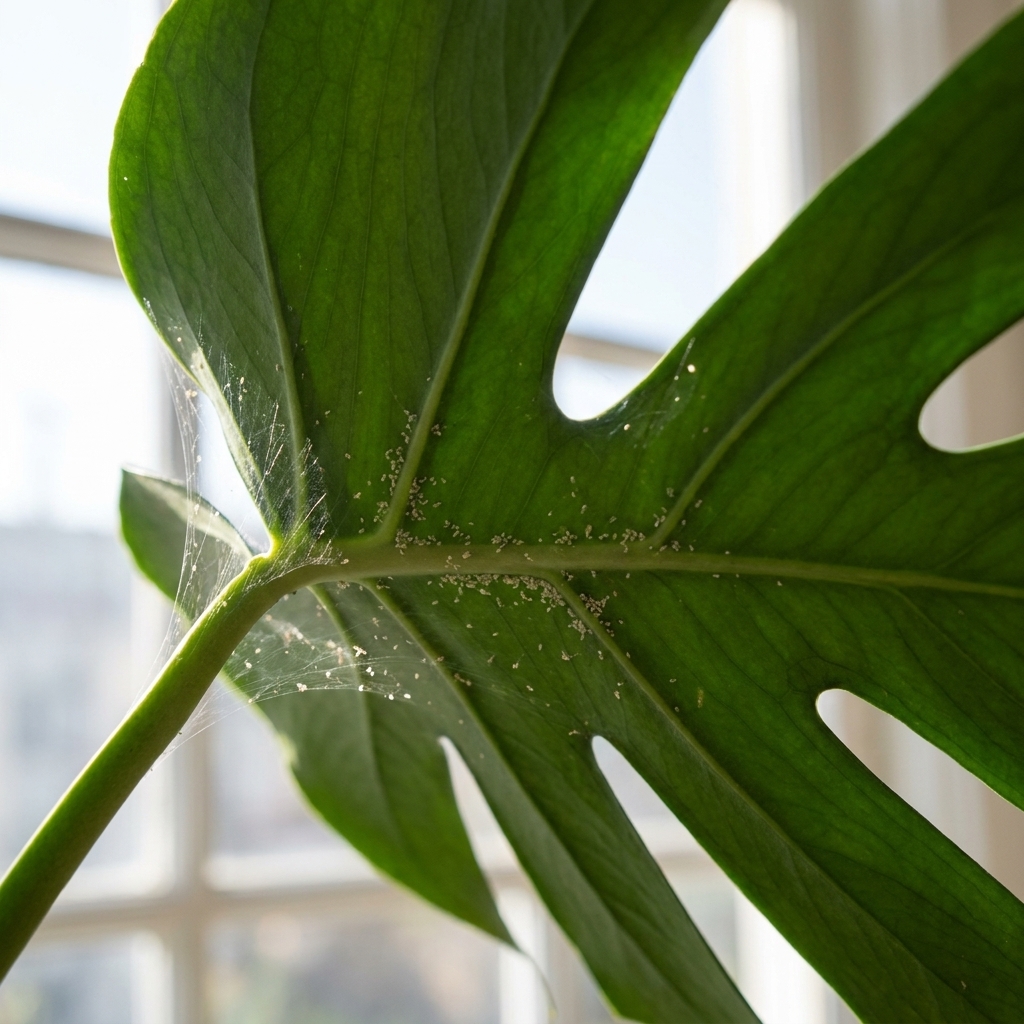
- Pest overload: stippling, webbing, sticky residue, visible insects, distorted new growth
- Temperature or draft injury: blackened tips, sudden collapse after a cold window night or heater blast
Now we triage in the order that saves the most plants: roots first, then stems and leaves, then environment.
Step 3: Unpot and check roots
If your plant is severely declining, do not guess from the top of the plant alone. The roots will tell you the truth.
How to unpot gently
- Lay the pot on its side and slide the root ball out.
- If it will not budge, squeeze the pot gently or run a butter knife around the inside edge.
- Brush away loose soil so you can actually see roots, not just dirt.
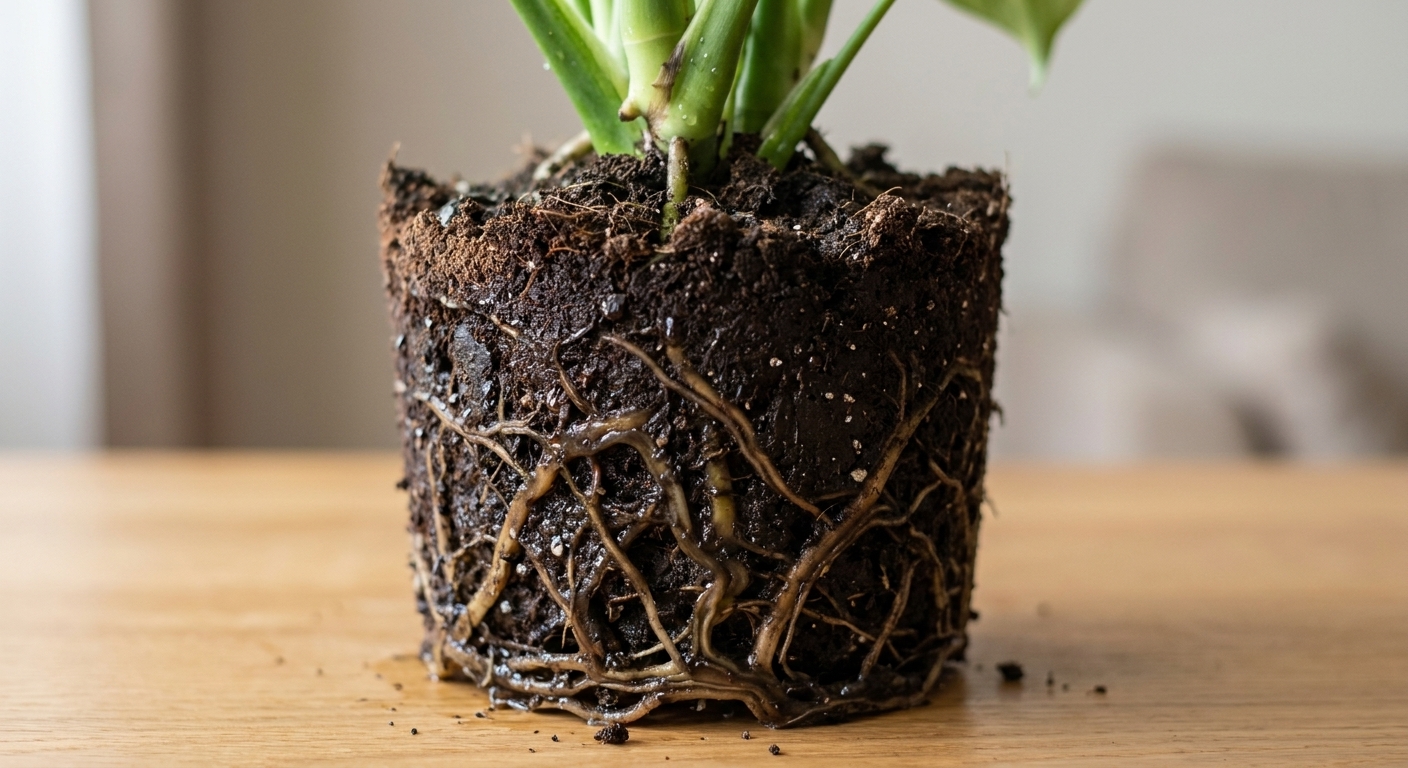
Healthy roots
- Color: usually white, cream, or light tan (varies by species)
- Texture: firm and springy
- Smell: earthy, neutral
Rotten roots
- Color: dark brown or black
- Texture: mushy, slimy, outer layer slips off
- Smell: sour or sewage-like
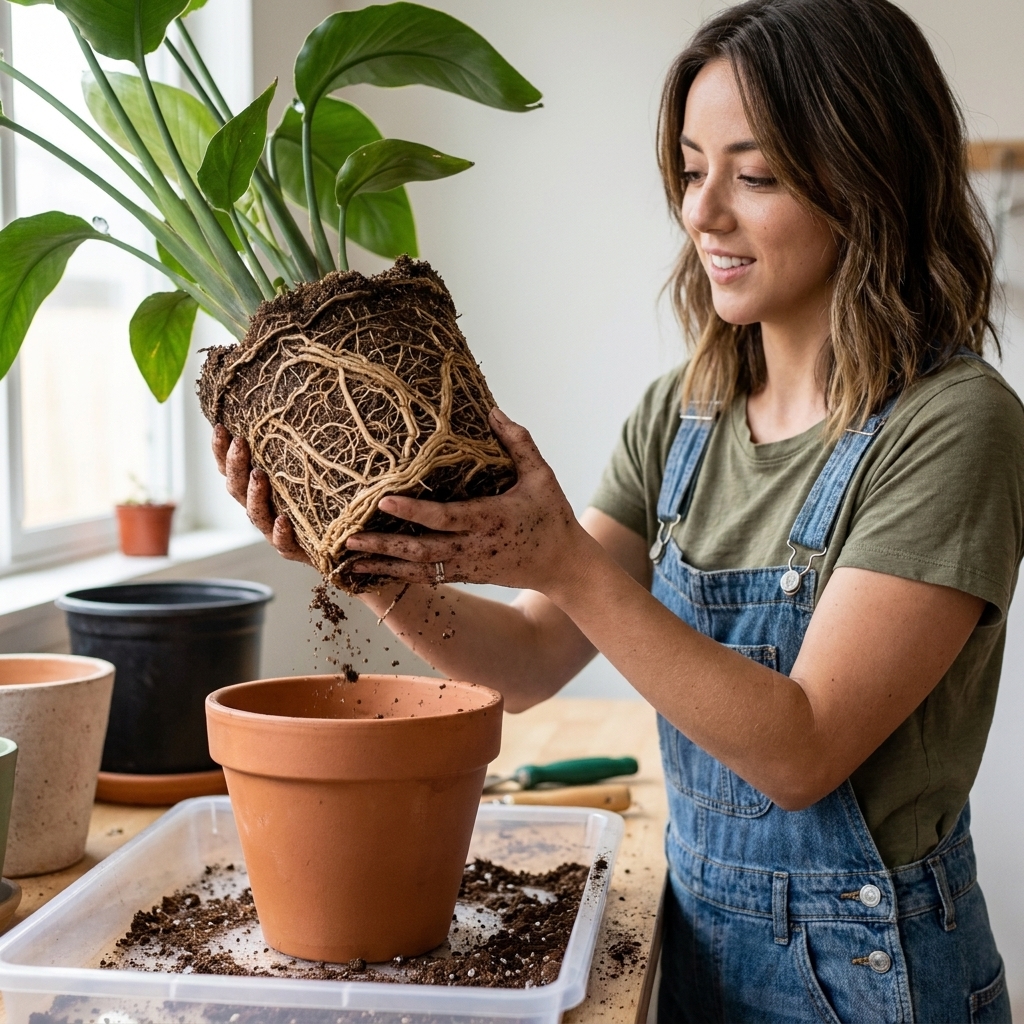
Step 4: Prune the losses
This is the hardest emotional step, but it is often the reason a plant survives. Dead and rotting tissue drains energy and invites more problems.
4A: Root pruning
- With clean snips, cut away all mushy, black, or hollow roots.
- Keep only firm roots, even if that means removing a lot.
- If rot has reached the stem base (crown), cut back to firm tissue.
Important: Do not “treat” rot by watering less while leaving rotten roots in place. Rot spreads because the environment stays wet and oxygen-poor. Removing the damaged roots and refreshing the mix is what stops the cycle.
4B: Leaf and stem pruning
- Remove fully yellow, brown, or crispy leaves. They will not recover.
- Trim soft, collapsing stems back to healthy firm tissue.
- Leave partially green leaves if the plant needs photosynthesis and the leaf is not diseased.
4C: Take cuttings if the base is failing
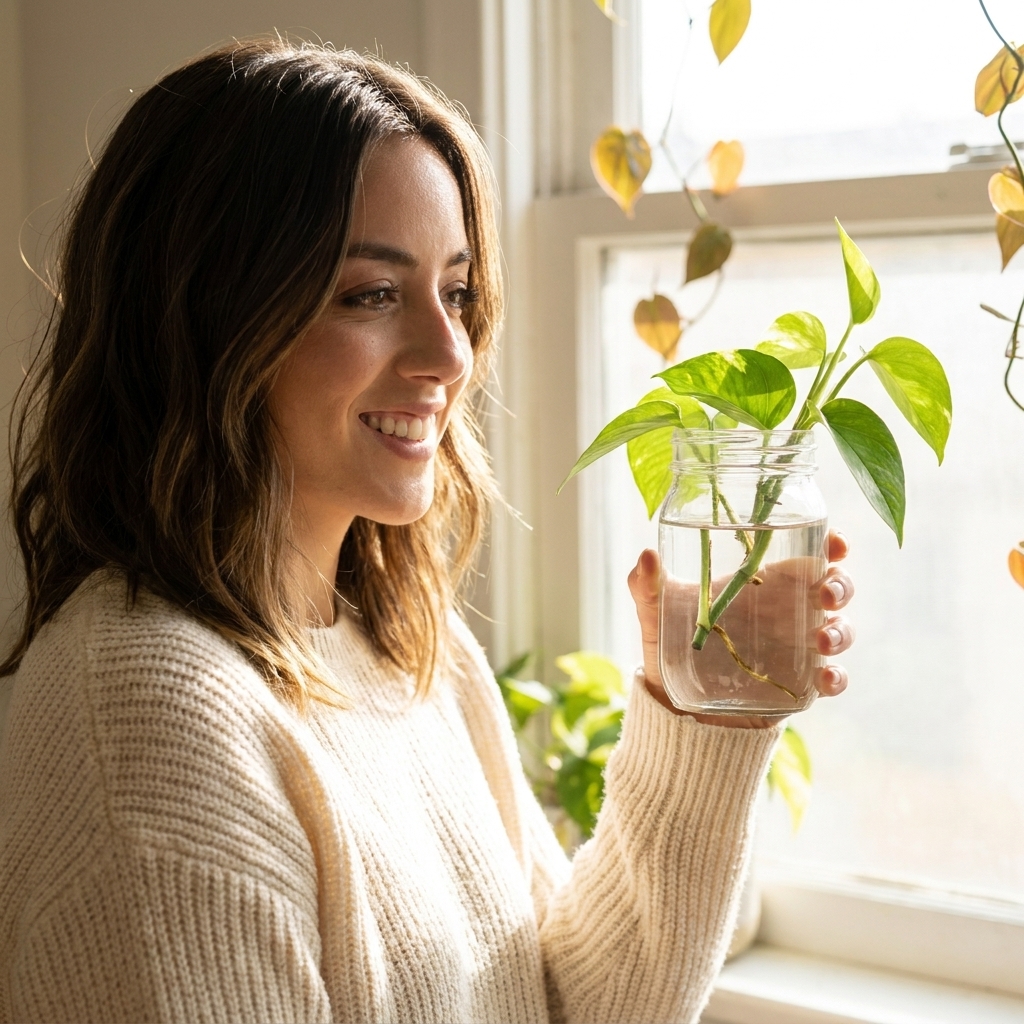
If the base is failing but you have any healthy stem segments, take cuttings now. Think of it as making a safety copy.
- Pothos and philodendron: cut below a node, root in water or damp perlite
- Tradescantia: root easily in water or directly in soil
- Dracaena: can root from cane segments if healthy tissue remains
Step 5: Pick the right fix
Now match your intervention to the problem you saw in the roots and soil.
If you found root rot
- Repot into fresh, airy mix. Use a pot with a drainage hole. If reusing the old pot, wash it thoroughly.
- Go smaller if needed. If you removed lots of roots, a slightly smaller pot helps the mix dry at a safer pace.
- Do not fertilize. Fertilizer on damaged roots can burn and stall recovery.
- Water based on plant type. For most tropical houseplants, a light watering after repotting helps settle the mix, then let the top layer dry before watering again.
Quick exceptions: Many succulents and cacti do better if you let trimmed roots dry and callus for a couple days before watering. Orchids are their own category and should be repotted in orchid bark or an orchid mix, not regular potting soil.
If you found severe underwatering or water-repellent soil
- Rehydrate slowly. Bottom-water, then stop when the top of the mix feels evenly damp and the pot feels heavier. This can take 10 minutes in a small pot or longer in a larger one.
- Check absorption. If water runs straight through and the soil stays dry, the mix may have turned hydrophobic and may need replacing.
- Expect cosmetic damage. Brown, papery, crispy tissue will not turn green again. If leaves are only limp from thirst, they can perk back up once roots rehydrate.
If you found compacted, airless soil
- Upgrade the mix. Aim for fluff and oxygen. Add perlite, orchid bark, or pumice depending on your plant type.
- Make sure water can exit. Clear drainage holes and empty any saucers or cachepots after watering.
If you suspect pests
Stabilize the plant first, then treat consistently. A very weak plant cannot tolerate harsh sprays.
- Isolate the plant away from others.
- Rinse leaves in the shower with lukewarm water if the plant tolerates it.
- Wipe down with diluted castile soap solution or an insecticidal soap suitable for houseplants.
- Repeat every 4 to 7 days, or follow the product label and pest life cycle.
If you see fine webbing and peppery stippling, treat like spider mites. If you see cottony clusters in leaf joints, treat like mealybugs. If you see hard bumps that scrape off, treat like scale.
If pests are heavy (or the mix is crawling with fungus gnat larvae), it is often worth discarding the old soil, washing the pot, and repotting into fresh mix while you continue treatment and quarantine.
Step 6: Repot the right way
Pot choice
- Drainage matters. If your decorative pot has no hole, use it as a cachepot with a nursery pot inside.
- Do not oversize. Too much extra soil stays wet too long, especially after root pruning.
Soil basics
A “rescue mix” should drain well but still hold a little moisture. For many common tropical houseplants, a reliable starting point is:
- 2 parts quality indoor potting mix
- 1 part perlite or pumice
- 1 part orchid bark (optional but helpful for chunky aroid mixes)
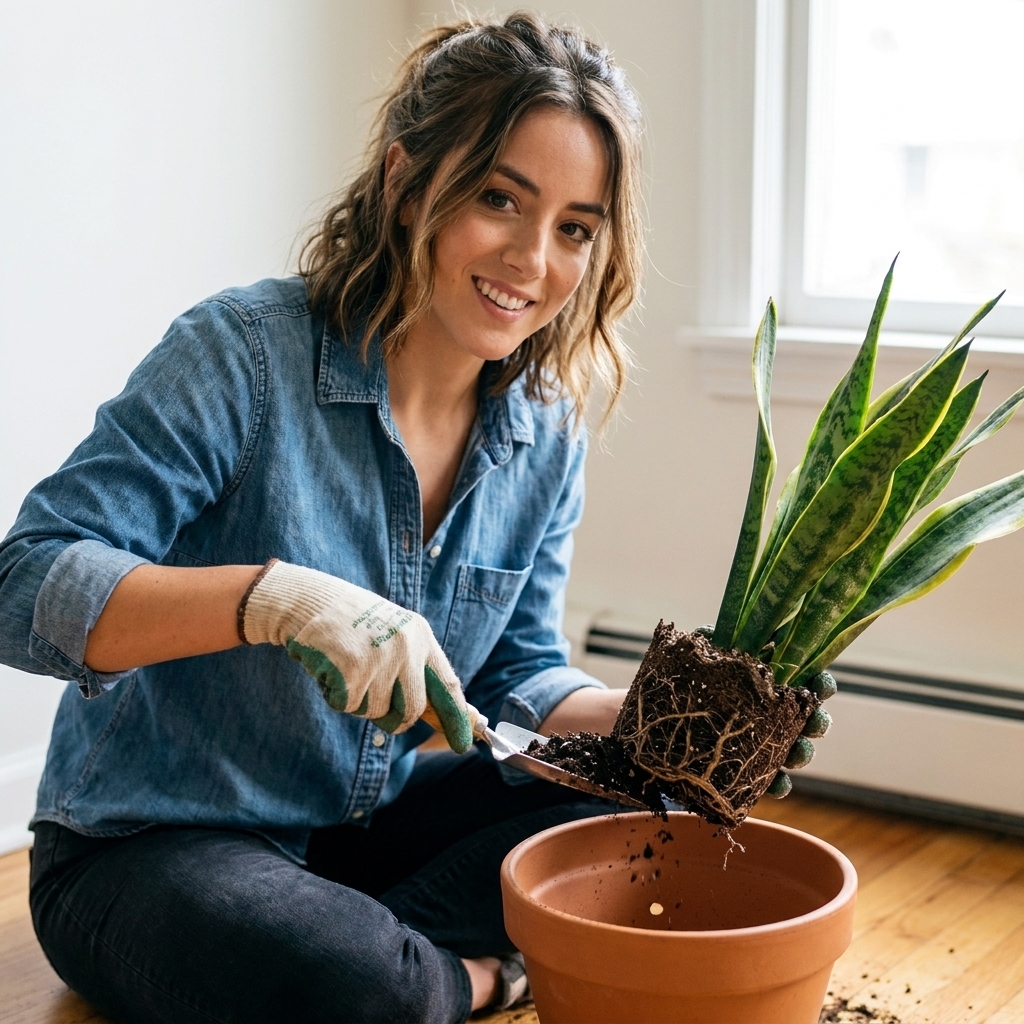
If you are rescuing a snake plant, ZZ plant, or anything with bulbs, tubers, or rhizomes, check that those structures are firm, not soft or smelly, and keep the pot snug. These plants hate sitting in excess wet soil.
Repotting steps
- Add a small layer of mix to the bottom.
- Set the plant at the same depth it was before. Burying stems can invite rot.
- Backfill gently. Do not pack the soil down hard.
- Tap the pot to settle, then water if appropriate for the situation.
Step 7: Stabilize for two weeks
After triage, your plant needs calm, boring conditions. Recovery is not the time for frequent moves or experiments.
Light
- Place the plant in bright indirect light unless it is a true high-light plant.
- Avoid harsh direct sun on a stressed plant. Sunburn piles onto existing damage.
- If light is limited, a small grow light on a timer (10 to 12 hours) can be a game changer.
Water
- Water only when the top layer of soil has dried, or when the pot feels noticeably lighter.
- Empty saucers and cachepots so roots are not left sitting in runoff.
Humidity and airflow
- Moderate humidity helps leaf stress, but stagnant air encourages fungus and rot.
- If you bag a plant for humidity, vent daily and watch for mold.
Temperature
- Keep away from cold window glass at night and away from heating vents.
- Most tropical houseplants prefer consistent indoor temps.
Step 8: What to expect
Good signs in 7 to 14 days
- Drooping improves after correct watering practices
- No new yellowing spreading rapidly
- Soil dries at a normal pace (not staying wet forever)
- New buds, nodes swelling, or a tiny new leaf spear
Normal but annoying signs
- Old damaged leaves continue to drop
- Growth pauses while roots rebuild
- Leaves look imperfect even after the plant is “saved”
Do not do these during triage
- Do not fertilize. Wait until you see new growth and the plant is stable for a few weeks.
- Do not keep checking the roots. Disturbing roots repeatedly slows recovery.
- Do not water on a schedule. Water based on soil moisture and pot weight.
- Do not move it daily. Plants need consistent light to adjust.
Fast triage by symptom
If you are in panic mode, use this as a quick starting point, then come back and follow the full steps above.
- Plant drooping and soil wet: suspect a too-wet, low-oxygen root zone. Unpot, inspect roots, prune rot, and repot into airy mix.
- Plant drooping and soil bone dry: rehydrate slowly, then assess whether the soil is repelling water.
- Leaves yellowing quickly: check roots. Yellowing is often a watering issue, not a “needs fertilizer” issue.
- Black, mushy stem near soil: cut back to firm tissue, propagate healthy tops if possible.
- Brown crispy edges: often underwatering, low humidity, or salt buildup. Stabilize watering first.
- Sticky leaves or webbing: isolate and treat pests on a repeat schedule.
FAQ
Should I cut off all the yellow leaves?
If a leaf is fully yellow, it is done and can be removed. If it is partly green, I usually leave it during recovery unless it is clearly spreading disease or pests. Even an ugly leaf can help power root regrowth.
How long does revival take?
For most houseplants, you will see “stability” in 1 to 2 weeks and new growth in 3 to 8 weeks, depending on season, light, and how much root mass was lost.
Do I need cinnamon or hydrogen peroxide for root rot?
In most home situations, the biggest wins are mechanical and environmental: remove rotten roots, replace soggy soil, use a pot with drainage, and adjust watering. Add-ons are optional and can sometimes irritate roots if overused.
My plant has no roots left. Is it hopeless?
Not always. Many vining plants and some cane plants can regrow roots from nodes or healthy stem tissue. If the base is gone, switch strategies: take cuttings from any healthy sections and start fresh.
A gentle reminder
A struggling plant is not a personal failure. It is information. Follow the steps, focus on roots and stability, and give it time. If it does not make it, you still learned what your next plant will need. That is how every confident plant parent is made.