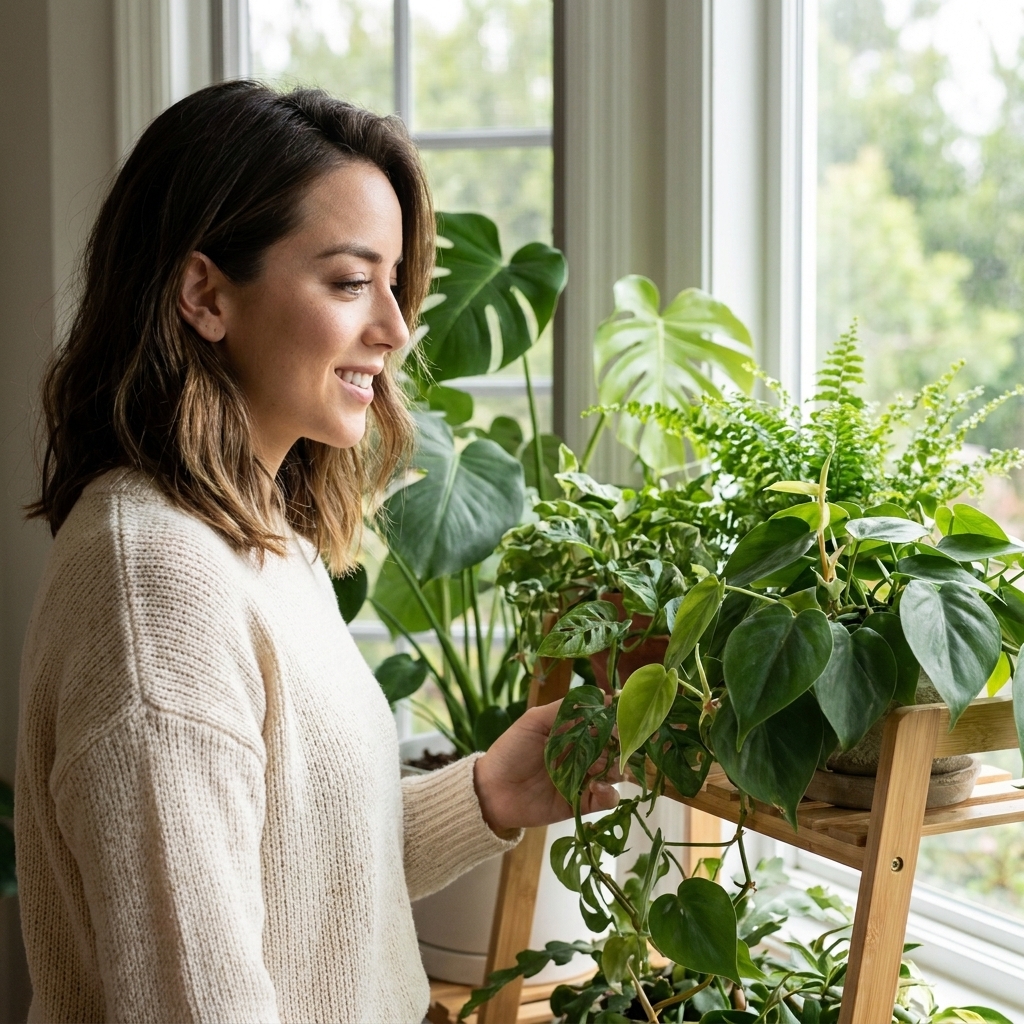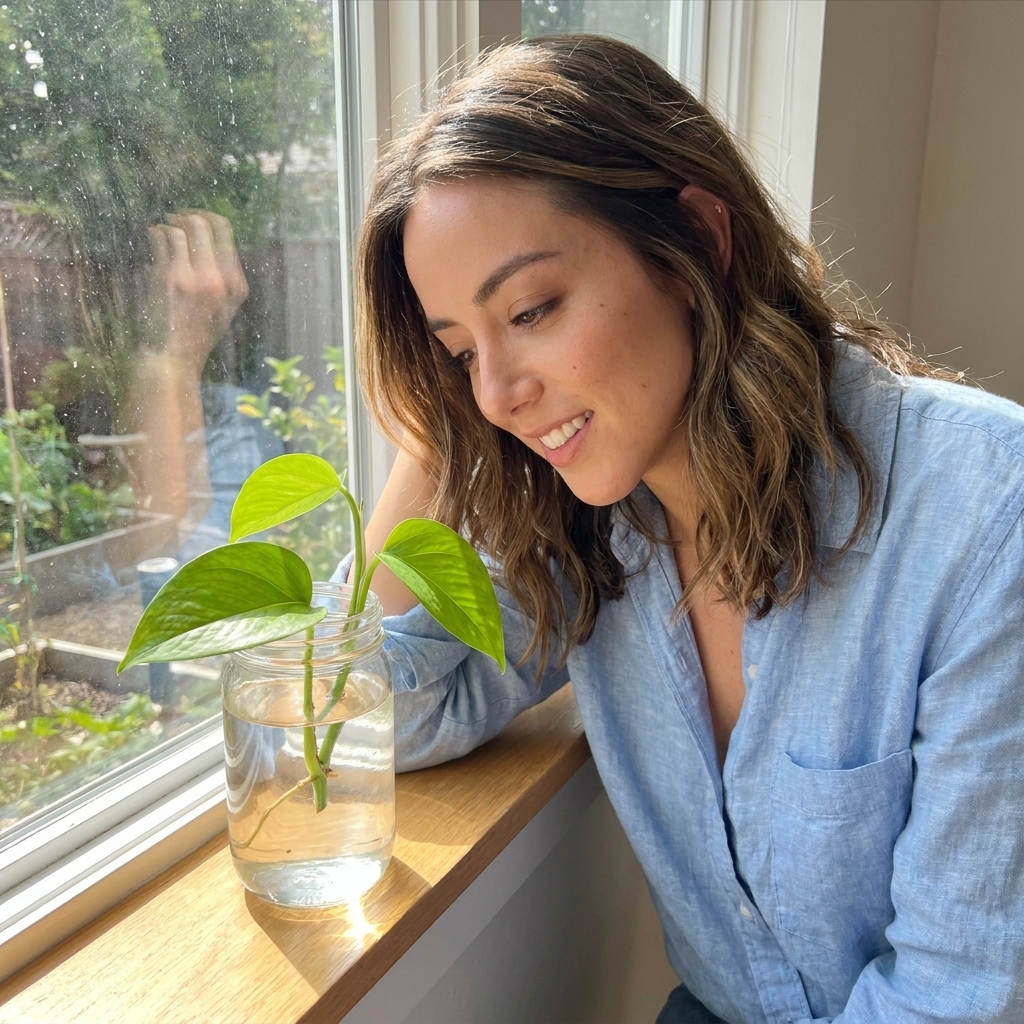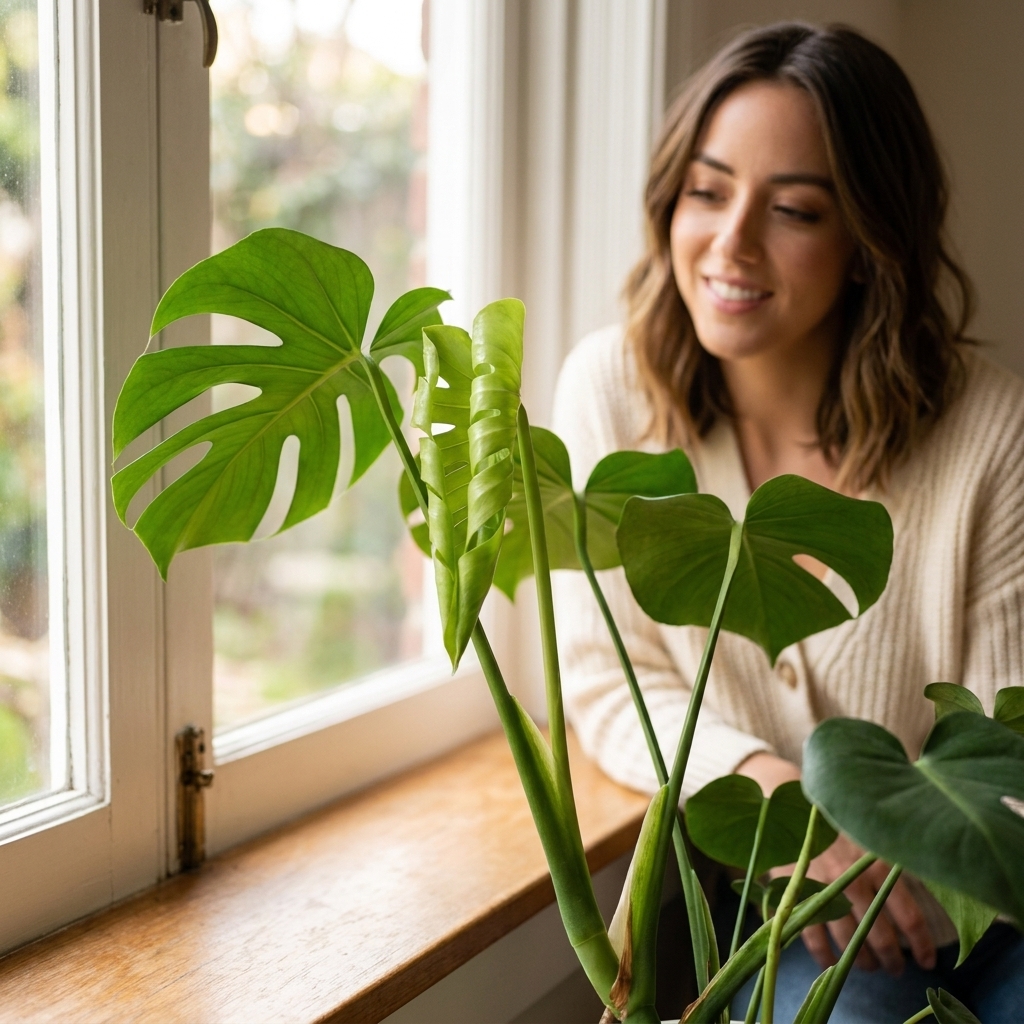
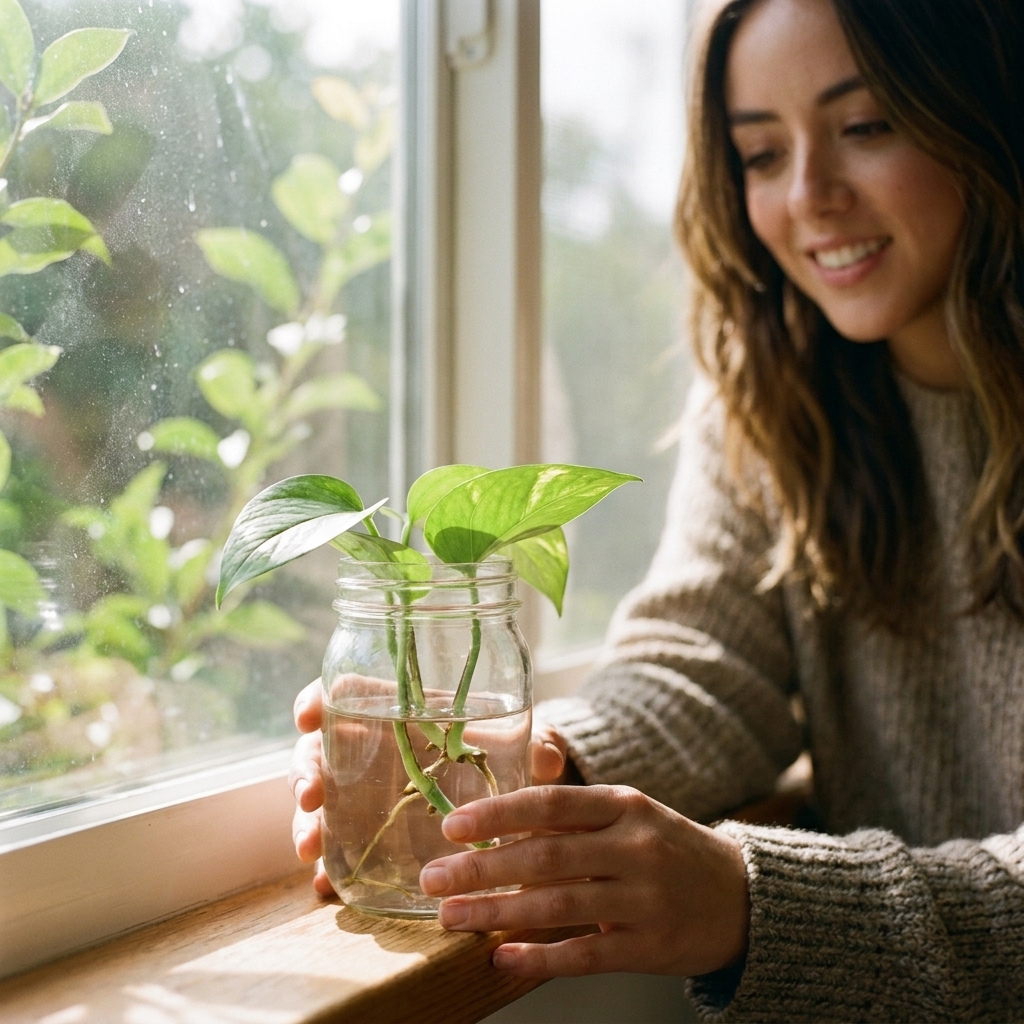
A plant-parent friendly breakdown of rooting cuttings in water vs. soil, including success rates, best plants for each method, and step-by-step instructions.
If you have a houseplant that looks more like a single long vine than the lush, leafy friend you imagined, you are not alone. I used to “love” plants into legginess by being inconsistent with light and then trying to fix it with extra water. The good news is that you can usually train a plant back into a fuller shape, and pruning is one of the fastest, kindest ways to do it.
This guide will show you exactly where to pinch or cut, when to do it, and how to use those cuts to encourage lateral branching so your plant fills out instead of stretching.
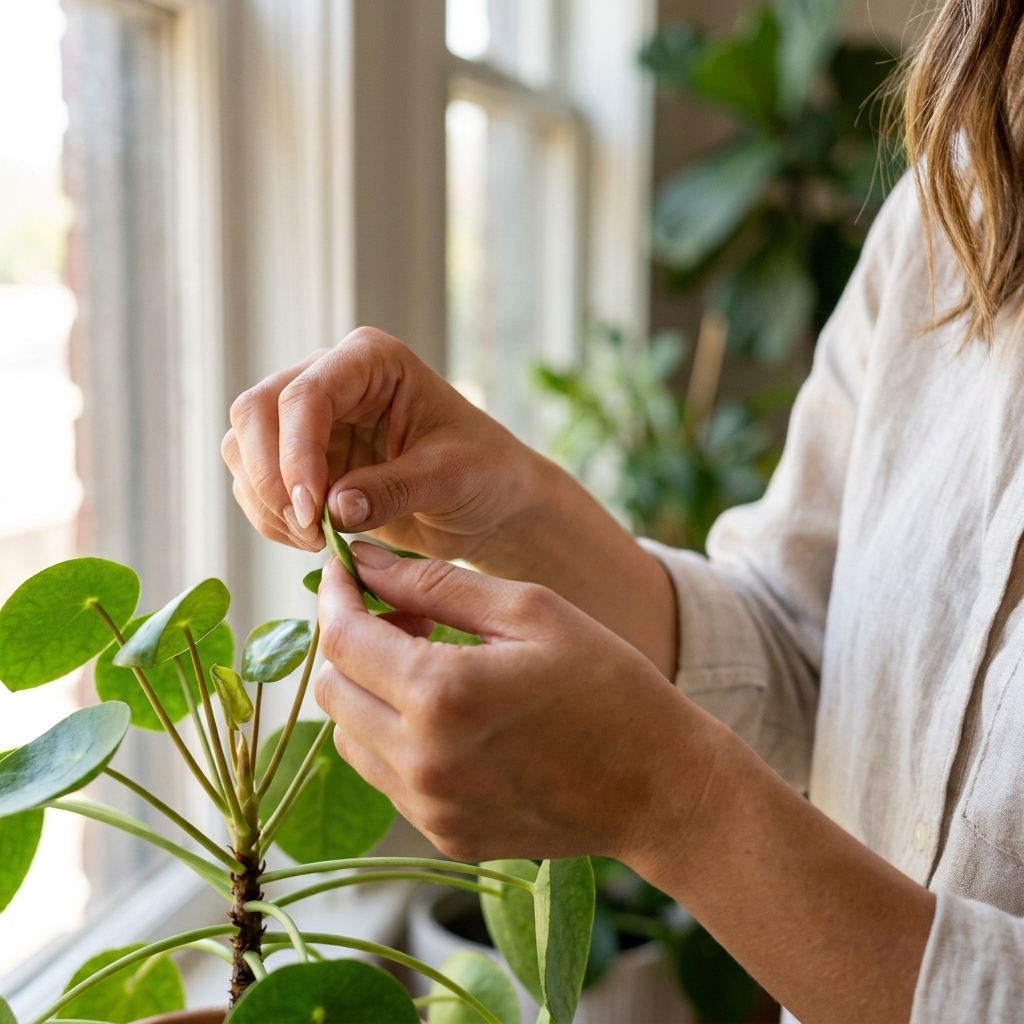
Pinching vs pruning
Both pinching and pruning redirect your plant’s energy. Most common houseplants prefer to grow upward or outward from the very tip of a stem, called the apical growing point. When that tip is removed, the plant is encouraged to activate dormant buds along the stem, usually at nodes.
Pinching
- Best for: soft, flexible stems and new growth
- Tool: your fingers or small snips
- Goal: remove just the tender tip to encourage branching without taking much length
Pruning
- Best for: longer, leggier stems, woody stems, or when you need a shape reset
- Tool: clean pruning shears or scissors
- Goal: remove a section of stem to encourage new growth lower down and improve overall structure
If your plant is only slightly leggy, pinching can be enough. If it is bare in the middle or top heavy, pruning is usually the better choice.
Find the node first
A node is the point on a stem where leaves, aerial roots, or buds form. On most houseplants, nodes look like:
- a visible “joint” or bump on the stem
- a pair of leaves opposite each other (common on many upright plants)
- a leaf scar or ring on thicker stems
- a small nub of an aerial root (common on pothos, philodendron, monstera)
Why nodes matter: new growth typically emerges from nodes below your cut. That is the growth potential you are trying to wake up, so placement matters.
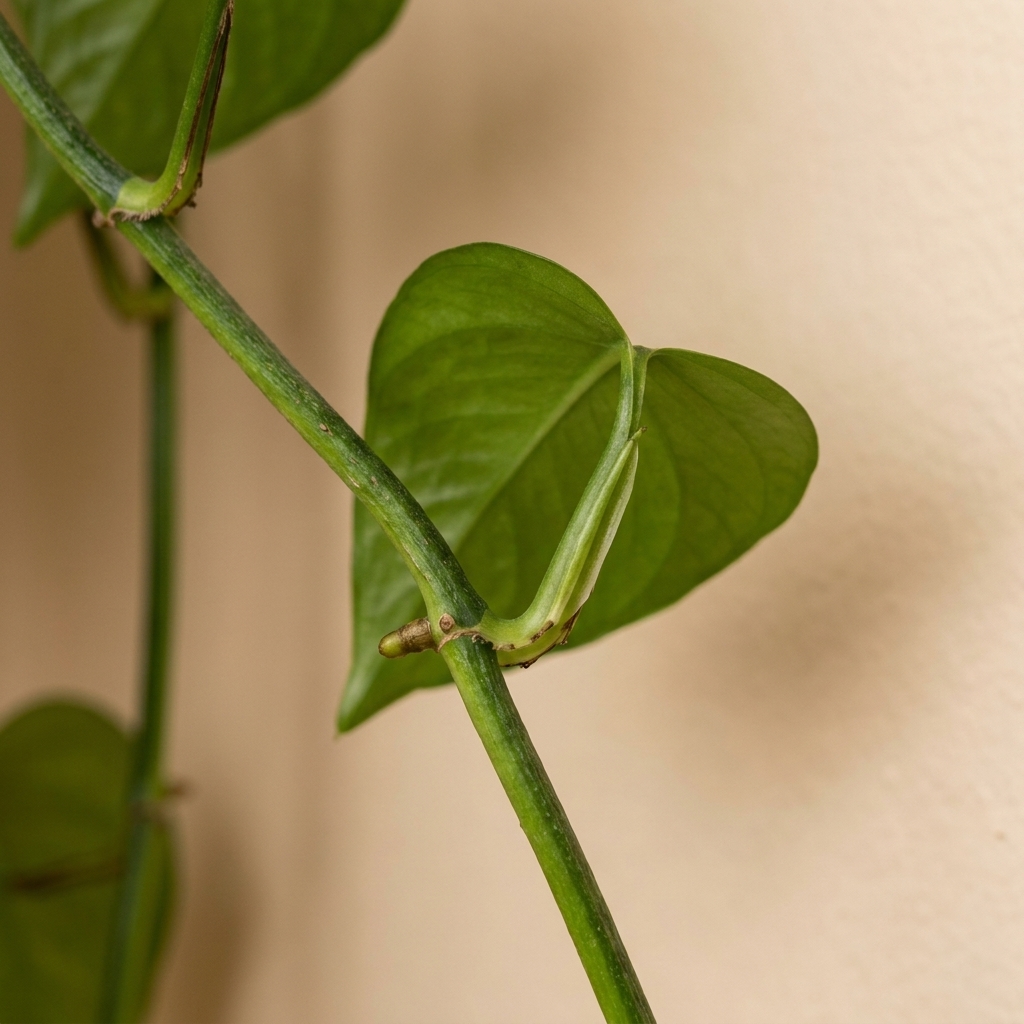
Where to cut for fullness
For most common indoor plants, aim to cut:
- Just above a node, leaving the node on the plant.
- With a small margin above the node so you do not nick it.
In real life, that “small margin” depends on stem thickness. On thin, delicate stems, a few millimeters is plenty. On thicker or woodier stems, you can leave a bit more (up to about 1 cm) to reduce dieback. If you cut too far above a node, the leftover stub can dry back and look messy. If you cut into the node, you can damage the exact tissue you need for regrowth.
What “just above a node” looks like
- On vining plants: cut above a node on the main vine where you want it to branch.
- On upright, cane-type plants: cut above a node lower on the stem to encourage growth from that area.
- On bushy plants with multiple stems: cut individual stems above nodes to balance the shape.
When to prune
Pruning is a form of stress, even when it is helpful stress. Your plant recovers best when it has the energy to regrow.
Best time
- Spring through early summer: most houseplants are naturally in growth mode and respond quickly.
Still possible
- Late summer to early fall: light pruning and pinching is usually fine if the plant is actively growing.
Try to avoid
- Mid winter: slower growth means slower recovery, especially in low light apartments.
- Right after a repot: give it 2 to 4 weeks to settle before major pruning.
- During active pest outbreaks: handle pests first so the plant is not fighting two battles at once.
Exception: if you have rotting stems or a plant that is collapsing, prune immediately to remove unhealthy tissue. Health comes before aesthetics.
Tools and prep
You do not need fancy equipment, but you do need clean tools. Dull or dirty blades can crush stems or spread bacteria and fungus.
What to use
- Small scissors or snips: great for pothos, tradescantia, peperomia, pilea
- Hand pruners: better for thicker stems like rubber plants or dracaena
- Rubbing alcohol (70%): for quick blade sanitizing
Quick sanitation routine
- wipe blades with rubbing alcohol before you start
- if the plant has any suspicious spots, wipe again between cuts
- let blades air dry for a few seconds
If you are pruning a plant that oozes sap (like ficus), keep a paper towel handy and avoid getting sap in eyes or mouth. Blot cuts, and be mindful that sap can stain fabric. Wash your hands after.
Also worth knowing if you have pets or toddlers: many aroids (pothos, philodendron, monstera) are toxic if chewed because of calcium oxalate crystals. Keep trimmings out of reach.
Step-by-step pruning
1) Pick the finished shape
Look at your plant from a few angles. Ask yourself:
- Where do I want it to branch?
- Where is it bare?
- Is it leaning toward light?
If you can, rotate the pot and view it at eye level. This helps you prune for balance, not just length.
2) Choose cut points at nodes
Choose nodes that sit below the bare section. The whole point is to encourage growth where you are missing leaves.
3) Do not overdo it
A common starting point is removing about 20 to 30% of the plant at once. Many healthy, fast growers can handle more, and some sensitive or stressed plants should get less. When in doubt, take a little, wait a couple of weeks, then take more if you need to.
4) Make one clean cut
Cut just above the node in a single motion. Avoid sawing back and forth, which can shred tissue.
5) Use the cuttings
Most legginess fixes create perfect propagation material. Root your cuttings and tuck them back into the pot later for instant fullness. For thicker or sap-heavy cuttings, letting the cut end dry for 30 to 60 minutes before water propagation can help reduce slime and rot, but it is optional.
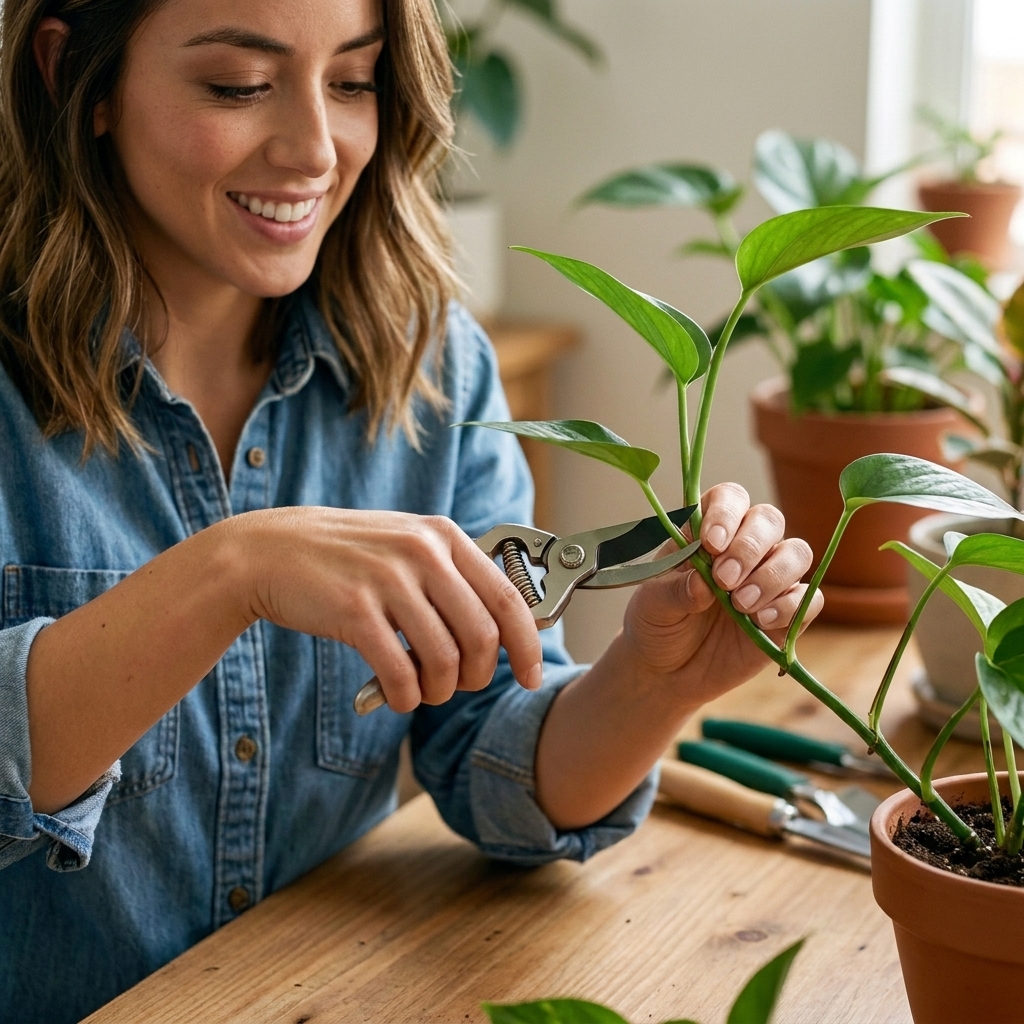
How to pinch
Pinching is basically micro-pruning. You remove the soft tip where the newest leaves are forming.
How to pinch
- locate the top of a stem where new growth is emerging
- hold the stem steady with one hand
- use your fingernails or snips to remove the tiny tip just above a node
Pinching is perfect for keeping plants compact, especially if they are in bright windows and want to take over your life.
How often can you pinch?
In active growth, you can pinch every couple of weeks. If growth slows, pause. A good rule is to let each stem produce a bit of new growth before you pinch again.
Plant-by-plant tips
Pothos and heartleaf philodendron
- Where to cut: just above a node on the vine
- How to get bushy: prune multiple vines at staggered lengths, then propagate the cuttings and plant them back into the pot
- Extra note: if leaves are small and spaced far apart, increase light first. Pruning helps, but light often solves the root cause.
Tradescantia (wandering spiderwort, inch plant)
- Where to cut: anywhere above a node, it regrows fast
- How to get bushy: pinch often, and keep re-rooting cuttings in the same pot
- Extra note: legginess is usually a light issue. Move it closer to a bright window.
Peperomia
- Where to cut: pinch the growing tips to encourage branching
- How to get bushy: regular pinching produces a dense mound over time
- Extra note: avoid overwatering after pruning. Peperomia are semi-succulent and prefer to dry a bit.
Rubber plant (Ficus elastica)
- Where to cut: above a node on the main stem or on side branches
- How to get bushy: top the main stem to encourage side shoots, then prune new growth to shape
- Extra note: sap is normal. Blot and keep away from pets.
Monstera deliciosa
- Where to cut: above a node on the mother plant to encourage a new growth point from below that cut, or below a node if you are taking a cutting to root
- How to look fuller: monstera do not “bush” like pothos. Fullness usually comes from multiple plants in one pot, plus good light and a support pole.
Aglaonema and other clumping or cane-forming plants
Some plants grow as clumps or from thicker canes rather than branching neatly along a vine. Pruning can tidy them, but it will not always create that classic “branch at every node” effect.
- What helps more: brighter indirect light, patience, and letting the plant produce new basal shoots over time
Dracaena and dieffenbachia (cane plants)
These are the ones that make people panic, because they can look like bare sticks after a cut.
- What to expect: they often resprout from one or more points below the cut, but it can take longer than vines, especially in average indoor light
- Tip: do not keep cutting to “check” progress. Give it steady light and time.
Aftercare
Light
After pruning, give your plant bright, indirect light if possible. If you prune in low light, the new growth is more likely to come in stretched again.
Water
Pruning reduces leaf mass, which reduces how fast the plant drinks. Water normally, but check soil moisture more carefully so you do not accidentally overwater during recovery.
Fertilizer
If it is growing season, a gentle houseplant fertilizer at the normal rate can support regrowth. If the plant is stressed or it is winter, skip it. New growth should be driven by good light first.
Rotate for even growth
Turn the pot a quarter turn every week or two. This helps prevent the “one-sided bushy, one-sided bald” situation.
If it does not branch
Sometimes you make a perfect cut and the plant still takes its sweet time. Common reasons include:
- Not enough light: the plant is conserving energy instead of investing in new shoots.
- Timing: it is semi-dormant (often winter), so response is slow.
- Cut placement: you cut above a node that is old, damaged, or already “spent,” so the next viable node lower down takes over.
- Plant personality: some species tend to produce a new leader rather than multiple branches.
Usually the fix is boring but effective: better light, consistent care, and patience. If nothing happens after several weeks in good conditions, you can try a second, slightly lower cut above a healthier node.
Common mistakes
Cutting without fixing the cause
The most common cause of legginess is insufficient light. If you prune but keep the plant in the same dark corner, it will regrow leggy again. Move it closer to a window or add a grow light.
Pruning a struggling plant too hard
If your plant is already stressed from overwatering, pests, or recent repotting, go slowly. Take a little, wait, observe, then take more later.
Leaving long stubs
Stubs can brown and look untidy. Aim for a small margin above the node, not inches of bare stem.
Not using the cuttings
If your goal is a fuller pot, propagation is your best friend. Rooting a few cuttings and planting them back is how you turn “leggy” into “lush” without waiting a year.
Quick FAQ
Will pruning make my plant grow faster?
It usually makes the plant grow more branches, not necessarily faster overall. The big win is a fuller silhouette because growth is distributed across multiple points.
How long until I see new growth?
In bright conditions during active growth, you may see swelling buds within 1 to 3 weeks and new shoots soon after. In lower light or cooler temperatures, it can take longer.
Should I prune above or below a node for propagation?
For most vining houseplants, take your cutting below a node so the cutting includes the node. That node is where roots are most likely to form. On the mother plant, make your cut above a node to keep the node on the plant for regrowth.
Can I prune and repot on the same day?
You can, but I rarely recommend it unless you are doing a rescue. Each is stressful. If the plant is healthy, repot first and prune after it settles, or prune first and repot a few weeks later.
Before you snip
If you are nervous, start with one cut on one stem. Watch what happens. Plants are incredibly responsive teachers, and pruning is one of the best ways to learn their growth patterns in real time.
And if you do cut “too much” once, I promise you are in good company. My first big haircut on a pothos looked like a green crime scene. Six weeks later, it was the fullest it had ever been. With the right node and a little patience, your plant will very likely surprise you in the best way.