A quick, practical pothos troubleshooting guide: the real causes of yellow leaves and the simplest fixes for Golden, Marble Queen, and Neon pothos.
If you have a pothos and a glass of water, you are already halfway to a brand-new plant. Pothos is one of my favorite confidence-builders because it roots quickly, forgives small mistakes, and gives you clear visual progress. If you have ever “loved a plant to death” (hi, it me in college), water propagation is a gentle way to learn what healthy roots actually look like.
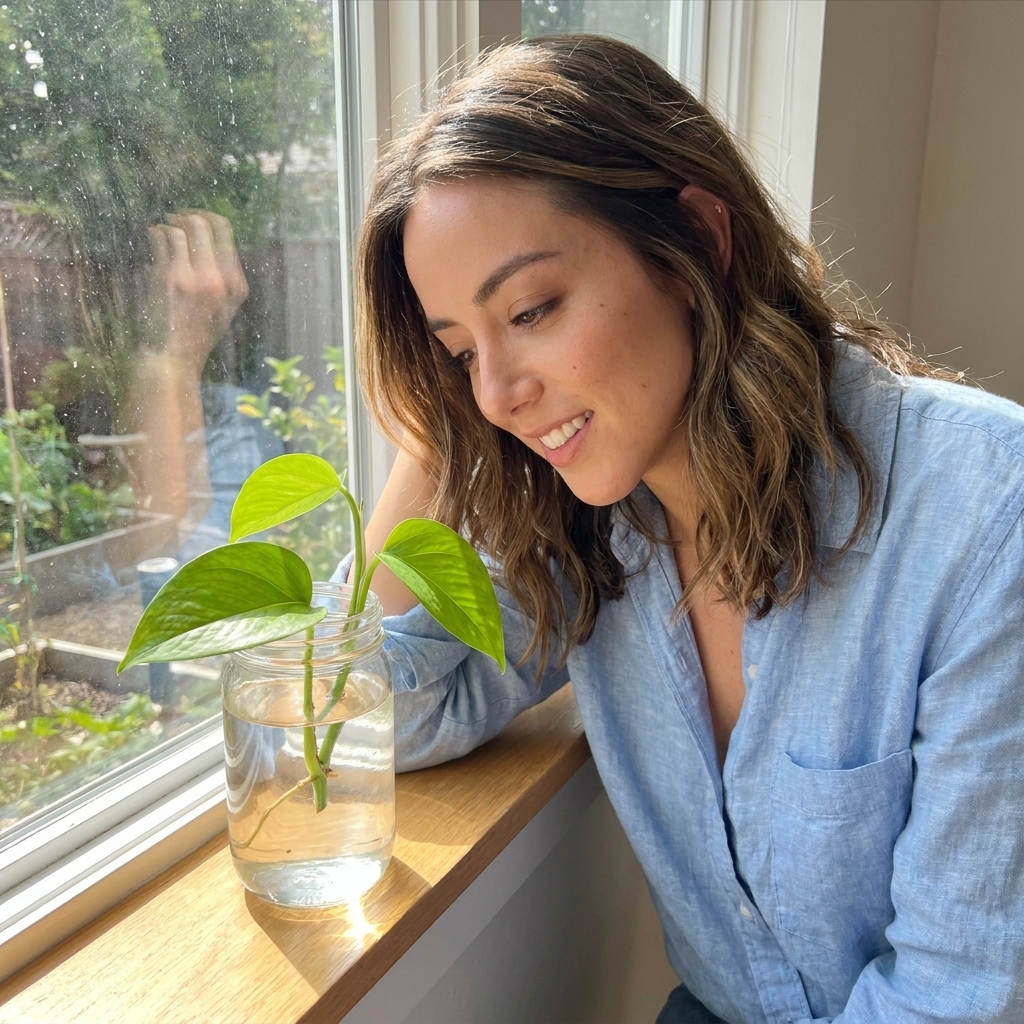
Below is my exact process for taking stem cuttings, rooting them in water, and transplanting them into soil with the least amount of drama for the plant.
What you will need
- A healthy pothos vine (Most houseplant “pothos” are Epipremnum aureum cultivars like Golden, Marble Queen, Neon, Jade, and Cebu Blue. Scindapsus, often sold as “satin pothos,” propagates similarly, but it can root and grow at a different pace.)
- Clean scissors or pruning snips
- A clear jar or glass (clear makes it easier to monitor roots and water clarity)
- Room-temperature water (filtered is nice, not required)
- Optional: rubbing alcohol to wipe blades, small nursery pot with drainage, well-draining potting mix, perlite or orchid bark
My quick note on water: If your tap water is heavily chlorinated and your cuttings stall, letting water sit out overnight can help dissipate chlorine (but it does not remove chloramine, which many cities use). If you suspect chloramine, filtered water is the simplest fix. Pothos is tough, but roots can be picky in the first couple weeks.
Quick safety note: Pothos sap can irritate skin for some people, and the plant is toxic if chewed. Wash up after trimming, and keep cuttings away from pets and curious kids.
Step 1: Pick a good stem
Choose a vine that looks actively growing: firm stem, healthy leaves, no mushy spots, no obvious pest damage. You can propagate slightly leggy vines too, but skip any section that is yellowing from the base up or feels soft.
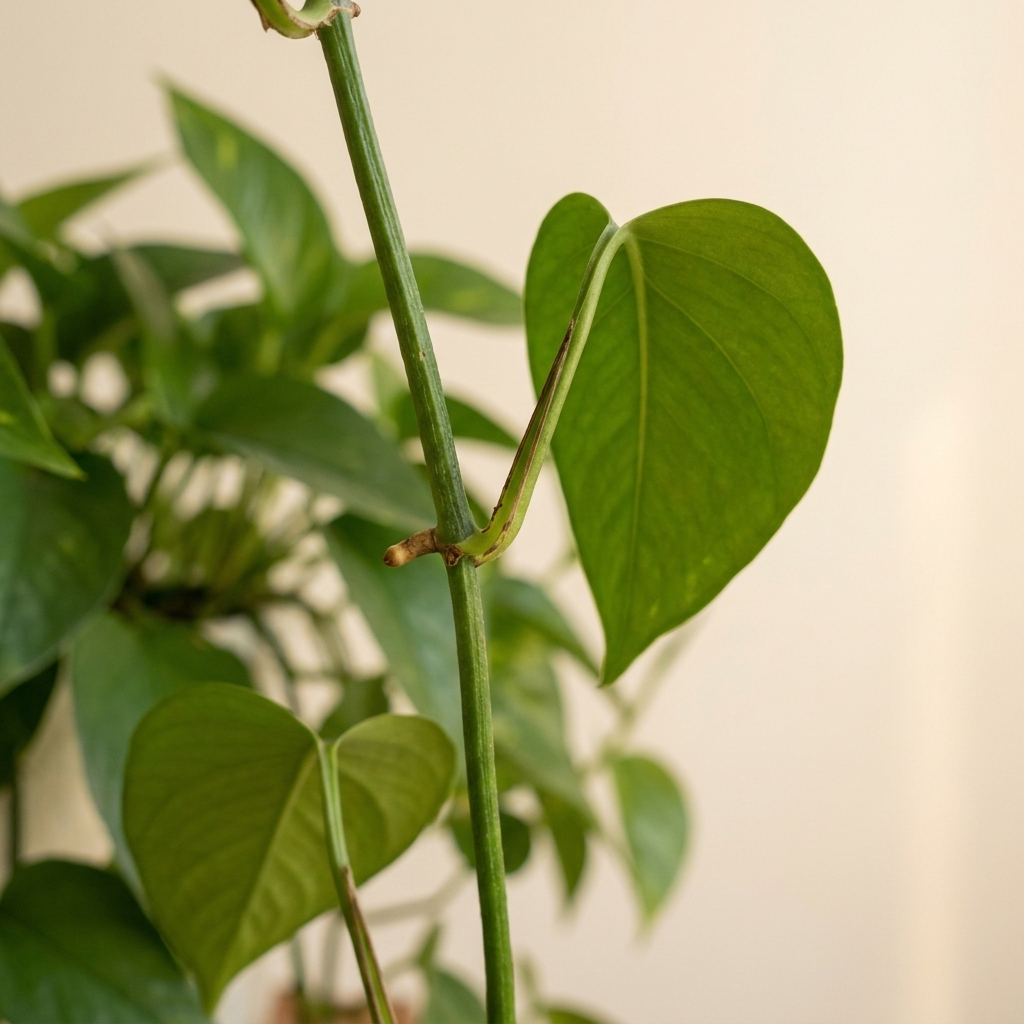
Find the node
Roots come from nodes, not from the leaf itself. A node is the small bump or joint on the vine where a leaf attaches. You might also see a little brown nub or aerial root starting there.
Step 2: Make the cut
Use clean snips and take a cutting just below a node.
- Ideal cutting size: 4 to 8 inches long
- Nodes per cutting: at least 1 node, 2 to 3 nodes is even better
- Leaves: 1 to 3 leaves is plenty
If your cutting has lots of leaves, remove the lowest leaf or two so no leaves sit in water. Leaves submerged in water tend to rot, cloud the jar, and stress the cutting.
Can you propagate a single leaf? Not reliably. A leaf without a node cannot grow roots and become a full plant. You need at least one node on the cutting.
Step 3: Place it in water
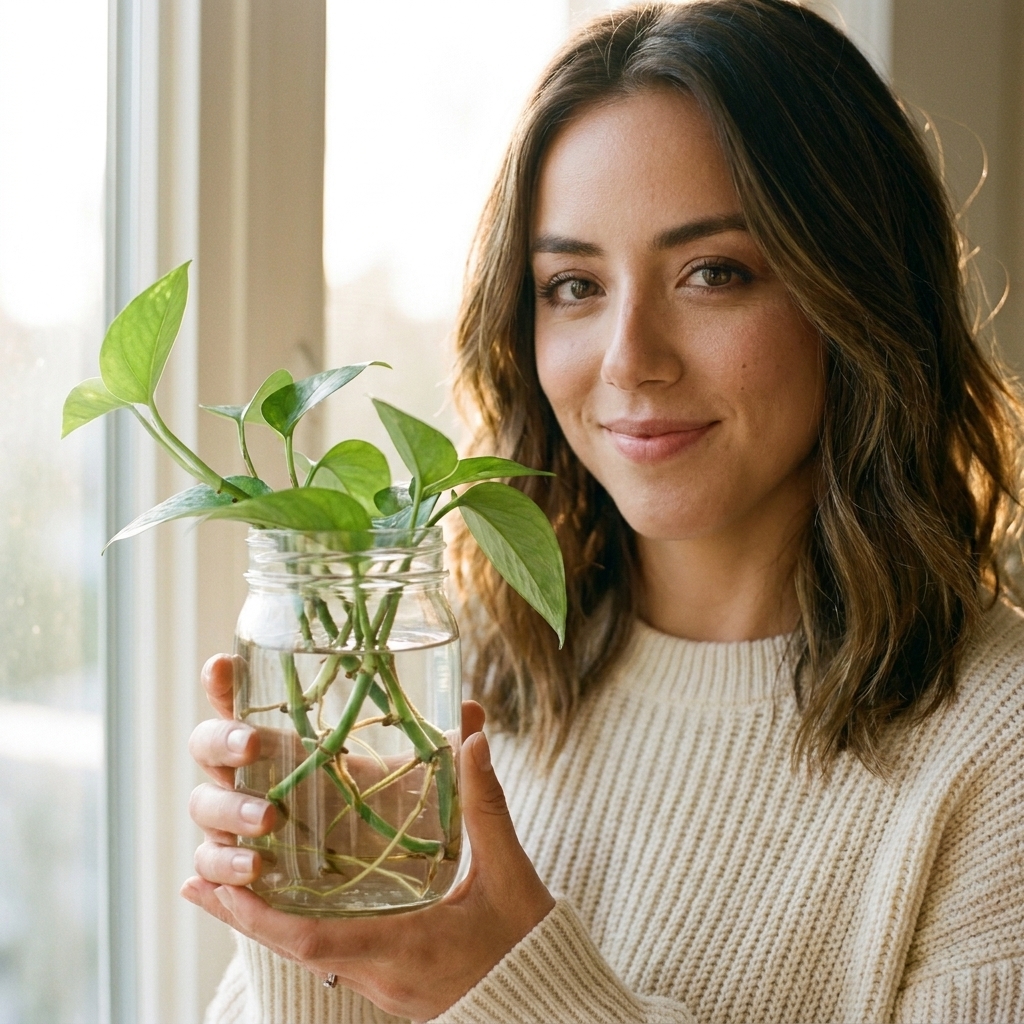
Place the cutting in your jar so that the node is underwater and the leaves are above the waterline. If you have multiple nodes on one cutting, aim to submerge 1 to 2 nodes.
Water level rule: Keep only the stem and nodes underwater. Try not to submerge leaf stems (petioles) or any part of the leaf.
Jar tip: A narrow-neck bottle can help hold cuttings upright. If your cutting flops and leaves touch the water, switch containers.
Step 4: Give it good light
Light is your rooting fuel. The sweet spot is bright, indirect light, like right near an east-facing window or a few feet back from a sunny south or west window. If your brightest window is intense, a sheer curtain is perfect.
- Avoid harsh direct sun that heats the water or scorches leaves.
- Avoid very low light if you want fast rooting. Cuttings can sit and do nothing for weeks in dim corners.
Temperature: Aim for normal indoor temps, roughly 65 to 80°F. Cold windowsills in winter can slow rooting a lot.
Step 5: Water changes
You do not need to babysit, but you do need clean water.
- Top off as the water line drops so the node stays submerged.
- Change the water every 5 to 10 days, or sooner if it looks cloudy or smells off.
- Rinse the jar if algae builds up (common in bright spots).
Should you add fertilizer to the water? I do not recommend it while roots are forming. It can encourage bacterial growth and turn your jar funky fast. Wait until the cutting is potted, or if you keep it in water long-term, use a very diluted hydroponic nutrient later.
Rooting timeline
Pothos is usually quick, but every home has its own pace. Cultivar, temperature, and light can stretch or shrink these windows.
- Days 3 to 14: the cut end seals; you may see tiny bumps or nubs at the node
- Week 2 to 6: visible roots lengthen
- Week 4 to 10: roots branch and thicken, ready for soil in many cases
My rule of thumb for transplanting: Wait until roots are 2 to 4 inches long and you can see some branching. One single stringy root can work, but branching roots usually transition to soil more smoothly.
Move it to soil
This is where most people get discouraged. Water roots and soil roots behave differently. The goal is to make the switch gentle.
Pick a pot and mix
- Pot: small pot with drainage holes (2 to 4 inches for a few cuttings)
- Mix: a chunky, airy blend so roots get oxygen
A simple pothos-friendly mix:
- 2 parts indoor potting mix
- 1 part perlite
- 1 part orchid bark (optional but great for airflow)
Planting steps
Pre-moisten the soil so it is evenly damp, not dripping.
Make a hole with a pencil or your finger to avoid scraping off delicate new roots.
Set the cutting so roots are covered and at least one node is just at or slightly below the soil surface.
Gently firm the soil around the roots to eliminate big air pockets.
Water thoroughly until water runs out the drainage holes.
First 2 to 3 weeks
- Keep the soil lightly moist, not bone-dry. Water roots dry out faster than established soil roots.
- Keep light bright and indirect while the plant adjusts.
- Skip fertilizer for about a month.
If the plant droops a bit the first few days, do not panic. Mild wilting can happen during the transition. Consistent moisture and good light usually correct it.
Make it fuller
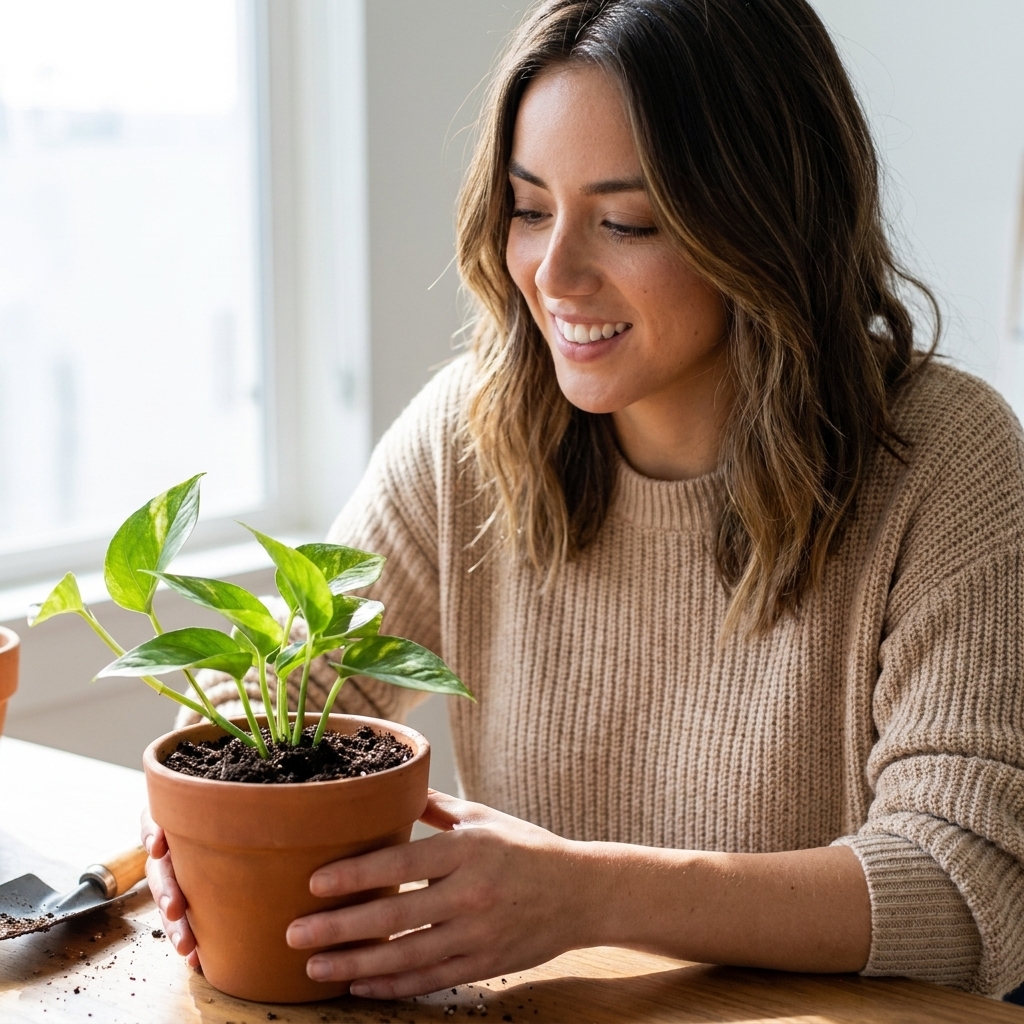
One cutting can become a plant, but it will look like one vine for a while. If you want that lush, full pot look, root several cuttings and plant them together.
- Small pot (4 inches): 3 to 5 cuttings
- Medium pot (6 inches): 5 to 8 cuttings
When you plant a bunch together, make sure each cutting has at least one node at or below the soil line. Also, do not cram too many into a tiny pot. Overcrowding holds moisture longer and can slow rooting in soil.
When to pot up: If you started in a 2 to 4 inch pot, expect to size up in about 1 to 3 months once you see steady new growth and roots reaching the drainage holes. Move up just one pot size at a time.
Planting multiple cuttings is the easiest “instant upgrade” trick, and it also gives you a backup in case one cutting decides to be dramatic.
Troubleshooting
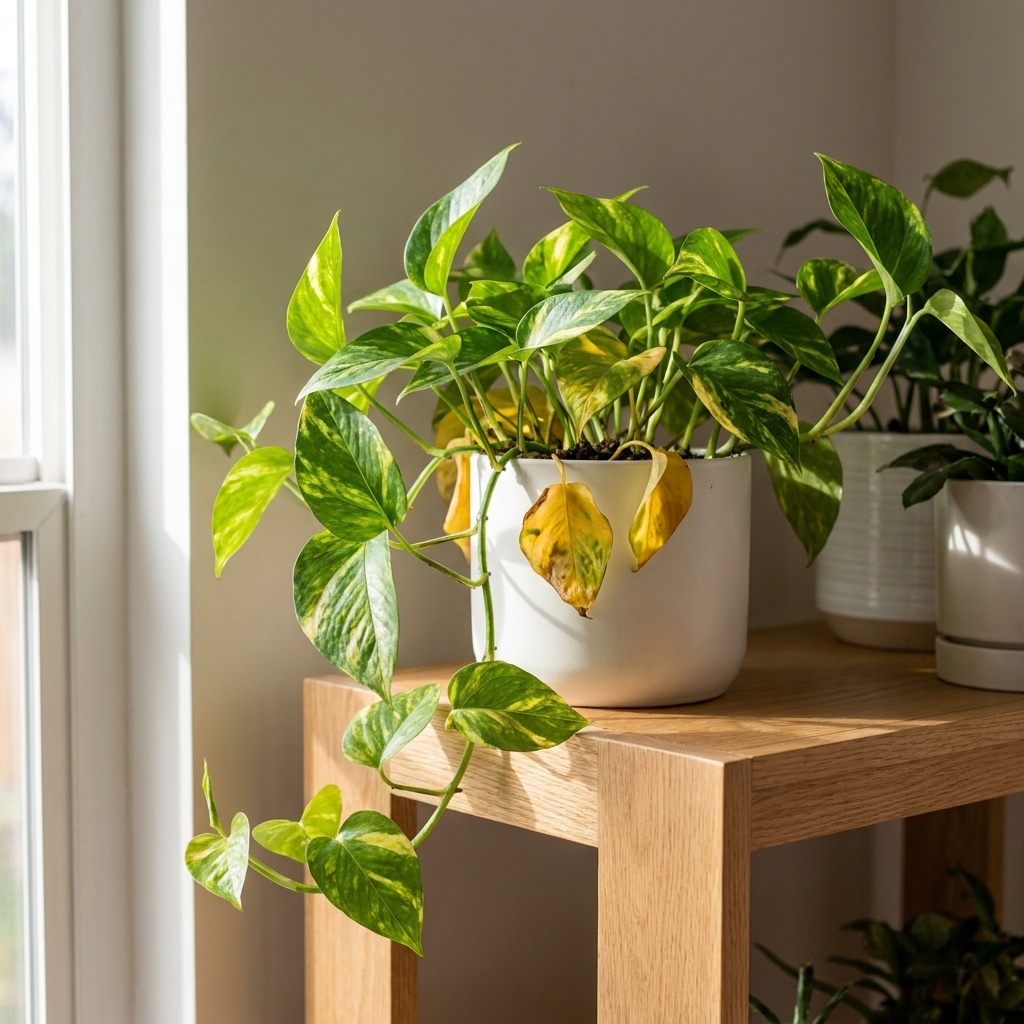
My cutting is turning yellow
- Most common cause: low light, or the cutting is too long and struggling to support lots of leaves
- Try: move to brighter indirect light, remove one leaf to reduce demand, refresh the water
The water is cloudy or smells bad
- Cause: bacterial growth, often from submerged leaves or dirty containers
- Fix: rinse the jar, trim any mushy stem, remove any leaves in water, replace with fresh water
The stem is mushy
If the stem feels soft and collapses, rot has started. Do not feel guilty, it happens fast in warm, stagnant water.
- Take the cutting out and cut back to firm, healthy tissue.
- Make sure the new cut is below a healthy node.
- Start again in a clean jar with fresh water.
No roots after 3 to 4 weeks
- Check light: move closer to a window or use a small grow light
- Check temperature: keep it away from cold drafts
- Check the node: make sure a node is underwater
- Refresh the cutting: recut just below the node to stimulate new growth
Algae is growing in the jar
Algae is not automatically harmful, but it can make water quality harder to maintain.
- Switch to an opaque container, or
- Rinse the jar more often and keep it slightly farther from direct sun
Keep pothos in water?
Yes, pothos can live in water long-term, but it becomes more like a hydro setup than a quick propagation project.
- Change water regularly.
- Use a diluted hydroponic nutrient once the plant has an established root system.
- Growth is often slower than a well-potted pothos unless you provide nutrients and adequate light.
If your goal is a robust, fast-growing houseplant, transplanting to soil usually wins.
Quick FAQ
How many nodes should be in water?
At least one node should be submerged. Two nodes can speed rooting, as long as no leaves sit in water.
Should I use rooting hormone?
Pothos does not need it. Rooting hormone can help in some cases, but good light and clean water do more for pothos propagation than any powder.
Best time of year?
Spring through early fall is easiest because light levels are higher and growth is naturally faster. You can still propagate in winter indoors, just expect it to take longer.
When is it “normal pothos” again?
After transplanting, give it 3 to 4 weeks of consistent care. Once you see new leaf growth, you can shift to a normal watering routine: water thoroughly when the top inch or two of soil dries.
My calm way to start
If you are nervous, start with two cuttings from a healthy vine and put them in separate jars. That tiny bit of redundancy takes the pressure off, and you learn faster by observing two slightly different outcomes.
Propagation is not a test of worthiness. It is just plant science in a glass of water, and you are allowed to learn as you go.