Crispy leaf tips are common and fixable. Learn what’s stressing your houseplant, including humidity, salts, and fluoride in tap water, and how to get clean...
If your spider plant looks mostly healthy but keeps developing those stubborn, crispy brown tips, you are not failing. Spider plants (Chlorophytum comosum) are famously forgiving, but their leaf tips are a little dramatic. They act like a “receipt” for what is happening in your water, your schedule, and your air.
The good news is that once you understand what your plant is reacting to, brown tips become one of the easiest problems to get under control. And just to lower the stakes: brown tips are extremely common and rarely fatal. They are usually a comfort issue, not a crisis.
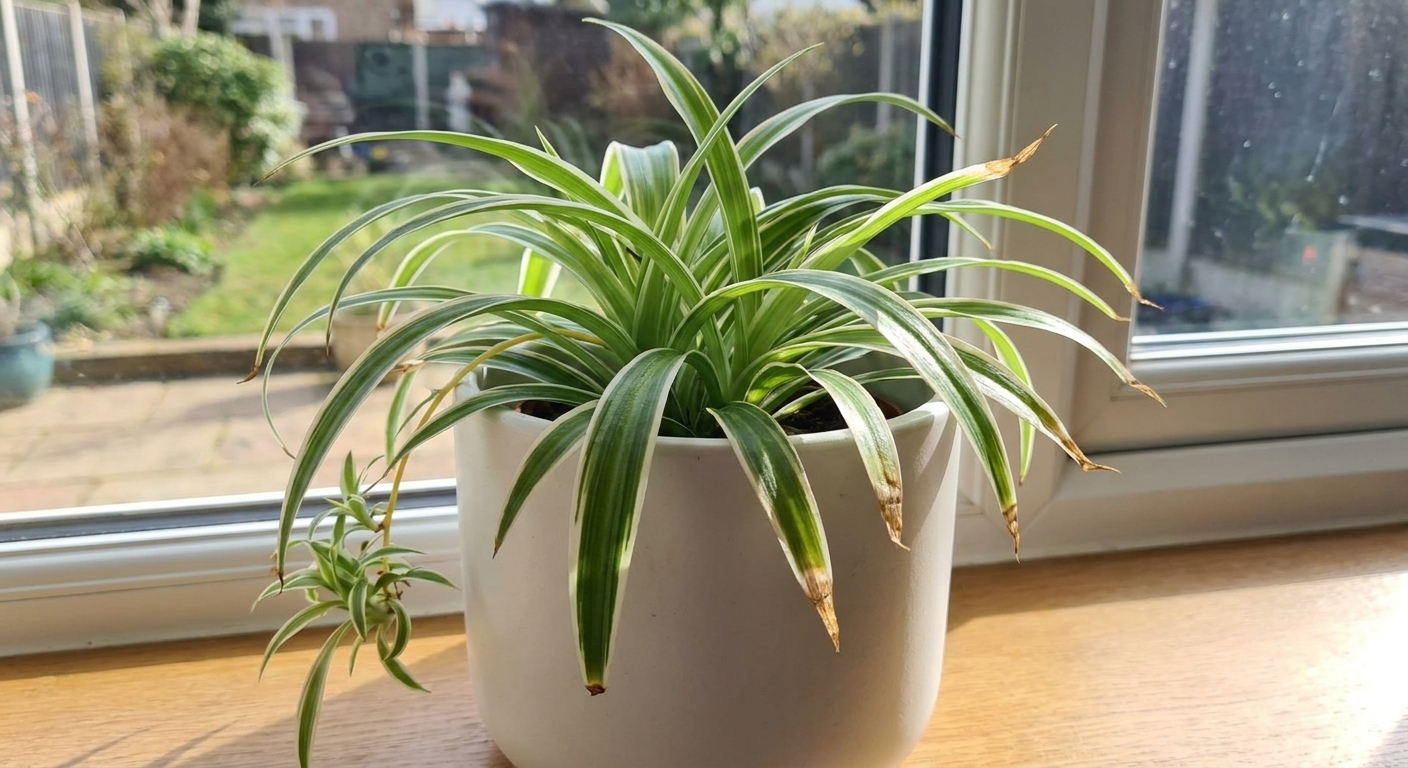
What brown tips are telling you
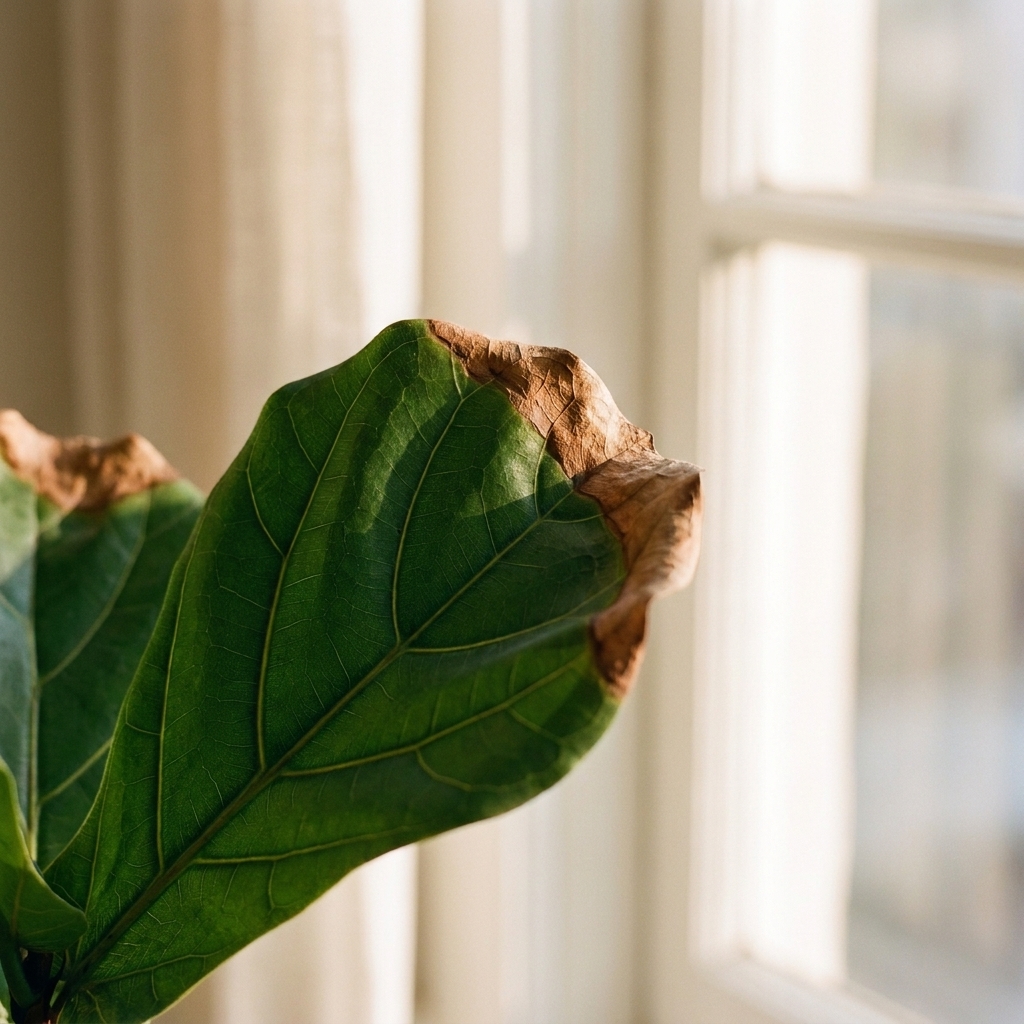
Spider plant leaves are long and narrow, with lots of surface area. That means they lose moisture quickly, and they also show mineral buildup sooner than many thicker-leaved houseplants. Brown tips most often happen from one of these situations, and sometimes a combo:
- Minerals and additives building up (dissolved salts from tap water, fluoride, fertilizer residue)
- Watering swings (too dry for too long, then a big soak, then dry again)
- Low indoor humidity (especially with heating or AC)
- Root stress (compacted soil, early root rot, or a rootbound pot that dries too fast)
A key detail: a brown tip will never turn green again. Your goal is to stop new tips from browning and keep new growth clean.
Tap water and why tips crisp
Spider plants can be sensitive to dissolved solids in tap water. The classic pattern is: the plant looks fine overall, growth continues, but the ends of many leaves dry out and turn tan or brown over time.
Fluoride is a common suspect
Many municipal water supplies contain fluoride, and spider plants can react to it with tip burn as it accumulates. That said, in a lot of homes the bigger driver is simply total dissolved solids: hard water minerals plus leftover fertilizer salts.
Chlorine and chloramine matter too
Some water systems use chlorine, others use chloramine. Letting water sit out overnight can help chlorine dissipate, but chloramine does not meaningfully off-gas the same way. That is why “letting it sit” works in some homes and does absolutely nothing in others.
Hard water and fertilizer salts add up
Calcium, magnesium, and other minerals (plus fertilizer residue) can build up in soil. As water evaporates and the plant transpires, those dissolved solids remain behind. Over time, the leaf tips can be the first place you see the stress.

Best water to use
I am all for realistic plant care. Here is how I recommend choosing water, from easiest to most foolproof.
1) Filtered tap water
A decent carbon filter pitcher or faucet filter can reduce chlorine and improve taste and odor. Most basic carbon filters do not remove much fluoride, so if fluoride is a concern, you may need RO or distilled. Still, many spider plant owners see fewer brown tips after switching to filtered water, especially if chlorine and general contaminants were part of the issue.
2) Rainwater
Rainwater is naturally soft and usually ideal for sensitive houseplants. If you collect it, use a clean container and avoid water that has been sitting stagnant for a long time.
3) Distilled or reverse osmosis water
These remove most dissolved solids, including fluoride. If your spider plant is chronically crispy despite good watering habits, this can be the “reset button.”
4) Dechlorinated tap water
If your water supply uses chlorine (not chloramine), letting water sit out 12 to 24 hours can help. If your city uses chloramine, consider a filter designed to reduce it, or switch to distilled or RO.
One caution: If you use only distilled or RO long-term, your plant will still get nutrients from fertilizer, but you will want to fertilize lightly and consistently during the growing season so it does not stall out.
Watering rhythm
Spider plants like a rhythm. They do not want to live bone-dry for weeks, and they also do not want constantly soggy soil. Brown tips commonly show up when watering is inconsistent, especially in brighter light where the plant is transpiring more.
When to water
- Stick your finger into the soil about 2 inches deep.
- If it is dry at that depth, it is time to water.
- If it is still cool and damp, wait a few days and check again.
In many homes, that means watering about every 7 to 14 days, but your schedule will change with light, pot size, season, and airflow.
How to water
- Water thoroughly until water runs out the drainage holes.
- Empty the saucer after 10 to 15 minutes so roots are not soaking.
- Avoid tiny, frequent sips if you can. They can leave parts of the root ball dry and, because you are not flushing the pot through, they can increase salt buildup over time.
Two sneaky scenarios
- Rootbound plants dry too fast: A very full pot can go from moist to dry quickly, which leads to leaf-tip dehydration. If your spider plant needs watering every few days, it may be time to pot up.
- Dense, peat-heavy soil stays wet too long: This can lead to mild root stress and poor uptake, even if the top looks dry.
Quick drainage note: If your plant lives inside a decorative cachepot with no drainage, water can collect at the bottom and stress roots. Use a pot with drainage holes, or remove the inner pot to drain fully every time.
Humidity
Spider plants tolerate average household humidity, but “tolerate” is not the same as “thrives with perfect leaf tips.” If your indoor air is dry, leaf tips are often the first place you see it.
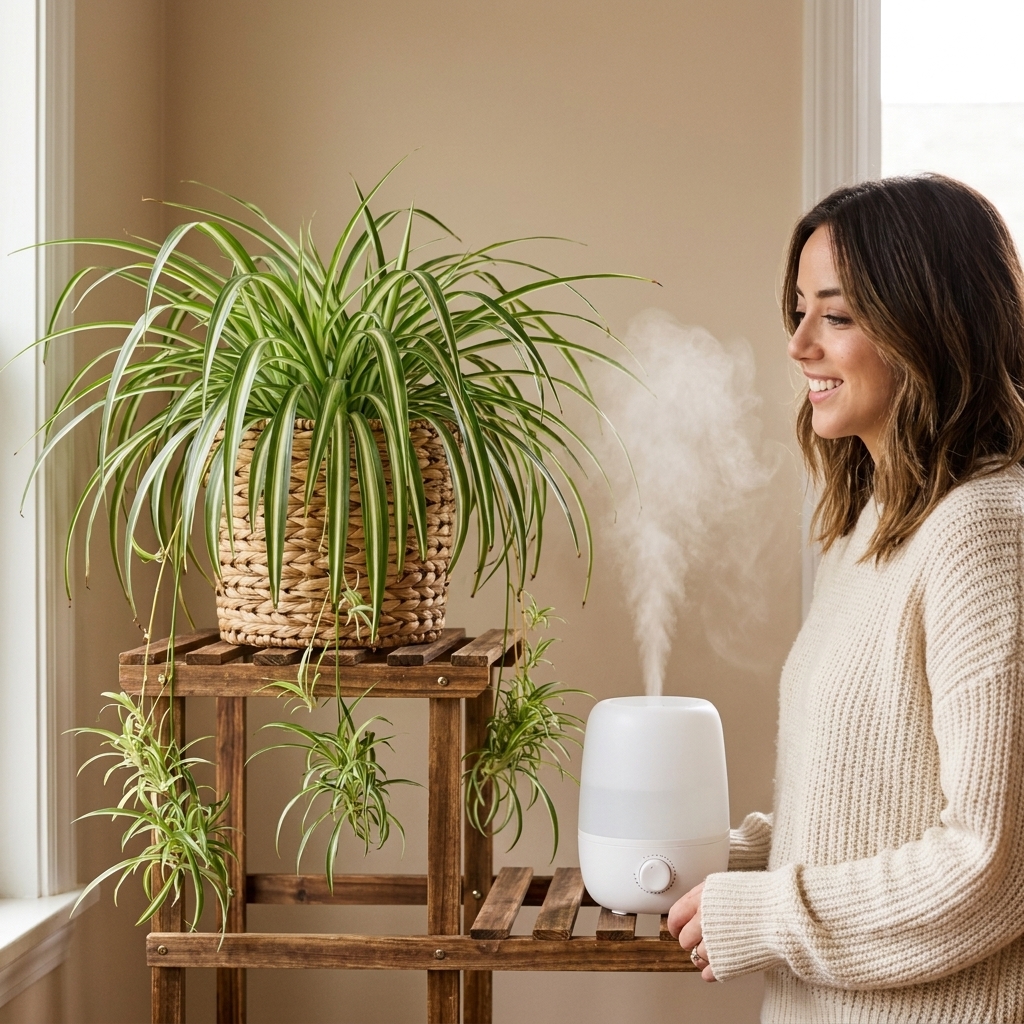
Helpful target: An ideal range is 40 to 60 percent relative humidity. If you sit closer to 25 to 35 percent in winter, brown tips are much more likely, even with good watering.
Easy ways to raise humidity
- Group plants together: A small cluster creates a more humid microclimate.
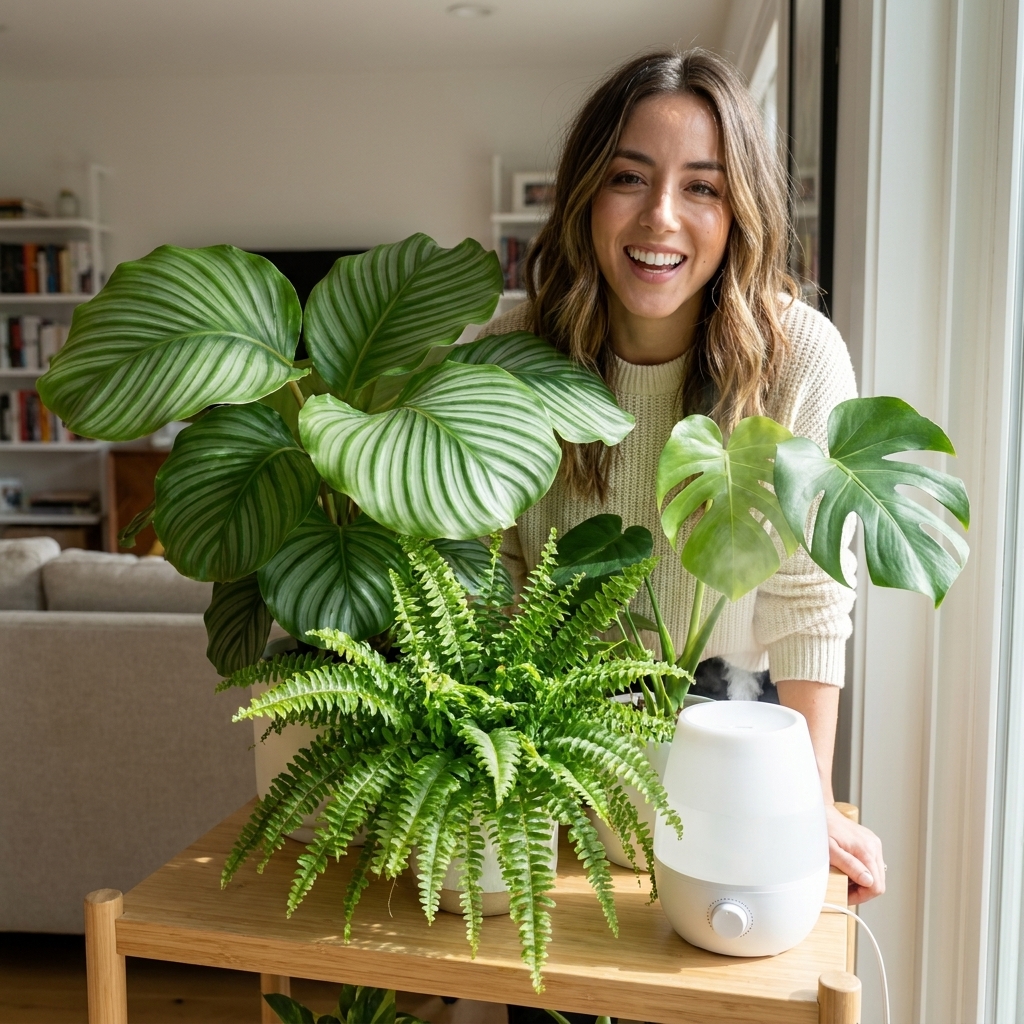
- Use a humidifier: This is the most reliable option, especially during heating season.
- Use a pebble tray correctly: A shallow tray with water and pebbles can help a little in a small area, but it will not replace a humidifier in a very dry home.
About misting: Misting is fine if you enjoy it, but it is temporary and often does not meaningfully change humidity. If you mist, do it in the morning and make sure your plant has airflow so water does not sit in the crown.
Heat, sun, and drafts
Sometimes brown tips are not about water at all, but about hot, drying airflow.
- Direct hot sun through glass: A spider plant can handle bright light, but harsh afternoon sun can dry tips fast, especially near a windowpane.
- Heater and AC vents: Forced air dries leaves and soil unevenly, and tips are usually the first to show it.
- Radiators and baseboard heat: Warm, dry air rising directly into the foliage can crisp edges and tips.
If your plant is within a few feet of a vent or heat source, try moving it just a little farther away and watch the next round of new leaves.
Flush the soil
If you suspect tap water minerals, fluoride sensitivity, or fertilizer salts, flushing is one of the best immediate steps you can take.
How to flush
- Move the plant to a sink or tub.
- Use room-temperature water (filtered, distilled, or RO if possible).
- Slowly run water through the pot for 2 to 3 minutes, letting it drain freely.
- Let it drain completely before putting it back in its spot.
How often you flush depends on your water and feeding routine. A good rule is to flush as needed, especially after a period of heavier fertilizing or if you notice a white crust on the soil or pot. If your water is hard and tips keep burning, a flush every 4 to 8 weeks can help, but you do not want to wash nutrients out constantly if your plant is otherwise stable.
Fertilizer and brown tips
Spider plants are not heavy feeders indoors. Over-fertilizing is a very common cause of brown tips because excess salts accumulate in the soil.
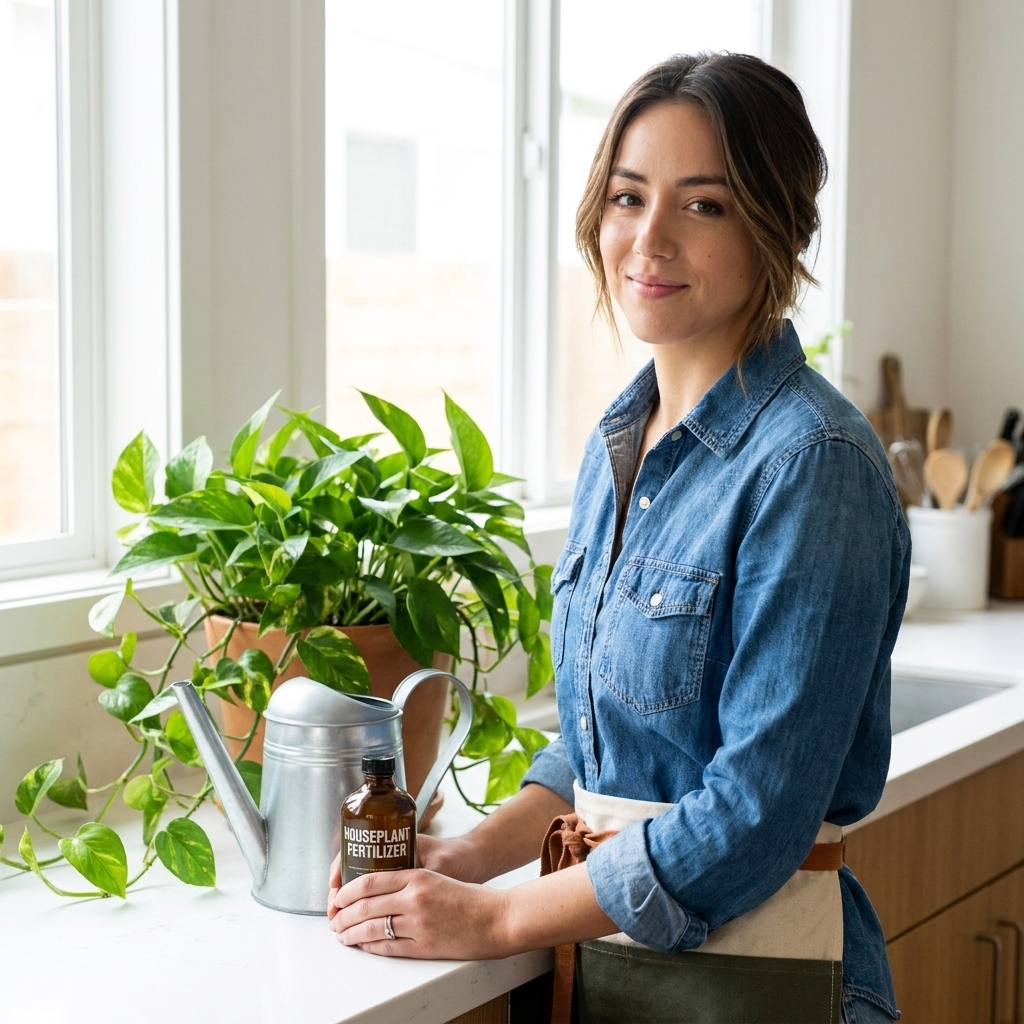
- In spring and summer: fertilize at half-strength about once a month (or follow your fertilizer label at a reduced rate).
- In fall and winter: reduce or pause feeding, especially in low light.
If you have been fertilizing frequently and you see crisp tips, do a soil flush and take a break from fertilizer for a month.
Potting and roots
Sometimes the plant is doing everything it can, but the roots are not in a great situation to support healthy leaf tips.
Signs your spider plant is rootbound
- The pot dries out very quickly.
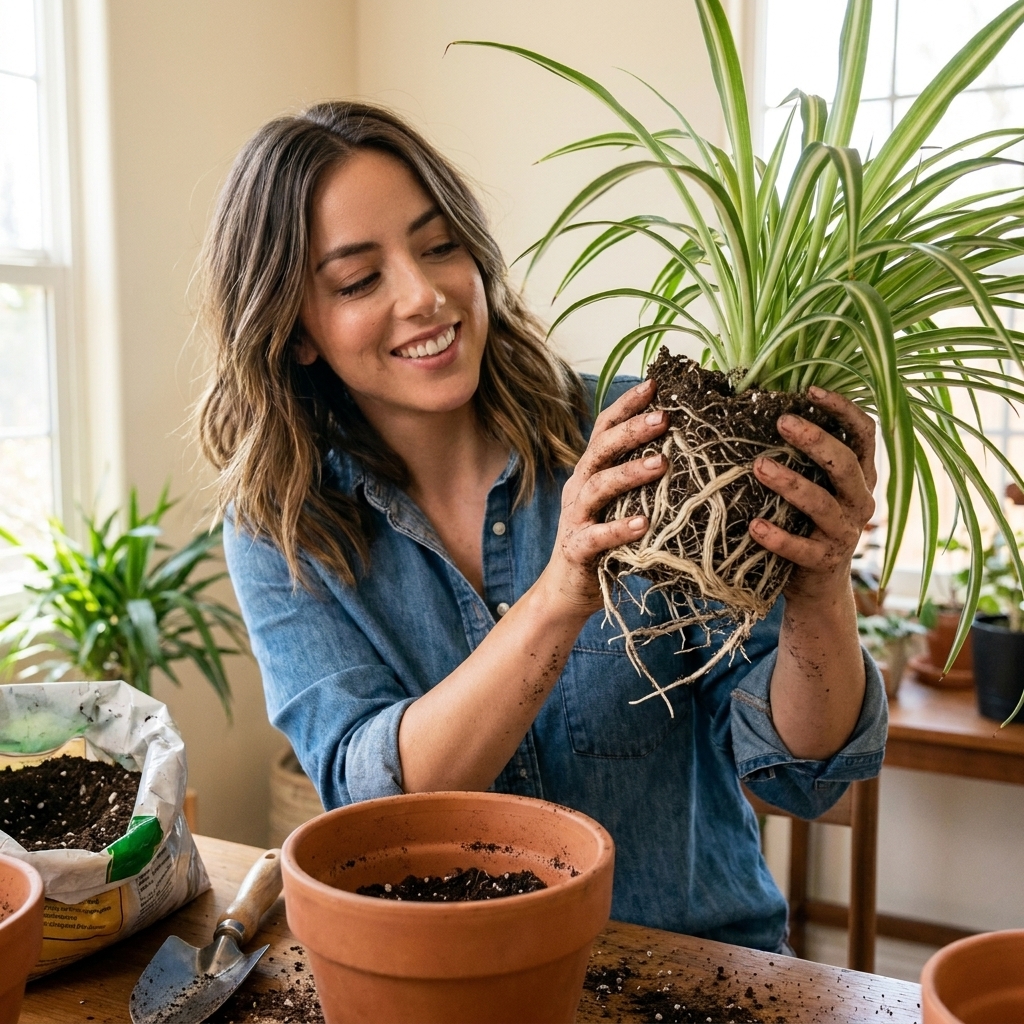
- Roots are circling the bottom or coming out drainage holes.
- Water runs straight through without soaking in.
Fix: Repot 1 to 2 inches up in pot size, using a well-draining mix. I like a blend that is mostly quality potting soil with added perlite or pumice for airiness.
Signs of early root rot
- Soil stays wet for a long time.
- Leaves feel limp despite moist soil.
- A sour smell from the pot.
Fix: Unpot, trim mushy roots, and repot into fresh, airy soil in a pot with drainage. After that, water less often until you see new growth.
What to do with brown tips
Once a tip is brown, it is purely cosmetic, but I also understand wanting your plant to look its best.
- Trim for appearance: Use clean scissors and follow the natural point of the leaf, cutting just above the brown area. Leave a tiny sliver of brown if you want to avoid creating a blunt edge that can look unnatural.
- Do not remove too many leaves at once: If a lot of tips are brown, trim gradually so the plant can keep photosynthesizing.
Quick checklist
- Brown tips on many leaves at once: suspect mineral or fertilizer salt buildup, or very dry air.
- Brown tips plus pale leaves: light may be too intense, or the plant may be underfed (less common than salt burn).
- Brown tips plus limp leaves: check roots and soil moisture, and confirm the pot drains well.
- Only a few tips here and there: minor stress happens. Focus on consistency, not perfection.
FAQ
Will switching to distilled water stop brown tips?
It often helps a lot, especially if dissolved solids, fluoride, or hard water minerals are a main trigger. You will still want consistent watering and decent humidity, because dry air and heat drafts can cause tip crisping even with cleaner water.
Can I use softened water?
I do not recommend it. Many water softeners replace calcium and magnesium with sodium, and sodium can build up in soil and burn leaf tips. If you have softened water, use filtered water, rainwater, distilled, or RO instead.
Is low light causing brown tips?
Low light more commonly causes slow growth and dull color, not classic crispy tips. But low light can make soil stay wet longer, which increases the risk of root stress. Bright, indirect light plus a steady watering rhythm is the sweet spot.
Should I mist to prevent brown tips?
Misting can make leaves look refreshed, but it is not a reliable humidity strategy. If your home is dry, a small humidifier near your plant is far more effective.
Brown tips, but it is making babies. Is it happy?
Often, yes. Spider plants can reproduce even when conditions are not perfect. Consider babies a sign the plant is resilient, then fine-tune water quality, airflow, and humidity so the next wave of leaves comes in cleaner.
2-week action plan
If you want the quickest path to improvement, do this:
- Next watering: use distilled, RO, or rainwater if you can.
- Flush once: run water through the pot for a couple minutes to clear buildup.
- Set a rhythm: water when the top 2 inches are dry, then water thoroughly and let it drain.
- Reduce drying stress: keep it out of hot direct sun and away from heater and AC vents.
- Boost humidity a notch: move near other plants or run a humidifier in the same room.
Then watch the newest leaves. When those tips stay green, you will know you have solved it.