
A beginner-friendly guide to NPK ratios (including label details), organic vs synthetic fertilizer, and a safe, simple feeding schedule for indoor plants.
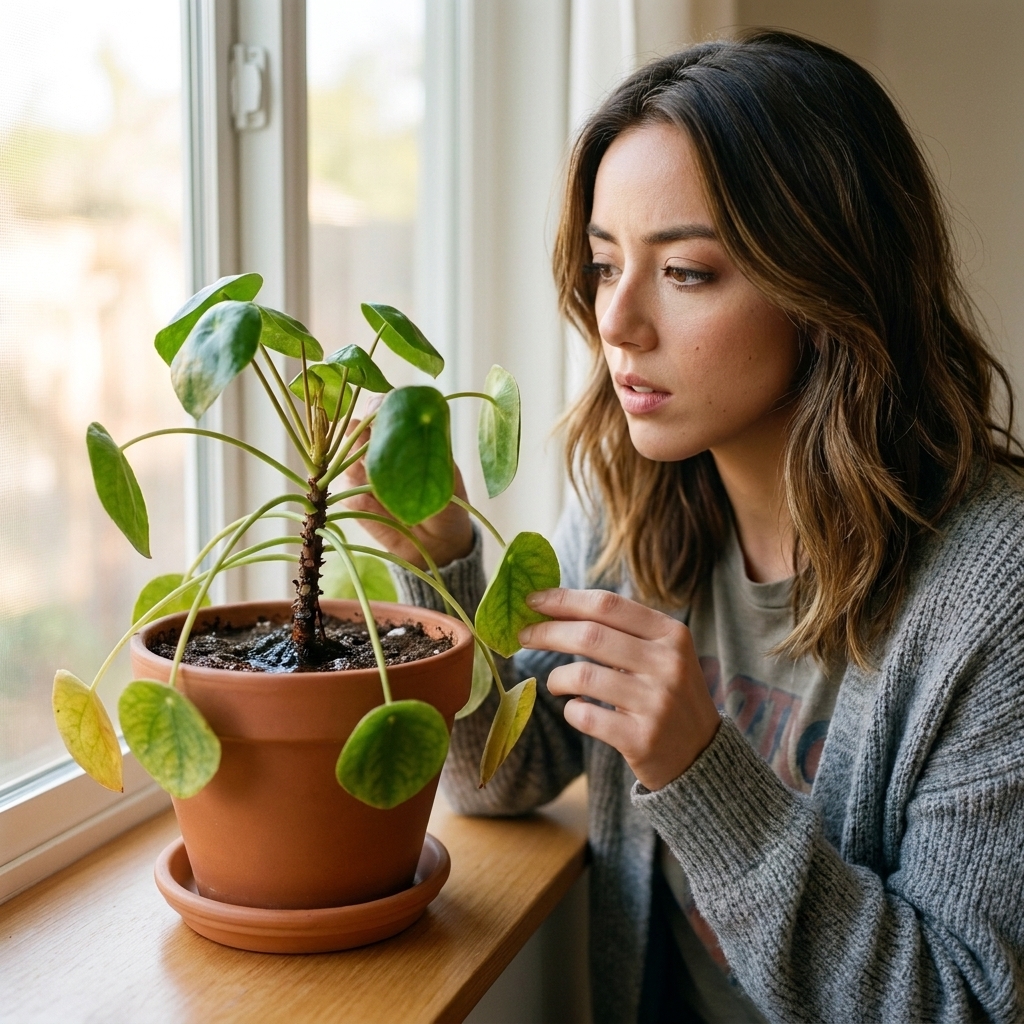
If your plant’s leaves are changing color, it is easy to spiral into two equally wrong extremes: fertilize immediately or panic-flush the pot. I have done both, sometimes to the same poor plant. The good news is that leaves usually give you a pretty clear pattern once you know what to look for.
This guide will help you read discoloration like a story: where it starts (old leaves or new), what it looks like (crispy edges, overall paling, spots), and how fast it’s happening. Then you can choose the right move: feed, flush, or pause and correct care first.
First, two big categories
Nutrient deficiency (underfed)
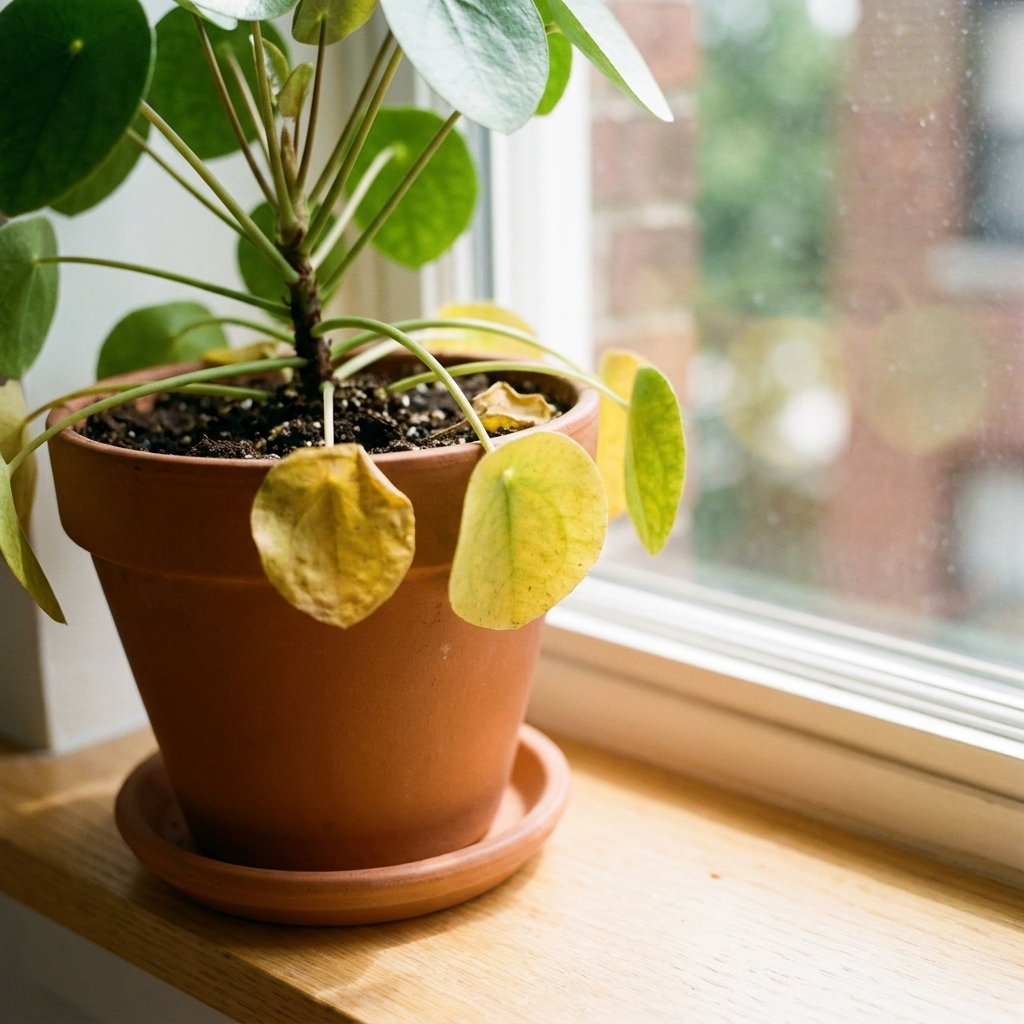
This happens when your potting mix has been depleted, the plant has outgrown its pot, you have not fertilized for months, or roots are stressed and cannot absorb nutrients well. Deficiency symptoms usually build gradually and often show up as pale growth, interveinal yellowing (yellow between green veins), or slow decline.
Fertilizer burn (too much, too concentrated, or too salty)
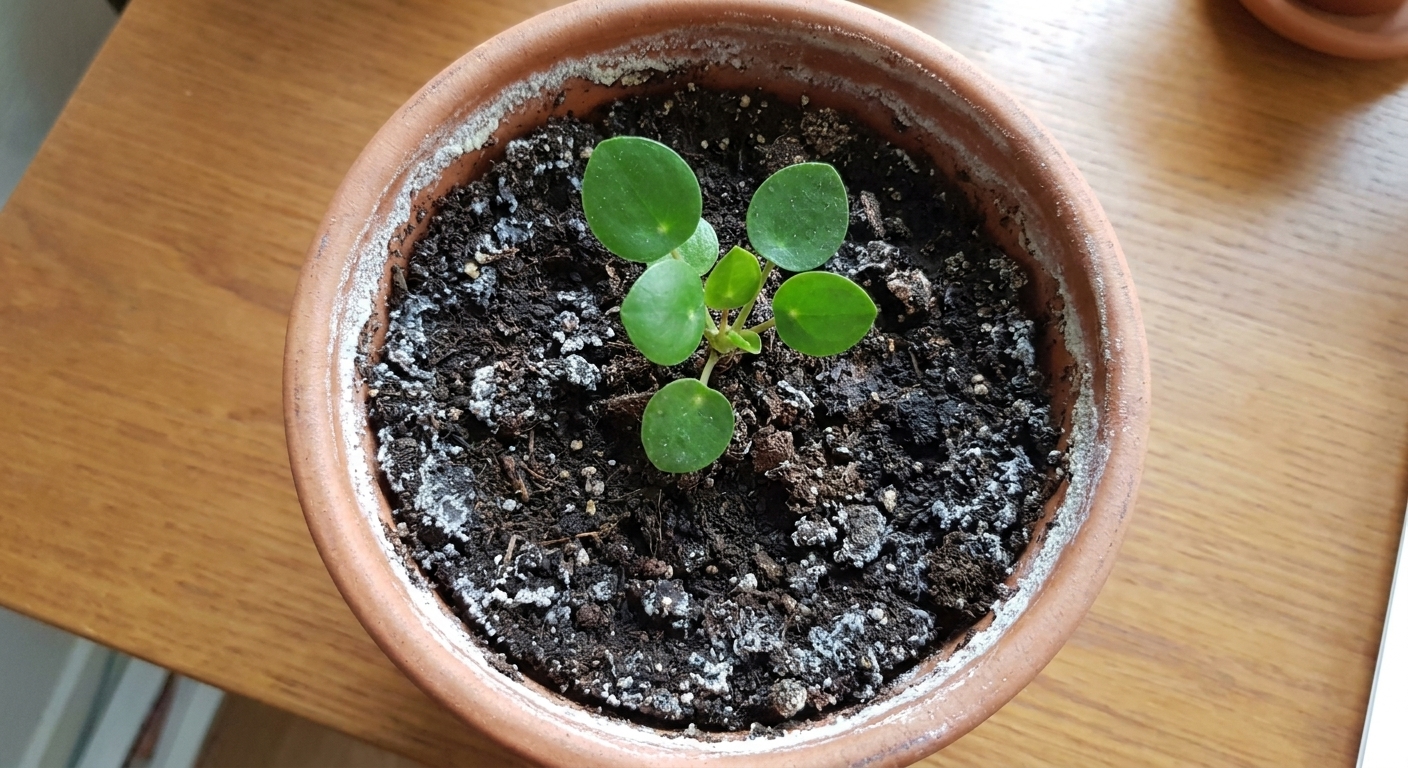
Most fertilizers contain mineral salts, and in excess they can raise the root zone concentration (EC) enough to stress roots. That can pull water out of roots (osmotic stress) and damage tissue. Burn often shows up as crispy brown tips and edges, leaf margins turning brown then yellow, and a faster decline. You may also see a white crust on the soil surface, pot rim, or around drainage holes.
Quick clue: old leaves vs new
When you are stuck, don’t stare at the whole plant. Pick out the oldest leaves (usually lowest) and the newest leaves (at the tips or crown). Which group looks worse?
- Older leaves affected first usually points to a mobile nutrient deficiency (the plant is moving nutrients from old leaves to new growth). Common culprits: nitrogen, magnesium, potassium.
- New leaves affected first often points to an immobile nutrient deficiency (the plant cannot move that nutrient around easily). Common culprits: iron, calcium, sometimes manganese.
- Tips and edges crisping across many leaves, especially soon after feeding, leans toward fertilizer burn or salt buildup.
Leaf patterns
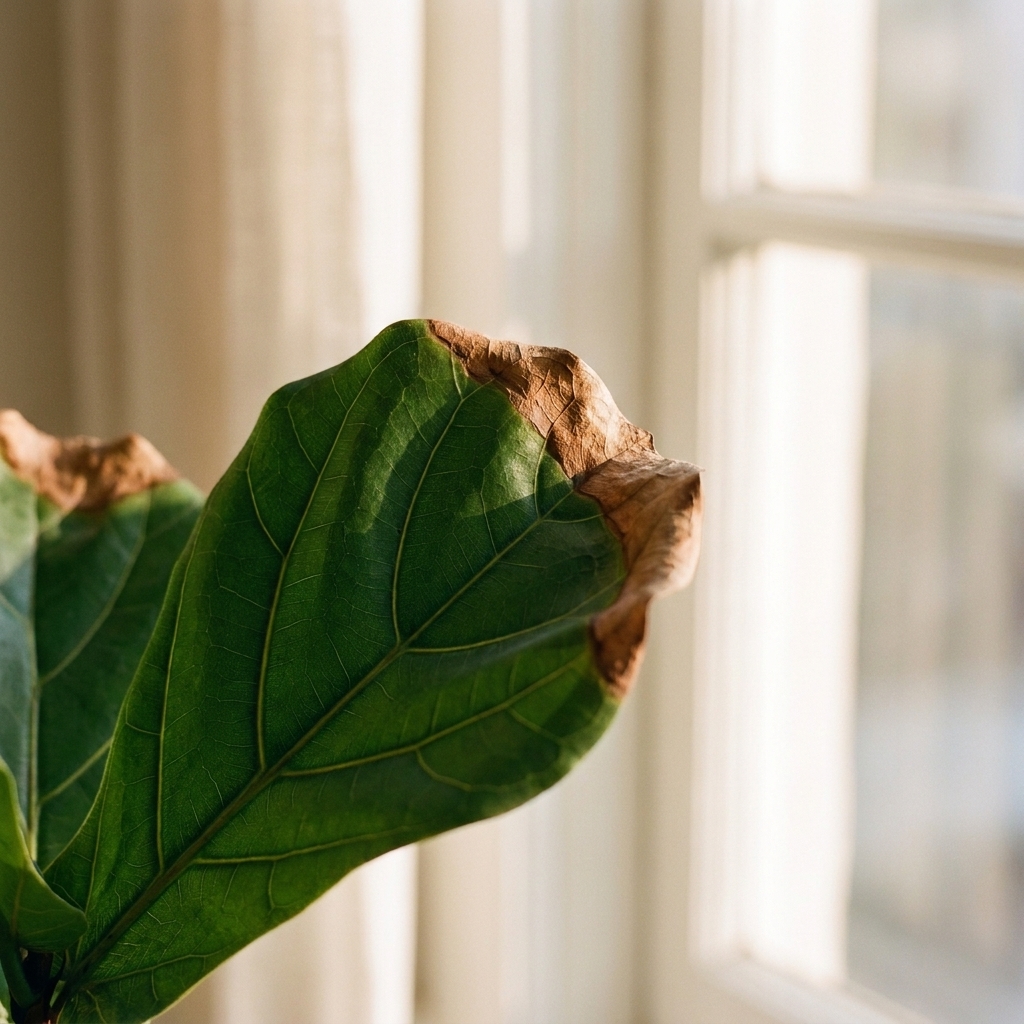
1) Brown, crispy tips (otherwise green leaves)
Most likely: salt buildup or fertilizer burn, but also low humidity, underwatering, or inconsistent watering.
Clues it is fertilizer burn:
- Tipping got worse within a few days to a couple of weeks after fertilizing
- Multiple leaves crisp at the tips at the same time
- Soil surface has a white crust or the rim or drainage holes feel crusty
Clues it is not fertilizer: only the oldest leaf tips are browned and you have not fertilized in months, or your plant sits near a vent and humidity is low.
2) Brown edges that spread inward
Most likely: fertilizer burn or potassium deficiency.
- Burn tends to show up as sharp, dry browning that starts at the edge, often after feeding or with hard water and no flushing.
- Potassium deficiency is usually slower and often appears on older leaves first with marginal scorch plus overall weak growth.
3) Uniform yellowing of older leaves
Most likely: nitrogen deficiency, but also normal leaf aging, low light, or overwatering.
How to separate it: If the plant is making smaller new leaves and growth is sluggish, and several older leaves are yellowing over time, nitrogen is a good guess. If the soil stays wet for days and the plant looks limp, you may be seeing watering stress masquerading as “needs fertilizer.”
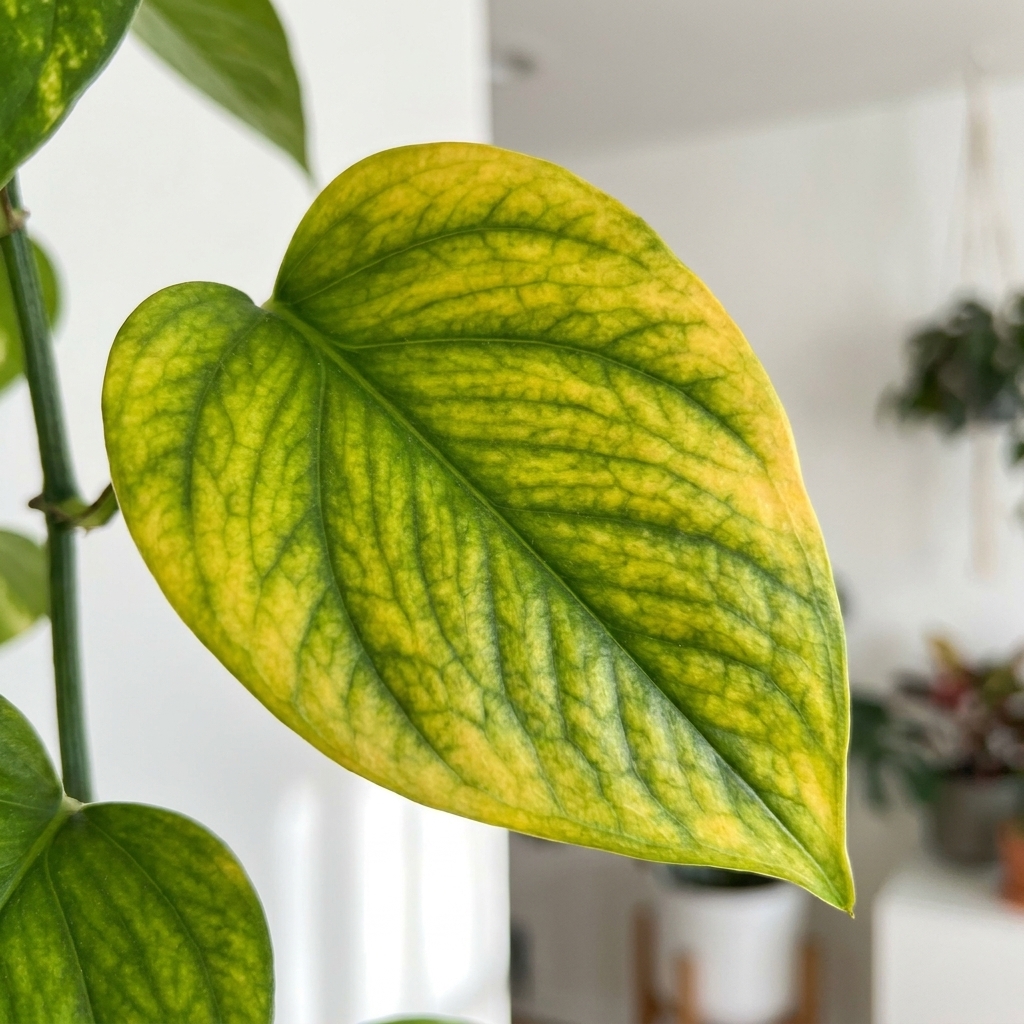
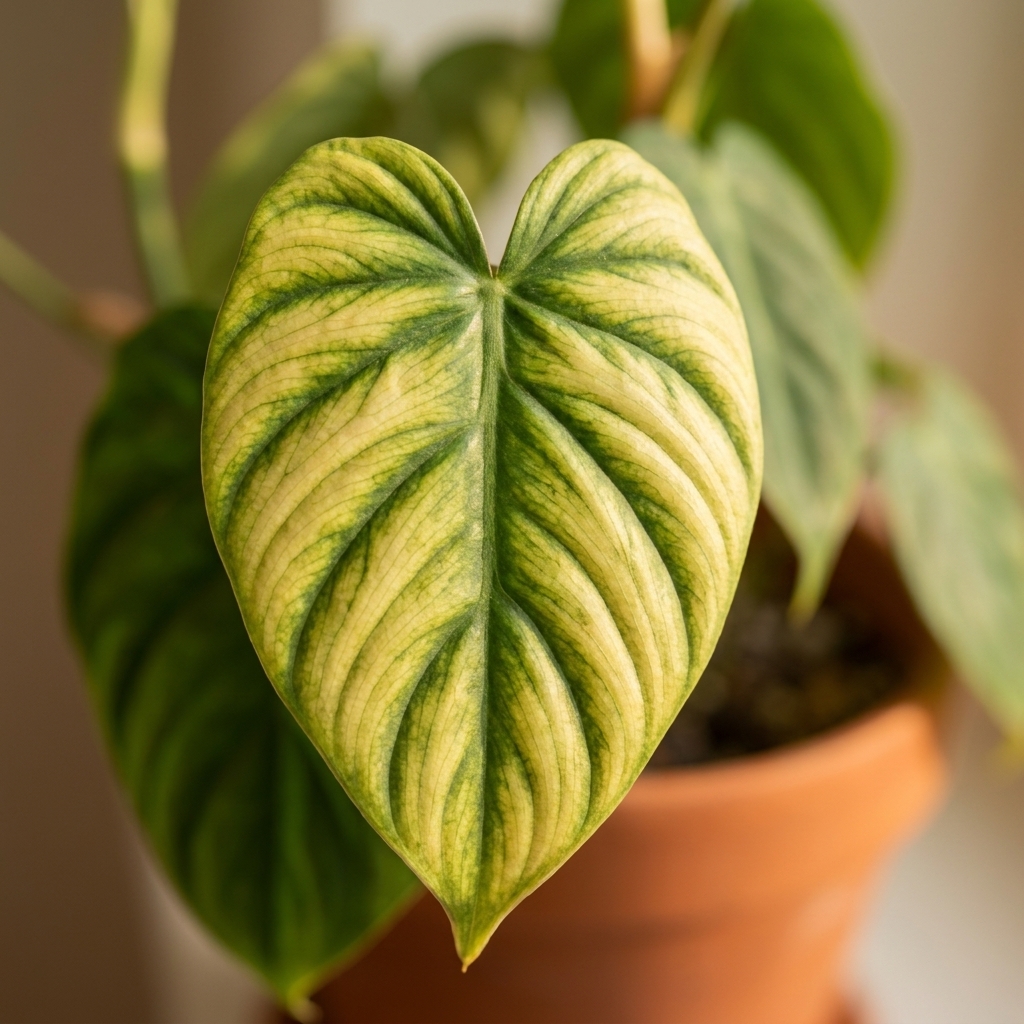
4) Yellow between veins, veins stay green
Most likely: magnesium deficiency (often older leaves) or iron deficiency (often new leaves).
- Magnesium deficiency: older leaves show marbled yellowing between veins while new growth looks okay at first.
- Iron deficiency: newest leaves come in pale or yellow with green veins, often when soil pH is off or roots are stressed.
Important: Iron deficiency indoors is frequently an uptake problem, not simply a lack-of-fertilizer problem. Cold soil, chronically wet soil, compacted mix, or high pH can block iron even if fertilizer is present.
5) Pale new growth, small leaves, slow plant
Most likely: general under-fertilizing, low light, or rootbound roots.
If your plant lives in a low-light corner, it may not be using much fertilizer at all. In that case, adding more food can create salts without improving growth. Always sanity-check light first.
6) Random brown spots or blotches
Most likely: not a nutrient issue. Think pests, fungal or bacterial leaf spot, sunburn, or physical damage.
Water sitting on leaves can also contribute to spotting by encouraging leaf-spot disease, especially with strong sun and poor airflow. Fertilizer burn is typically more consistent (tips and margins), not scattered polka dots.
Quick pest check
If you are about to blame nutrients, take 30 seconds to look closer. A few pest giveaways:
- Thrips: silvery streaks, distorted new growth, tiny black specks (frass)
- Spider mites: pale stippling, fine webbing, leaf edges drying out
- Mealybugs: cottony clusters in leaf joints
Timing clues
- Fast (a few days to a couple of weeks): suspect fertilizer burn, sunburn, cold shock, or watering shock.
- Slow (weeks to months): suspect nutrient depletion, rootbound issues, chronic low light, or long-term watering problems.
If you can point to a moment like “I fertilized last weekend” or “I used a stronger dose,” pay attention to that. Plants are honest about cause and effect when we keep a simple timeline.
Before you feed or flush
Check 1: When did you fertilize, and what kind?
- If you fertilized in the last month at full strength, do not fertilize again until you rule out burn.
- If you fertilize every watering, even “weakly,” salt buildup is still possible over time.
- If you have not fertilized for 3 to 6 months during active growth, deficiency moves up the list.
Quick translation: “Fertilizer” can mean a liquid concentrate you mix with water, a powder you dissolve, or slow-release granules you sprinkle into the pot. Slow-release products are convenient, but they are harder to undo if you overdo it.
Check 2: Can the soil absorb nutrients right now?
Deficiency can be real, but it can also be a symptom of roots that cannot function well. Quick red flags:
- Soil stays wet longer than 7 to 10 days
- Potting mix looks compressed, muddy, or smells sour
- Plant wilts even when soil is damp
- Fungus gnats are thriving (often, though not always, a sign of consistently moist mix)
If those are true, fix watering and soil structure first. Fertilizer on struggling roots is like offering a big dinner to someone with the stomach flu.
If you suspect burn
Step 1: Stop fertilizing
Give the plant a break. More food will not “balance it out.”
Step 2: Flush the soil
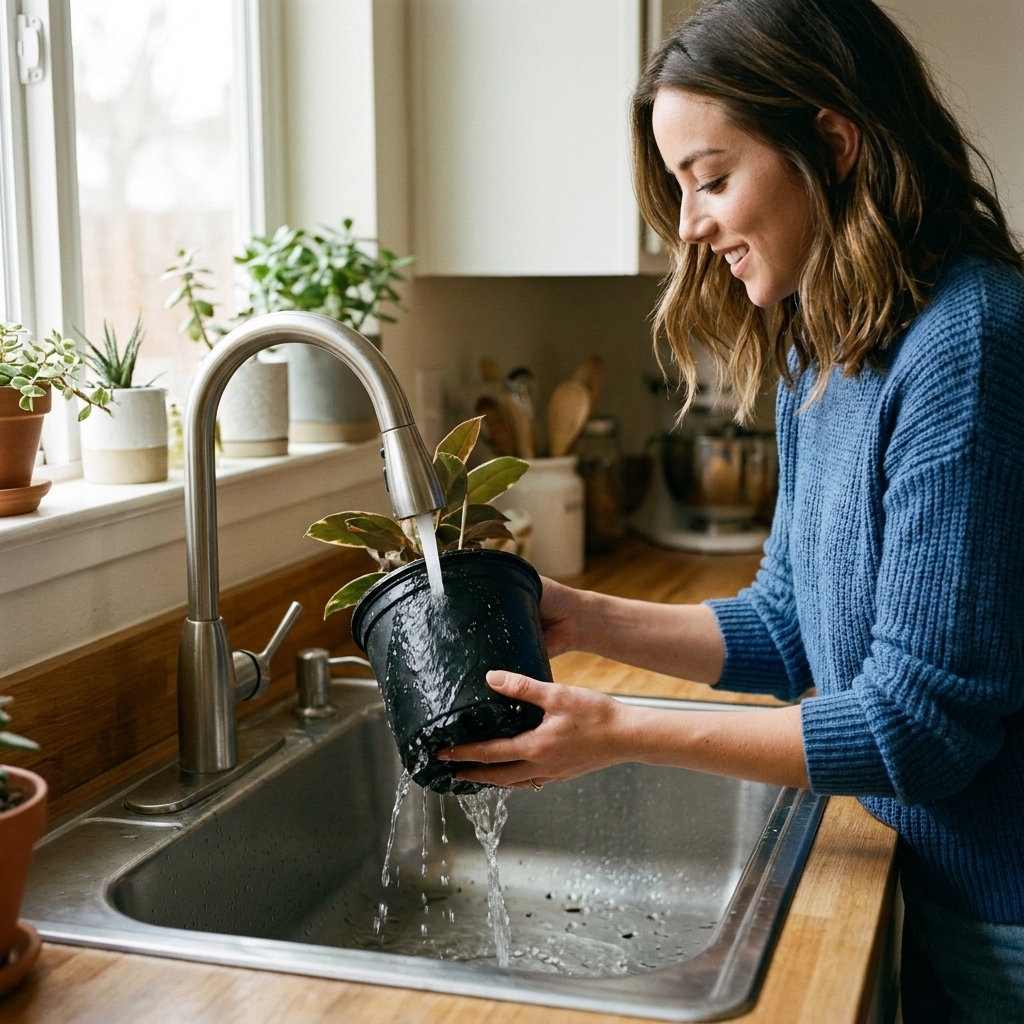
Take the pot to a sink, tub, or shower. Slowly run room-temperature water through the soil for several minutes. As a rule of thumb, aim for 2 to 4 times the pot’s volume, or keep going until the runoff seems less salty and the worst crustiness is cleared. Let it drain fully.
- If the plant is in a cachepot (decorative pot), remove it so it never sits in runoff.
- If the mix is hydrophobic and water races down the sides, bottom-water first for 20 to 30 minutes to re-wet the root ball, then flush from the top.
One caution: For cacti and succulents, flush more cautiously and make sure the pot drains fast and dries down quickly afterward. A long, cold soak can create a different problem.
Step 3: Trim expectations, not leaves
Those crispy tips will not turn green again. I usually leave damaged leaves until the plant is stable and pushing new growth. Removing too much foliage can slow recovery.
Step 4: Watch new growth
After flushing, improvement shows up as healthier new leaves, not perfect old leaves. If decline continues and soil stays soggy, check roots for rot and consider repotting into fresh mix.
When flushing is not enough
If you used slow-release fertilizer spikes or granules and the plant is burning badly, it can be kinder to repot and remove as much amended soil as possible. Use fresh potting mix and do not fertilize for 4 to 6 weeks.
If you suspect deficiency
Step 1: Confirm active growth
Most houseplants want fertilizer when they are actively growing. In a dim winter window, many plants slow down. Feeding heavily during a slowdown can create salt buildup.
Step 2: Use a gentle, complete fertilizer
For most foliage houseplants, a balanced fertilizer works well. I prefer a complete formula that includes micronutrients (like iron and magnesium), not just N-P-K. “Balanced” often looks like equal-ish numbers on the label, such as 10-10-10 or 20-20-20, but you do not need perfection to get good results.
- Use 1/4 to 1/2 strength to start.
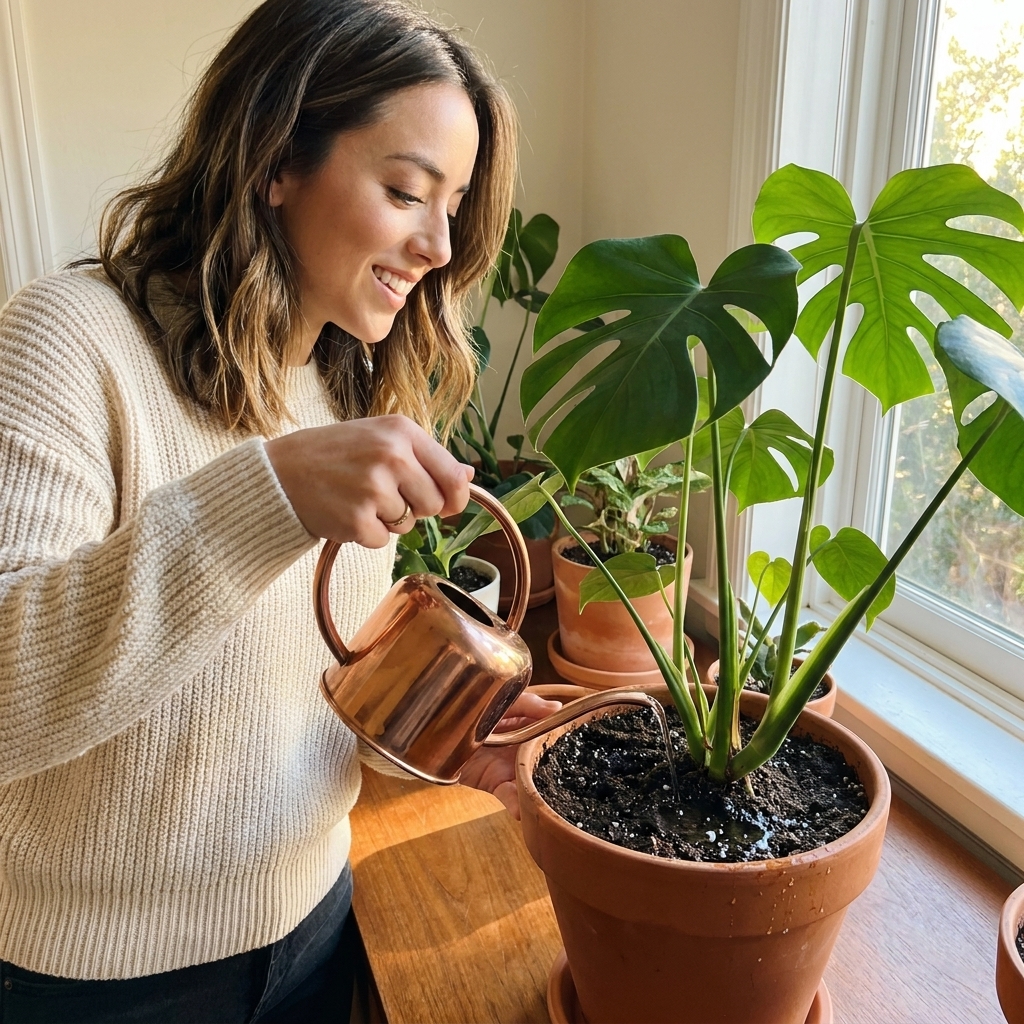
- Fertilize on already moist soil. Water first, then feed. This one habit prevents so much burn.
Step 3: Match the pattern when you can
If your plant clearly shows a pattern like interveinal chlorosis, a targeted supplement can help, but only if roots are healthy.
- Suspected magnesium deficiency: a magnesium-containing supplement can help. Go light, and reassess in 2 to 3 weeks.
- Suspected iron deficiency on new growth: consider an iron-containing fertilizer and also check soil conditions (watering, compaction, and pH issues from hard water).
Step 4: Look for better new leaves
Nutrients do not “paint” green back onto damaged tissue. Your goal is that the next round of leaves looks more normal in color and size.
When it is neither
Sometimes the leaf symptoms are real, but fertilizer is not the solution.
Overwatering and root rot
Yellowing leaves plus soft stems, a musty smell, and constantly damp soil point to roots that are not functioning. Nutrients cannot be absorbed well in that state. Prioritize root health: let the mix dry appropriately, improve airflow and light, and repot if needed.
Low light
In low light, plants use less water and fewer nutrients. Feeding a low-light plant “to encourage growth” can backfire. If your plant is not close to a bright window or under a grow light, consider adjusting light before adjusting fertilizer.
Hard water buildup
If you have hard tap water, minerals accumulate and can mimic fertilizer burn. Periodic flushing helps even if you barely fertilize.
Temperature swings
Cold windowsills and hot vents can cause edge browning and spotting. If the damage is mostly on the side facing a draft or vent, think environment first.
Decision tree
- Fertilized recently? Yes: pause feeding, lean burn, consider a flush.
- Crispy tips and edges on many leaves? Yes: lean burn or salt buildup.
- Pale and slow, older leaves yellowing over weeks? Yes: check light first, then feed lightly if growth is active.
- Newest leaves pale with green veins? Yes: possible iron issue or uptake issue, fix soil and watering first.
- Soil stays wet and plant droops? Yes: treat as root stress first, not fertilizer.
FAQ
Should I cut off burned leaves?
You can, but you do not have to. I usually wait until the plant is stable and producing healthy new growth. Removing a lot of leaves at once reduces the plant’s energy budget.
How long after flushing will my plant look better?
Old damage stays. Look for improvement in new growth over the next 2 to 6 weeks, depending on the plant and season.
Can I flush and fertilize right after?
If you strongly suspect burn, flush first and wait. If you suspect deficiency but the soil is salty, you can flush, let it drain completely, then fertilize a week or two later at a low dose once the plant looks steady.
Why are my leaves yellow after fertilizing?
Yellowing after fertilizing can be burn, but it can also be watering timing. Fertilizing a dry root ball is a common cause of root damage. Next time, water first, then feed.
What is a safe routine for most houseplants?
During active growth, a gentle approach is safest: fertilize at 1/4 to 1/2 strength every 2 to 4 weeks, and flush the pot with plain water occasionally to prevent salt buildup. Always adjust down in lower light.
Final pep talk
If you are reading leaves like a detective, you are already doing the most important thing: paying attention. Plants do not fail because you are “bad at plants.” They struggle because their care got mismatched to their conditions, and indoor conditions change constantly.
When you are unsure, choose the gentler move. A light feeding is safer than a heavy one. A careful flush is safer than doubling fertilizer. And if the soil is staying wet, fix that first. Your plant wants to recover, and with the right next step, it usually can.