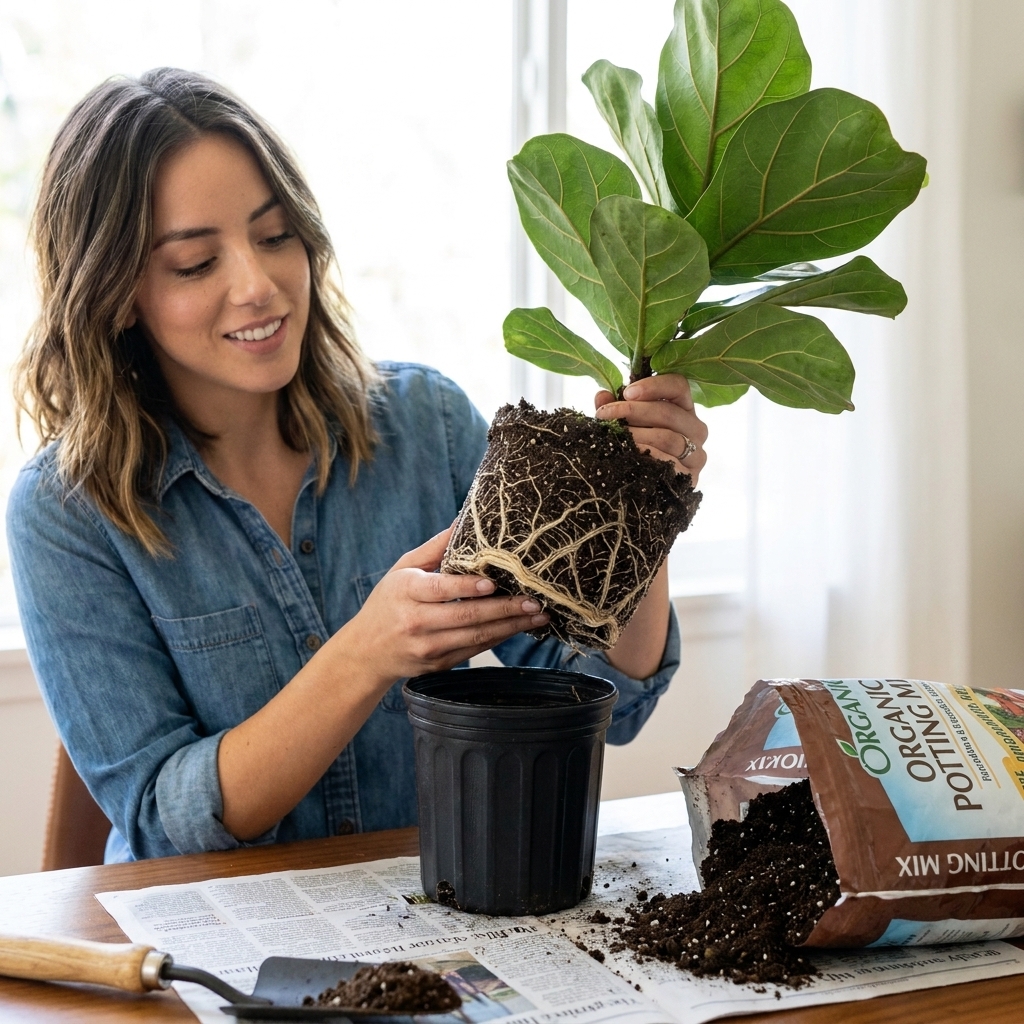
A calm, step-by-step root rot rescue: how to unpot, trim mushy roots, repot in fresh mix, and prevent future rot in any houseplant.
Snake plants (often sold as Sansevieria, and now commonly classified as Dracaena trifasciata in recent taxonomic revisions) are famously tough. But there is one moment when even a “nearly unkillable” plant can spiral fast: repotting followed by too much moisture. If you have ever watched a perfectly healthy snake plant turn mushy at the base after a pot upgrade, you are not alone. It is not a black thumb. It is just physics, airflow, and water timing.
This guide walks you through repotting a root-bound snake plant with the lowest root rot risk possible, including soil choices, pot size, and exactly when to water.
When to repot
Snake plants prefer being a bit snug. Repotting too often can keep the soil wet longer than the roots can handle, which is a direct path to rot. Aim to repot only when you see clear signs it has outgrown its home:
- The pot is bulging or cracking (very common with plastic pots because the rhizomes push outward).
- Roots circling heavily around the bottom or poking out of the drainage holes.
- The plant dries out extremely fast, like bone dry again within a few days, even in moderate light.
- Soil has broken down into a dense, spongy texture that stays wet too long.
- You want to divide it because it is a crowded clump with multiple growth points.
Best timing: spring through early summer is ideal, but you can repot any time indoors as long as you manage water carefully afterward.
Pick the right pot
Pot size: one size up
The number one repotting mistake I see is choosing a pot that is “roomy.” More soil around the root ball means more moisture held for longer. Snake plants hate that.
- Go 1 to 2 inches wider than the current pot (measured across the top).
- If your plant is extremely root-bound, lean toward the full 2 inches wider, but avoid more.
Drainage is non-negotiable
Use a pot with at least one generous drainage hole. If the pot does not drain, it is not a snake plant pot. Full stop.
Terracotta vs plastic
- Terracotta (recommended for rot-prone homes): breathes and dries faster, which gives you more margin for error.
- Plastic or glazed ceramic: holds moisture longer. Totally workable, but you must be more conservative with watering and use an extra gritty mix.

Use fast-draining soil
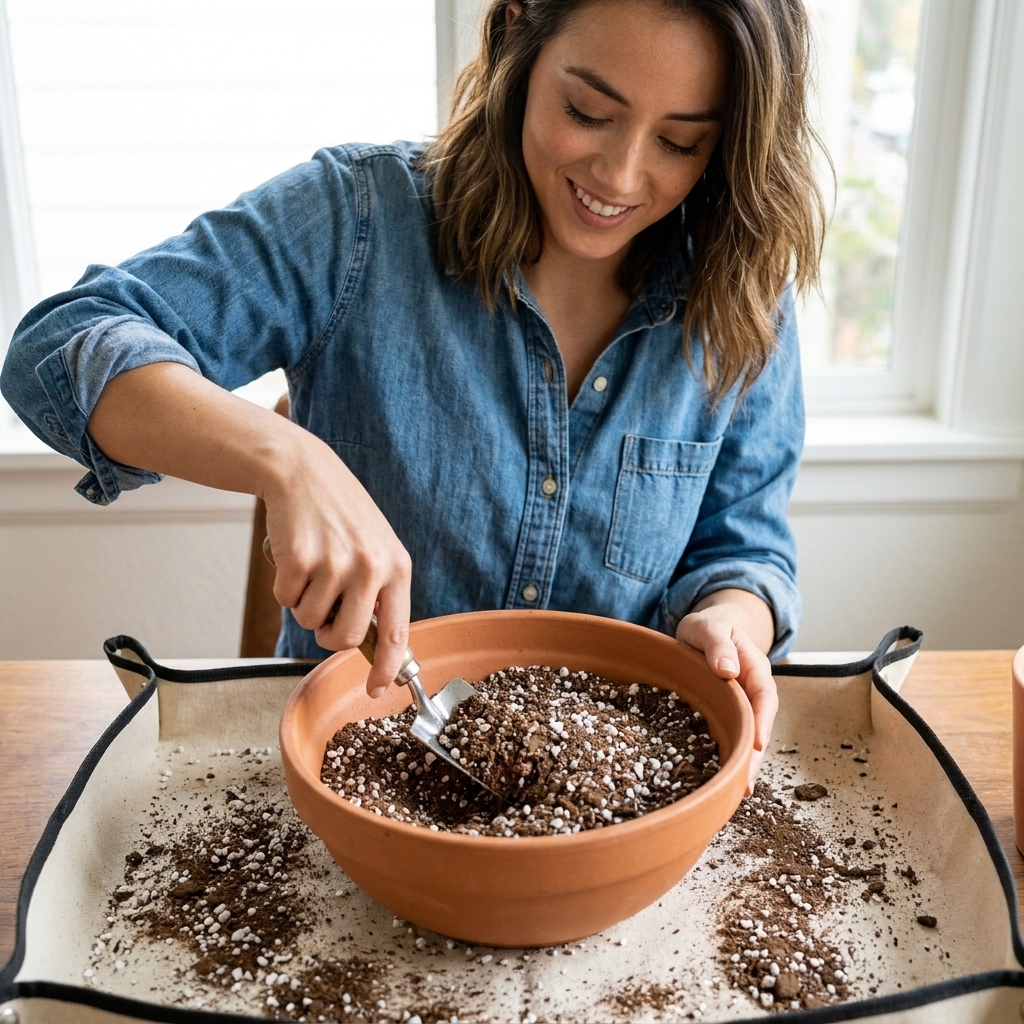
Snake plants rot when their roots sit in stagnant moisture with low oxygen. The fix is simple: build a mix that dries predictably and stays airy.
My go-to snake plant mix
- 2 parts cactus and succulent mix
- 1 part perlite or pumice
- 1 part orchid bark (optional but amazing for airflow)
If you only want to buy one bag, choose a cactus and succulent mix and cut it with 25 to 40 percent perlite or pumice.
Quick squeeze test
Grab a handful of your moistened mix and squeeze it. It should fall apart easily when you open your hand. If it stays in a wet clump, add more perlite or pumice.
Prep the plant
Here is my most rot-preventing habit: repot a slightly dry snake plant, not a freshly watered one.
- Pause watering 5 to 10 days before repotting (closer to 5 in warm, bright conditions; closer to 10 in cool, low light).
- Adjust to your home. The goal is barely dry, not shriveled or stressed.
Lay out what you need: new pot, fresh mix, gloves (optional but helpful), scissors or pruners, rubbing alcohol, and a chopstick or skewer for settling soil.
It is also a great moment for a quick health check. Look closely at leaf bases and crevices for mealybugs or scale, and wipe dust off the leaves so the plant can photosynthesize efficiently after the move.
Step-by-step repotting
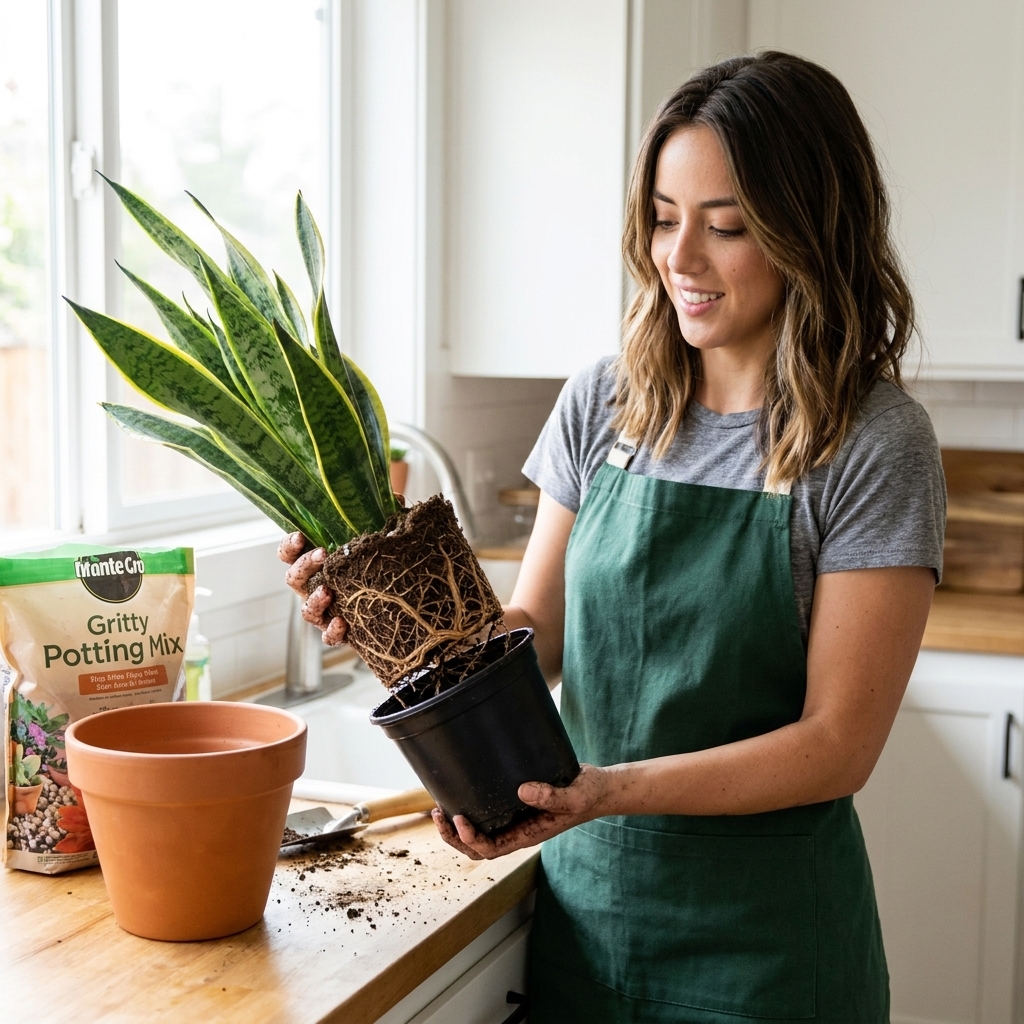
1) Slide it out safely
Tip the pot on its side, support the base of the leaves with your hand, and gently wiggle. If it will not budge:
- Tap the pot rim on a padded surface.
- Squeeze the sides of a plastic pot to loosen the root ball.
- If the pot is distorted or cracking, you may need to cut the pot away.
Try not to yank the leaves. Snake plant leaves can snap, and breaks invite rot if buried.
2) Check roots and rhizomes
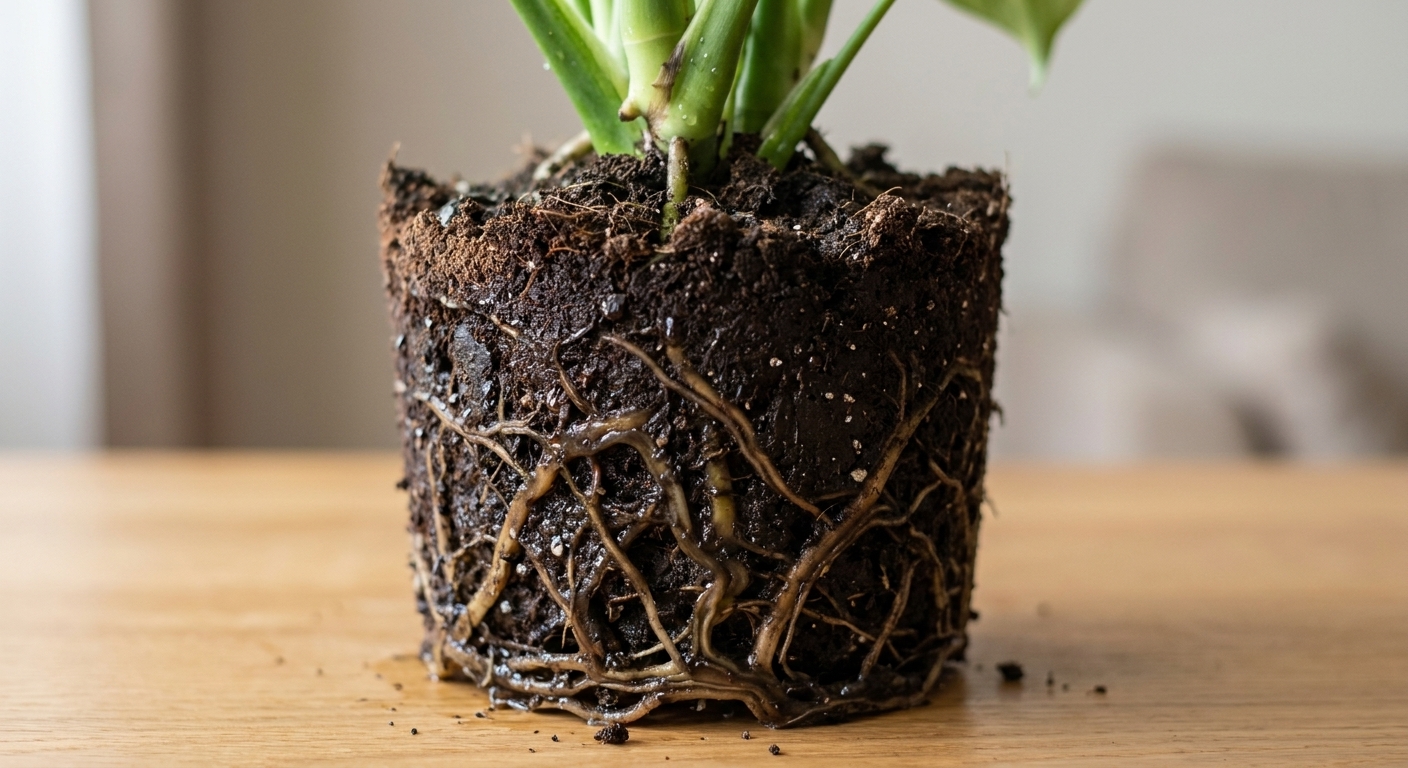
You are looking for firm, pale roots and thick rhizomes (the horizontal “potato-like” stems). Healthy roots feel wiry or crisp, not slimy.
Signs of rot: black or brown mushy roots, a sour smell, collapsing rhizomes, or a crown that feels soft.
One more note on growth habit: rhizomes like to creep. Do not bury them deeper than they were, and do not cut healthy rhizomes unless you are dividing the plant.
3) Trim only what is damaged
Disinfect your scissors with rubbing alcohol, then cut away any mushy or hollow roots. Keep firm tissue, even if it looks a little stained.
If you remove rot, let the plant sit out for 1 to 3 hours so cut areas can dry slightly before potting up.
4) Loosen the root ball a little
Snake plants do not need aggressive root teasing. I usually:
- Loosen the bottom inch of circling roots.
- Remove a thin layer of exhausted outer soil.
Fully bare-rooting is not necessary unless there is rot or the old soil is severely compacted and staying wet.
5) Set the right height
Add a small layer of mix to the bottom, then place the plant so the top of the root ball sits about 1 inch below the rim. This leaves room for watering later.
Important: keep the plant at the same depth it was before. Do not bury the crown (where leaves emerge) deeper than it was in the old pot.
6) Backfill without packing
Pour in mix around the sides and use a chopstick to nudge soil into gaps. Press lightly to stabilize the plant, but do not compact the mix. Small air pockets are fine. Big voids that let the plant wobble are not.
7) Do not water right away
If there is one habit that prevents root rot after repotting, it is this: wait before watering.
- If you did not trim roots: wait 3 to 5 days.
- If you did trim roots or removed rot: wait 5 to 10 days.
Use those as starting points, not laws of nature. Wait longer in cool temps or low light, and you can be a bit faster in warm, bright conditions. The goal is to give micro-tears time to callus over before moisture moves in.

Aftercare
Light
After repotting, put your snake plant in bright, indirect light if possible. Higher light helps the mix dry at a safer pace. Low light plus fresh soil is where overwatering accidents happen.
Watering
Once you do water for the first time, water thoroughly until excess drains, then let it dry out completely again. In most homes, that means watering every 2 to 4 weeks, sometimes longer in winter or low light.
Do not water on a schedule. Water when the pot is fully dry and the mix feels dry all the way down, not just on top.
Fertilizer
Wait 4 to 6 weeks before fertilizing. Fresh mix plus new root adjustment time is plenty.
Keep it steady
Avoid moving it daily, rotating constantly, or placing it near a cold draft. Consistency reduces stress, and stressed plants are slower to use water.
Common mistakes
Pot too large
Why it causes rot: extra soil holds extra water for extra time.
Fix: downsize into a pot only 1 to 2 inches wider than the root ball, and refresh with a gritty mix.
Burying the crown
Why it causes rot: the leaf bases stay damp and can soften.
Fix: lift the plant slightly and top-dress lightly if needed, keeping the crown above the soil line.
Watering right after repotting
Why it causes rot: torn roots plus moisture equals decay risk.
Fix: wait several days, then water deeply once.
Keeping compacted old soil
Why it causes rot: broken-down peat stays wet and reduces airflow.
Fix: remove some old soil and surround the root ball with a fresh, chunky mix. You do not need to remove every last crumb unless there is rot.
If it already has rot
If you unpot and find mushy roots or a soft rhizome, do not panic. Snake plants can bounce back if you act quickly.
- Cut away all mushy tissue with sterilized scissors.
- Let the plant dry out of soil for several hours (or overnight) in a warm, ventilated spot out of direct sun.
- Repot into a smaller pot if the root mass is reduced.
- Use a very gritty mix (increase perlite or pumice).
- Wait longer to water, usually 7 to 10 days, and longer if your home is cool or dim.
If the base is too far gone, you can still save the plant by dividing any healthy offshoots with firm rhizomes. You can also propagate from leaf cuttings, but keep in mind many variegated types do not come true from leaf propagation and may revert to solid green.

FAQ
Should I break up the roots?
Only gently. Loosen the bottom and outer edges a bit if it is root-bound, but do not aggressively tear it apart. Snake plants recover best with minimal root disturbance.
Shallow or deep pots?
They often do well in slightly wider, sturdier pots because they spread via rhizomes and can get top-heavy. Depth is fine, but avoid oversized volume. Choose a pot that matches the root ball, not the height of the leaves.
No drainage if I add rocks?
I would not. A layer of rocks does not “create drainage” in the way people hope. It reduces the amount of soil you can use and can keep the root zone wetter than you think. If you love a decorative cachepot, keep the snake plant in a nursery pot with drainage and set it inside.
Why is it leaning after repotting?
It is usually one of three things: the root ball is sitting too high, the soil is too loose around the crown, or the plant is naturally top-heavy. Firm the mix lightly, add a bit more around the sides, and place it in bright indirect light. If needed, you can stake temporarily, but avoid burying the crown deeper.
One last pep talk
Repotting feels like you are doing something “big,” so it is natural to want to finish the job with a generous watering. With snake plants, the kindest thing you can do is patience. Use a smaller pot than your instincts want, choose a gritty mix, and wait a few days before that first drink. Your snake plant will take it from there.