
A beginner-friendly guide to NPK ratios (including label details), organic vs synthetic fertilizer, and a safe, simple feeding schedule for indoor plants.
If you have ever stared at a perfectly healthy looking houseplant that simply refuses to grow, fertilizing is often the missing piece. Not always, though. Light is the real “gas pedal” for growth, and fertilizer is more like the nutrition that lets your plant use that light efficiently. When those two are aligned, you get bigger leaves, stronger roots, better color, and steadier growth.
I also want to say this up front because I have been there: if you have killed plants with love before, fertilizing can feel scary. The good news is that most fertilizing mistakes are easy to avoid when you understand what the numbers mean, choose the right format, and follow a seasonal rhythm.
Fertilizer basics
Fertilizer is not plant food in the way we think of “food.” Plants make sugars through photosynthesis. Fertilizer provides mineral nutrients that plants need to build tissue and run essential processes.
What fertilizer helps with
- New growth: leaf size, stem strength, faster growth cycles
- Root development: healthier root tips and better nutrient uptake
- Recovery: once the plant is stable and back in active growth, fertilizer can support rebuilding after pruning or minor stress
- Color: deeper greens and improved vigor (when light is adequate)
What fertilizer will not fix
- Low light: fertilizing a plant in poor light usually creates weak, stretched growth or salt buildup
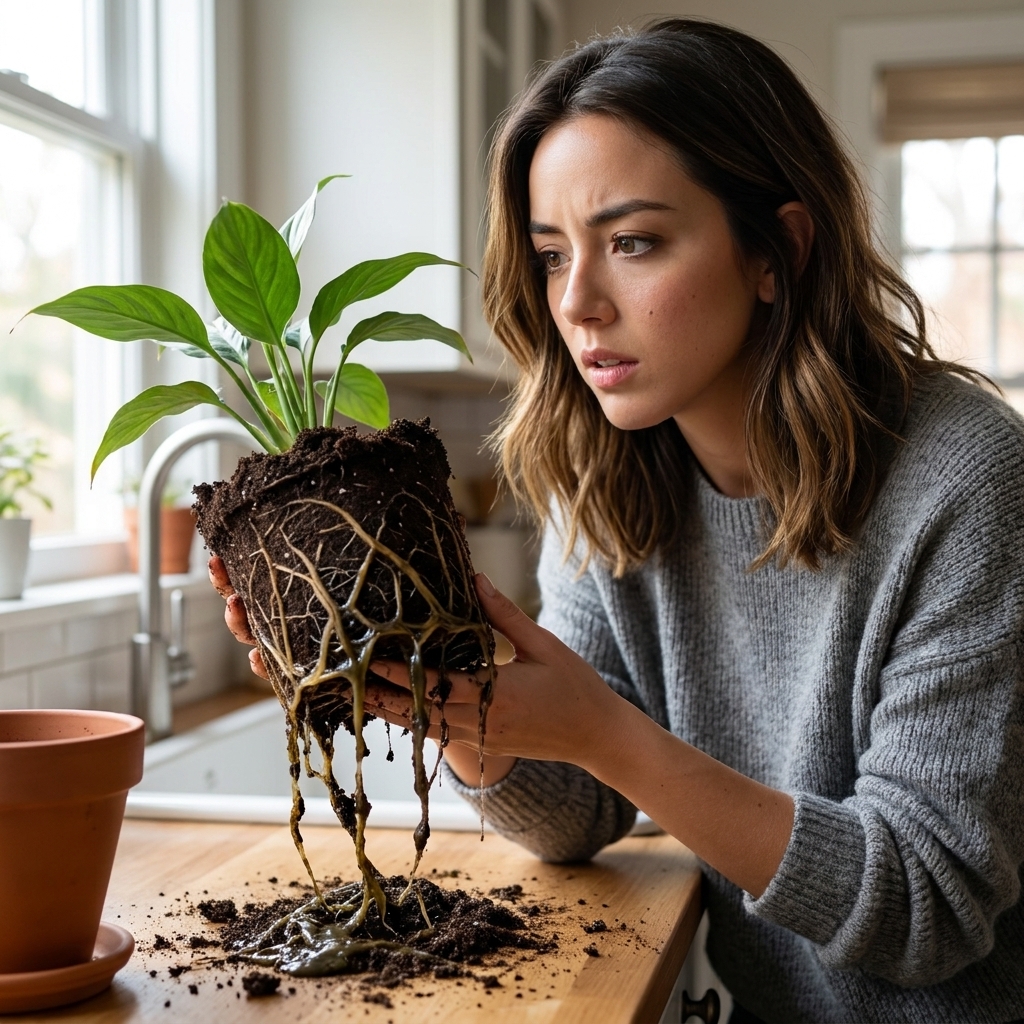
- Root rot: fertilizing a plant with compromised roots often makes things worse
- Pest outbreaks: fast, tender growth can attract pests if the underlying issue is not addressed
If your plant is struggling, I recommend stabilizing basics first: light, watering rhythm, and root health. Then fertilize.
Understanding NPK ratios
Every fertilizer label has three numbers, like 10-10-10 or 3-1-2. That is the NPK ratio, meaning:
- N (Nitrogen): leafy growth, chlorophyll, overall green vigor
- P (Phosphorus): roots, flowering processes, energy transfer
- K (Potassium): overall plant function, stress tolerance, water regulation
Those numbers are not “strength,” they are proportions of nutrients by weight. A 20-20-20 fertilizer is more concentrated than a 2-2-2, but both have the same ratio.
What to buy for most houseplants
For most foliage houseplants, I reach for a balanced fertilizer or one that leans slightly toward nitrogen, like:
- Balanced: 10-10-10, 20-20-20 (used at lower dilution)
- Foliage-friendly ratios: 3-1-2, 9-3-6, 12-4-8
These support steady leaf and root growth without pushing the plant into weak, overly soft growth.
Flowering plants and “bloom boosters”
For African violets, orchids, hoyas, and other bloomers, you can still use a balanced fertilizer most of the year. A formula with slightly higher phosphorus may help in some situations during bud formation, but it is not a magic lever. Indoors, blooms are usually driven more by light, temperature cues, and plant maturity than by extra P. I avoid extreme “bloom booster” numbers unless you are experienced and have a clear reason.
Micronutrients and water quality
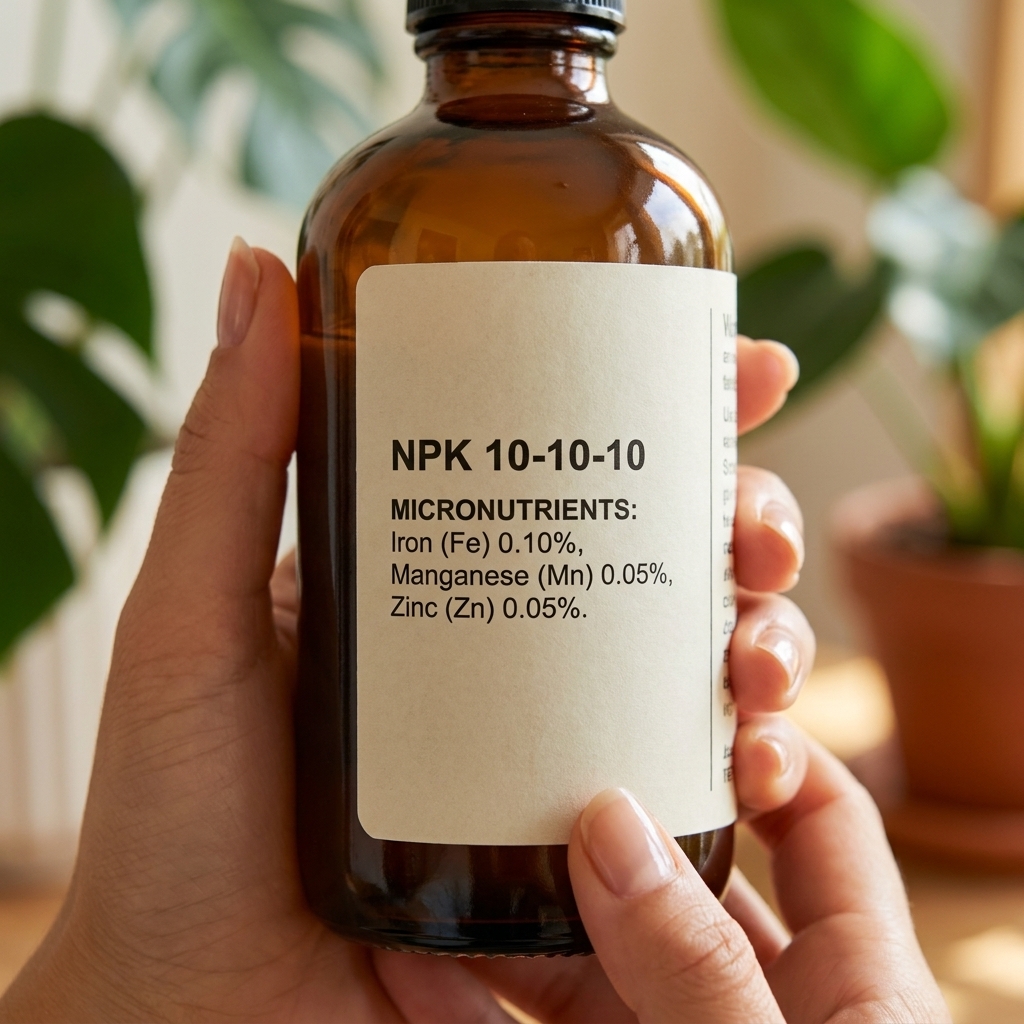
Beyond NPK, plants need calcium, magnesium, sulfur, plus trace elements like iron, manganese, zinc, boron, copper, molybdenum. Look for a “complete” fertilizer that lists micronutrients.
One important nuance: if you mostly use distilled or reverse osmosis water, your plants are getting almost no calcium or magnesium from the tap. In that case, choose a fertilizer that includes Ca and Mg, or add a gentle cal-mag supplement occasionally. (Filtered water varies. Some filters remove very little, others remove a lot.)
Liquid vs slow-release
This is where fertilizing goes from confusing to simple. Neither option is universally “better.” The best choice is the one you will use correctly and consistently.
Liquid fertilizer
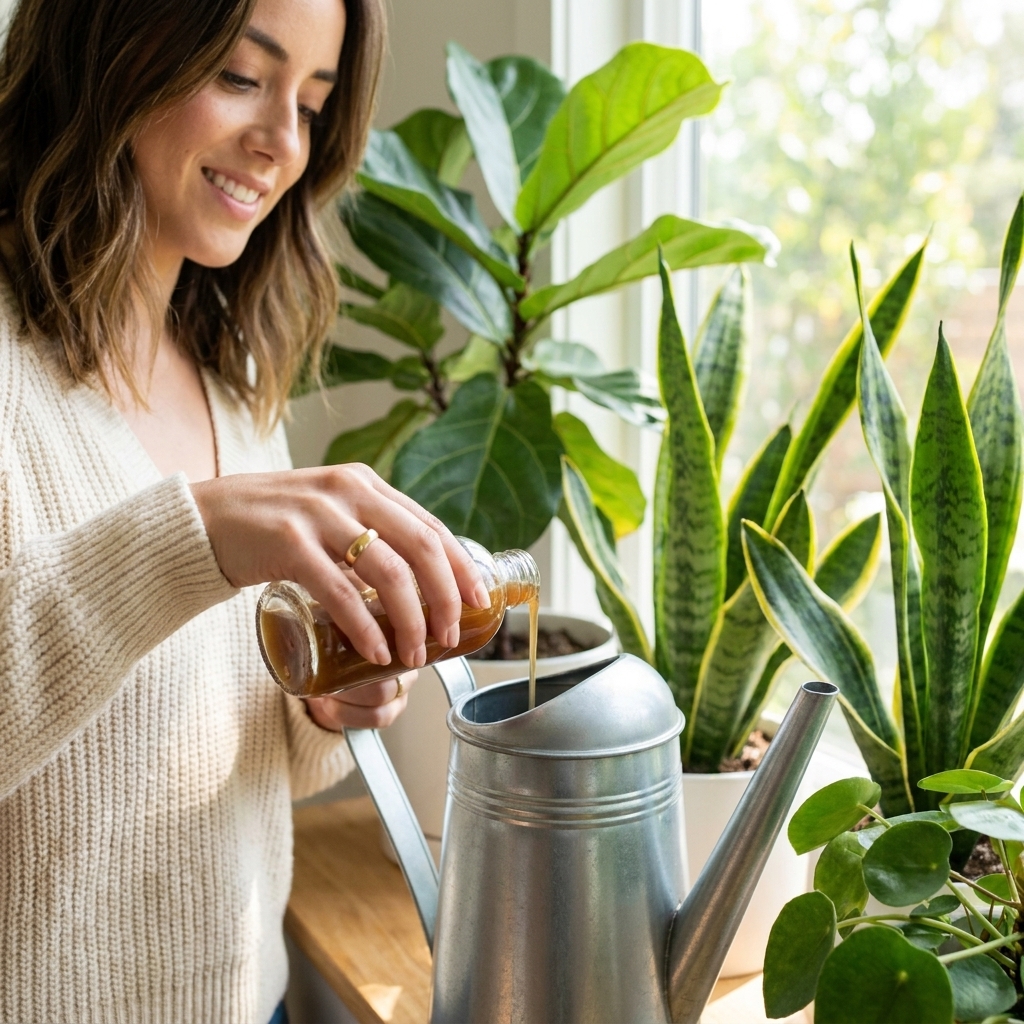
How it works: You mix it with water and apply during watering.
Why I love it: control. You can adjust dose, skip a week, or respond to a plant’s needs.
- Pros: fast acting, flexible, great for varied collections, easy to dial back
- Cons: easier to overdo if you mix too strong, requires consistency
Best for: most houseplant parents, especially if you like routines and you water regularly.
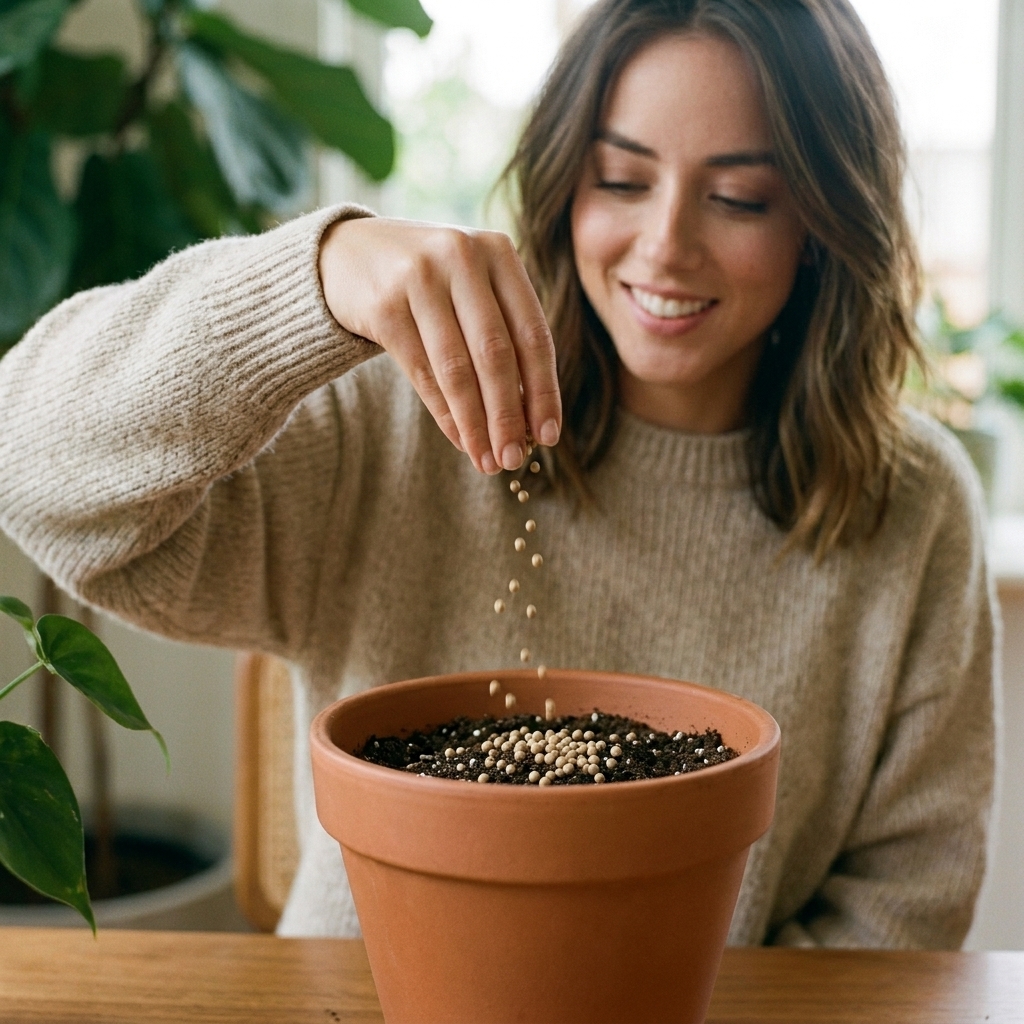
Slow-release (granules, pellets, spikes)
How it works: Nutrients release over time, usually activated by moisture and temperature.
- Pros: low maintenance, steady feeding, helpful if you forget schedules
- Cons: less control, can release faster in warm conditions, harder to “undo” if you over-apply
Best for: large planters, busy schedules, plants that prefer steady care, outdoor containers brought inside for part of the year.
A note about fertilizer spikes: indoors, spikes can create hot spots of nutrients in one area of the pot. If you use them, place them evenly and do not push them right up against the stem.
My safe-by-default method
If you only take one approach from this guide, let it be this: fertilize weakly and consistently during active growth.
The dilution I start with
- Start at 1/4 strength of the label recommendation for liquid fertilizer.
- If your plants respond well after 3 to 4 weeks, move to 1/2 strength.
- Only use full strength indoors if the label is specifically written for houseplants and you have strong light conditions.
If the label says 1 teaspoon per gallon, your beginner-friendly dose is 1/4 teaspoon per gallon. That one tiny change prevents a lot of crispy tips.
Water first
Fertilizer burn often happens when concentrated nutrients hit dry roots. If your potting mix is on the dry side, water lightly first, then fertilize with your diluted mix.
When not to fertilize
- Newly repotted plants (wait 3 to 4 weeks, or until you see fresh growth)
- Plants with root rot or significant root loss (focus on recovery first)
- Severely stressed plants (pests, heat shock, cold damage) until stable
- Dormant or near-dormant plants in winter (more on this below)
Seasonal feeding schedule
Indoor plants still follow seasons, even when the thermostat is steady. The biggest change is light duration and intensity, which controls how much your plants can actually use nutrients.
Spring
- When: as soon as you see fresh growth points, new leaves, or longer days
- Frequency: every 2 to 4 weeks with liquid fertilizer at 1/4 to 1/2 strength
- Slow-release option: apply once at the start of spring per label
Summer
- Frequency: every 2 to 3 weeks for many foliage plants in bright light
- Hot weather note: if your home runs warm and plants dry quickly, keep dilution low and focus on consistent watering
Fall
- Frequency: drop to every 4 to 6 weeks, or switch to 1/4 strength
- Goal: support maintenance, not fast new growth
Winter
- Most homes: pause fertilizing, or feed once every 6 to 8 weeks at 1/4 strength if the plant is actively growing
- If you use grow lights: you can fertilize gently year-round because you are providing “summer” light
My personal winter rule: if a plant has not made a new leaf in 6 to 8 weeks and it is in natural light, I stop fertilizing until spring.

Plant-specific tips
Aroids
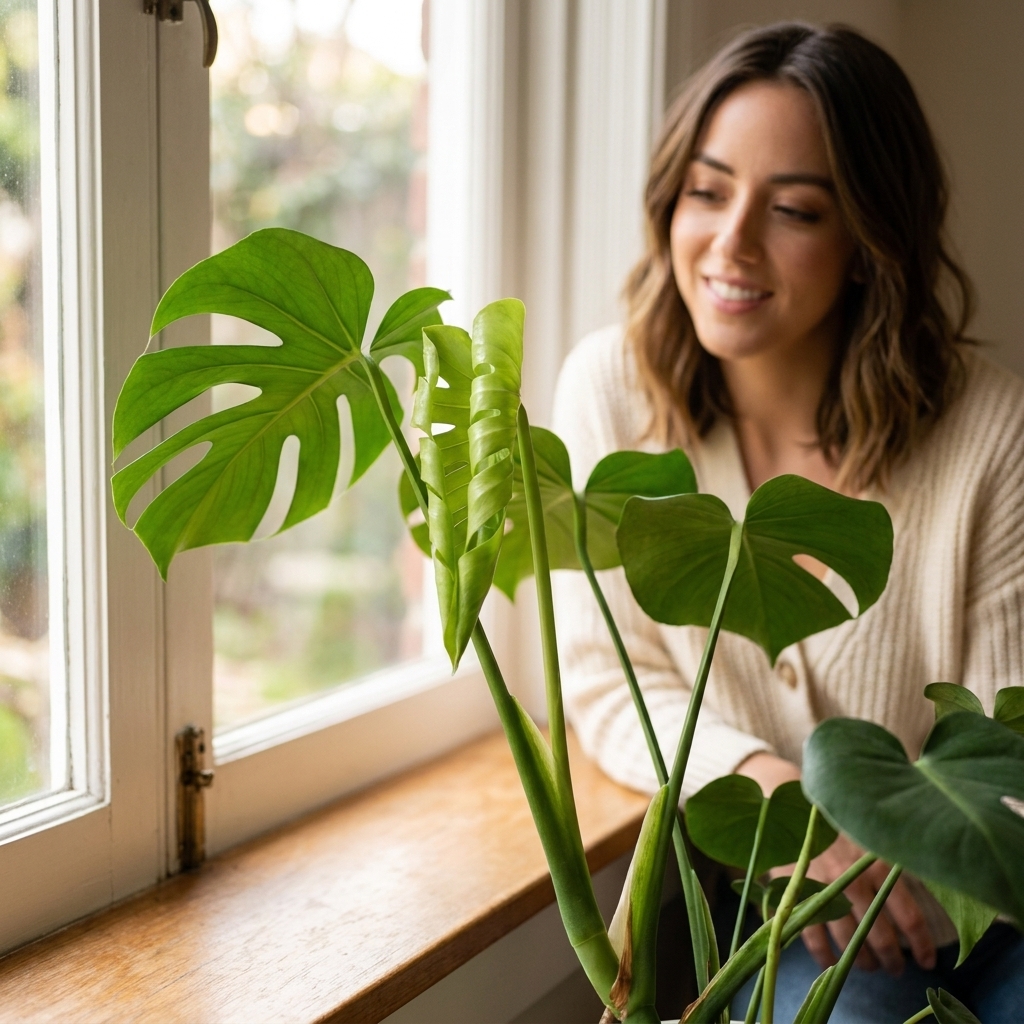
Monstera, Philodendron, Pothos, Syngonium
- What they like: steady, mild feeding during active growth
- Great ratio: balanced or slightly nitrogen-forward (3-1-2 style)
- Watch for: long internodes and small leaves usually mean low light, not low fertilizer
Ficus
Rubber plant, fiddle leaf fig
- What they like: consistent light and careful watering first, then moderate feeding
- Tip: fertilize when you see active leaf production, not on a calendar if the plant is sulking
Prayer plants
Calatheas and Marantas
- What they like: lighter feeding than most, plus stable moisture
- Tip: use 1/4 strength and avoid frequent feeding if your water is hard, as salts build up faster
Succulents and cacti
- What they like: very light feeding, only during their active season
- Tip: once a month at 1/4 strength in spring and summer can be plenty, and many do fine with even less
Orchids
- What they like: frequent, very diluted feeding because their media holds fewer nutrients
- Simple approach: 1/4 strength every 1 to 2 weeks during active growth, then taper
- Quick caveat: needs vary by orchid type and potting medium. A Phalaenopsis in chunky bark usually handles regular light feeding and flushing better than one in sphagnum that stays wet longer.
If you are unsure, default to 1/4 strength and less often. You can always increase later. Undoing burn is harder.
Avoid burn and salt buildup
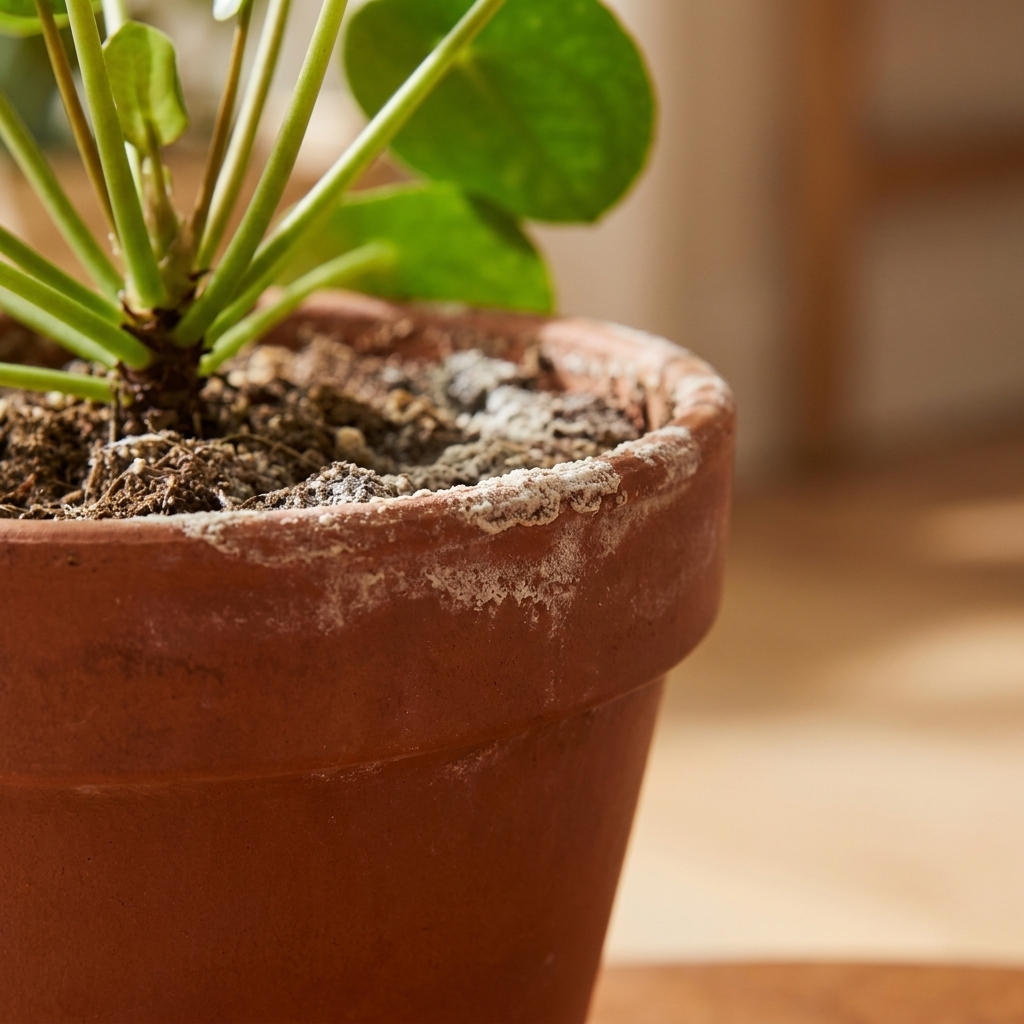
Most indoor fertilizing issues are really salt management. Over time, mineral salts accumulate in the potting mix and irritate roots. Here is how to prevent that.
Signs you may be over-fertilizing
- Brown, crispy leaf tips that worsen quickly (especially on otherwise hydrated plants)
- White crust on the soil surface or around the pot rim
- Sudden yellowing after feeding
- Wilting even though the soil is moist (damaged roots)
Flush the soil regularly
Every 6 to 8 weeks during feeding season, flush salts out. The most reliable method is by volume, not time:
- Take the pot to a sink, shower, or tub.
- Run lukewarm water through the soil until you get 2 to 4 times the pot’s volume draining out the bottom.
- Let it drain fully, then return it to its spot.
This is especially helpful for Calatheas, Dracaenas, and any plant that gets crispy tips easily.
Match fertilizer to your potting mix
If your potting mix contains slow-release fertilizer already, you may not need to add much for the first couple of months. Many “fresh bag” potting mixes are pre-fertilized. Add more too soon and you stack nutrients.
Fertilizer and watering
Fertilizer works best when your watering routine is stable. If watering swings between bone-dry and soaked, roots struggle to take up nutrients consistently.
My simplest routine
- Pick one watering day each month as your “feed water.”
- Mix fertilizer at 1/4 to 1/2 strength.
- Water until you get a little runoff, then discard runoff.
If you bottom-water, you can still fertilize. Just mix your diluted fertilizer into the basin water and limit soak time so the potting mix does not become waterlogged.
Fertilizer types and special cases
Synthetic vs organic
Synthetic fertilizers are mineral salts in a form plants can use quickly and predictably. Organic fertilizers can work well too, but indoors they can be slower, smellier, and more likely to feed fungus gnats if the soil stays damp.
If you go organic indoors, I recommend low-odor options, careful watering, and extra patience. With either type, dilution is your friend.
Urea-based formulas
Some fertilizers use urea as a nitrogen source. Many houseplants do fine with urea-based blends, but a lot of indoor growers prefer low-urea or urea-free formulas because conversion depends on microbial activity, which can be inconsistent in sterile or soilless mixes. If you are keeping things simple, choosing a urea-free “complete houseplant” fertilizer is an easy way to remove one variable.
Water quality notes
- Hard water: can contribute to salt buildup and leaf tip browning over time. Flushing matters more, and lighter feeding is usually safer.
- Softened water: often contains sodium, which many plants dislike. I avoid using it for houseplants when possible.
Soilless mixes and semi-hydro
Chunky bark mixes, coco, and semi-hydro setups (like LECA) tend to hold fewer nutrients than peat-based potting soil. These setups often do best with lighter but more frequent feeding, plus regular flushing.
Common questions
Can I fertilize right after buying a plant?
Usually, no. Let it acclimate for 2 to 4 weeks. New environment stress plus fertilizer is a common one-two punch that leads to dropped leaves.
Should I fertilize a plant that is not growing?
Only if light is adequate and the plant is otherwise healthy. If growth is stalled in low light, fertilizing tends to build salts rather than create growth. Increase light first, then feed.
My plant has yellow leaves. Is it nutrient deficiency?
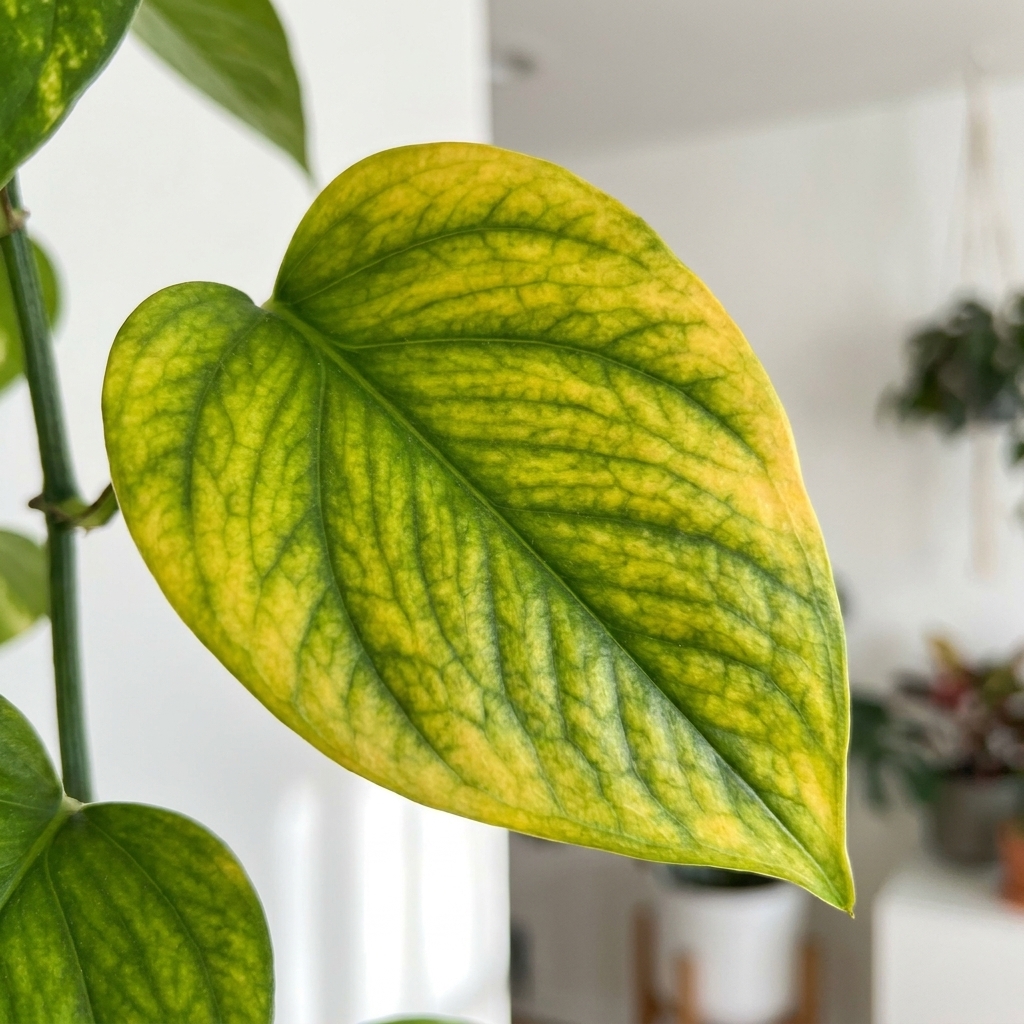
Sometimes, but indoors it is more often watering stress, low light, or an old leaf aging out. Nutrient deficiencies tend to show as patterns, like pale new growth (iron issues) or older leaves yellowing first (nitrogen). When in doubt, adjust care basics and fertilize gently rather than hitting it hard.
Safety and storage
- Store fertilizer concentrates sealed and out of reach of kids and pets.
- Do not mix different concentrated fertilizers together unless the product explicitly tells you to.
- Measure carefully, label your mixing bottle if you use one, and rinse tools after use.
Quick checklist
- Is the plant in adequate light for its type?
- Are roots healthy, with no rot smell or mushy stems?
- Is the potting mix moist, not bone-dry?
- Are you using a complete fertilizer with micronutrients (and ideally Ca and Mg if you use RO or distilled water)?
- Are you willing to start at 1/4 strength?
If you can answer “yes” across the board, you are set up for success. And if you are nervous, start smaller. You are not behind, and you are not bad at plants. You are learning what they need, one leaf at a time.