A plant-parent friendly breakdown of rooting cuttings in water vs. soil, including success rates, best plants for each method, and step-by-step instructions.
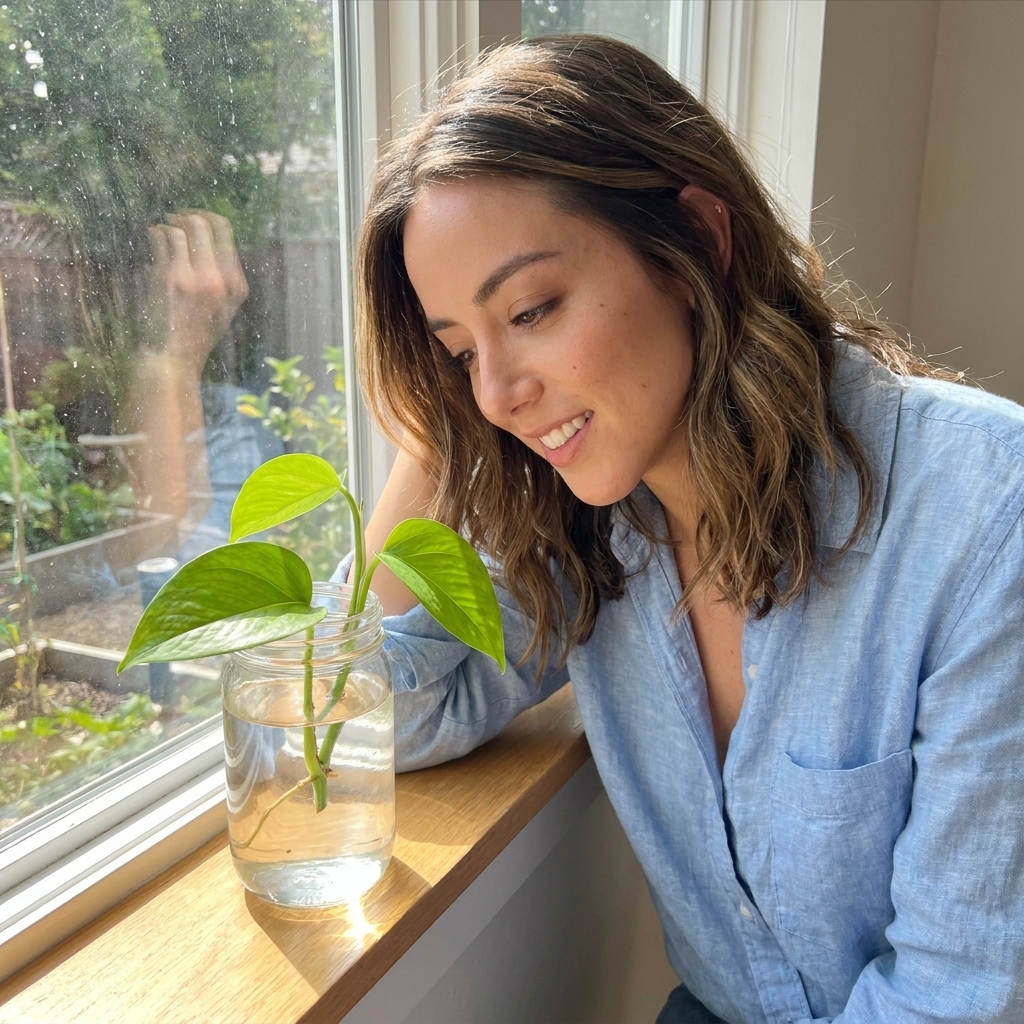
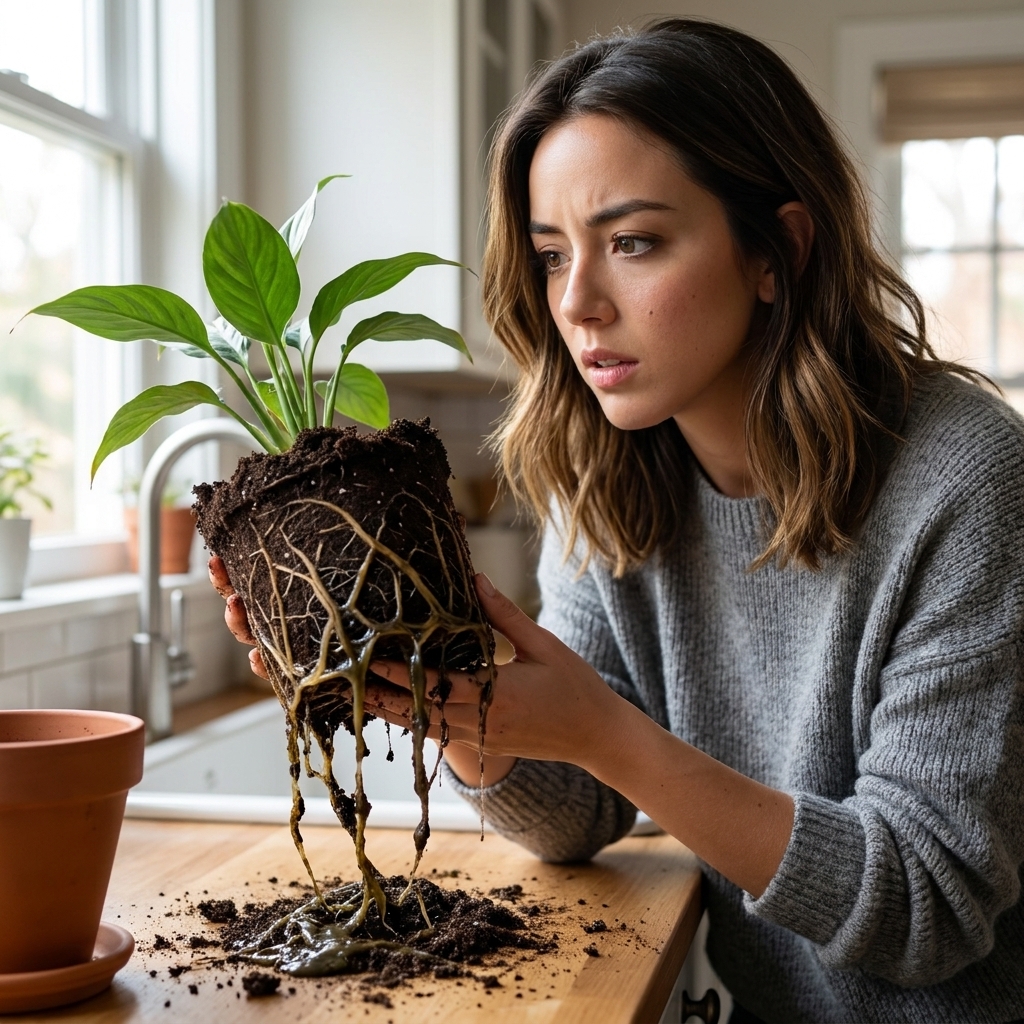
If you have ever moved a perfectly happy water cutting into soil and watched it dramatically wilt within hours, you are not alone. I did this so many times early on that I started thinking I had some kind of “soil curse.” The truth is simpler: water roots and soil roots behave differently, and your cutting needs a short transition period to switch systems.
This guide walks you through the least stressful way to move rooted cuttings from water to potting mix while avoiding the big three: transplant shock, leaf drop, and root rot.
Quick version: wait for a small cluster of roots, use a small pot and an airy mix, pre-moisten, water in once, then keep things evenly moist and humid-ish for 10 to 14 days while new soil-adapted roots form.
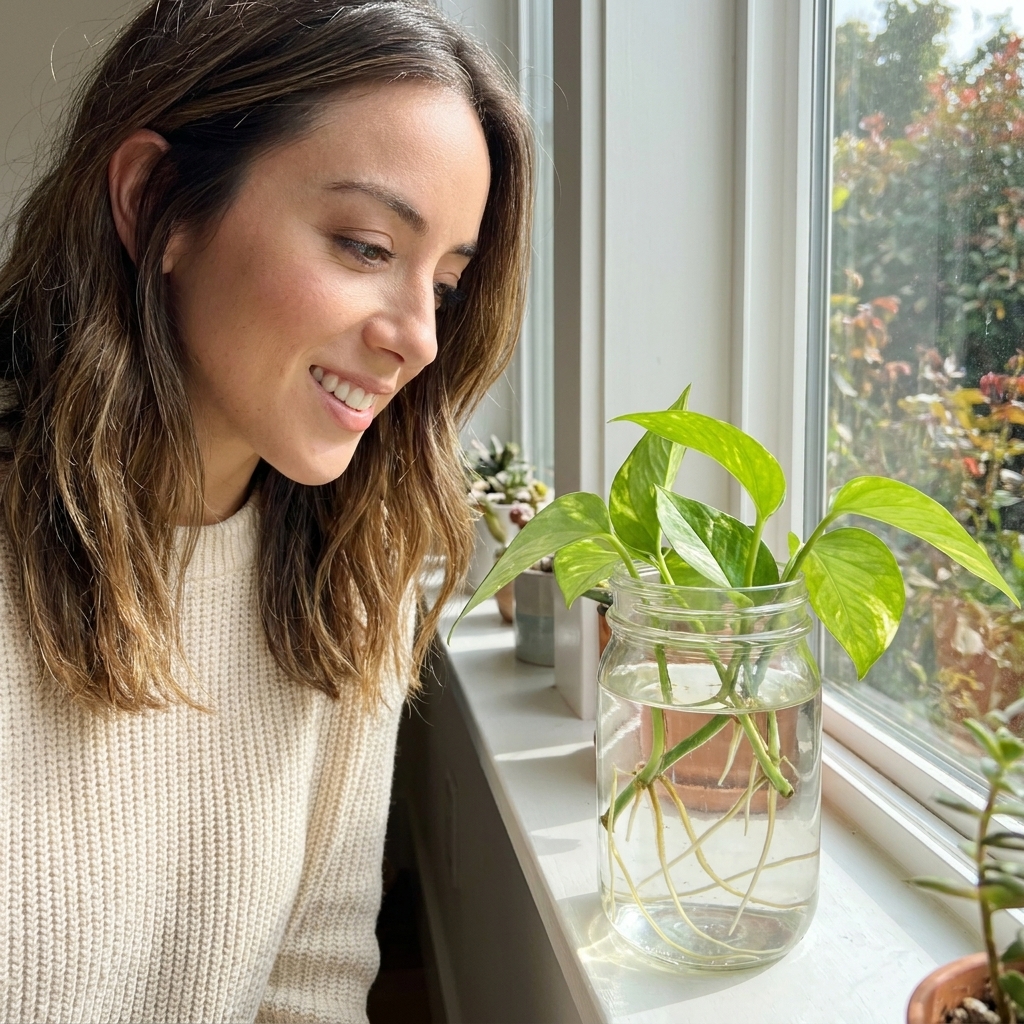
Why water cuttings wilt in soil
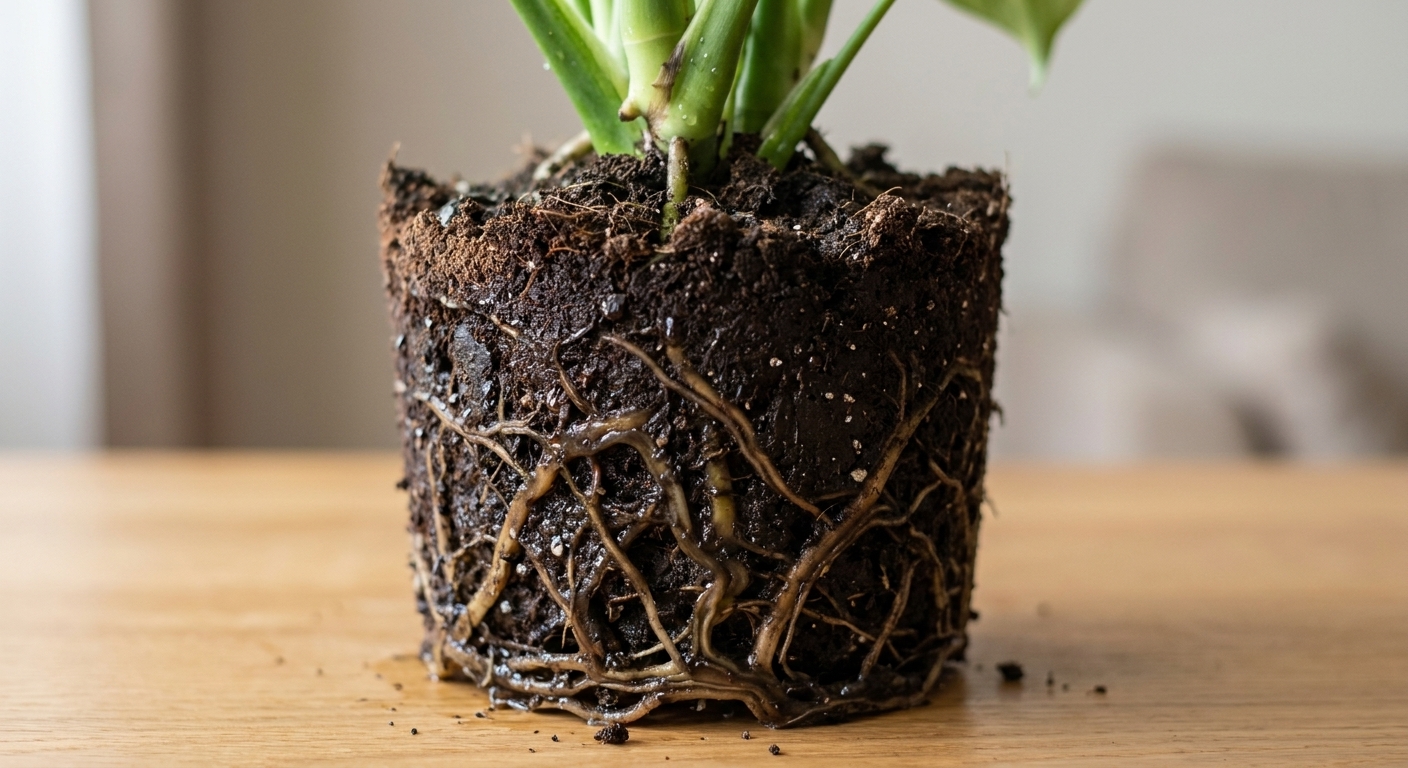
When a cutting grows roots in water, those roots are built for constant moisture and a very different kind of gas exchange than potting mix. They tend to be:
- Finer and more delicate than soil-grown roots
- Slower to function in potting mix at first, often with fewer effective root hairs until new growth adapts
- Quick to dry out if the mix is airy and not evenly moist during the first week
So when you pot up, the cutting can struggle to keep up with the leaves’ demand for water. That mismatch is what causes the sudden flop.
The goal of a good transition is to keep the root zone evenly moist (not soggy) while encouraging new soil-adapted roots.
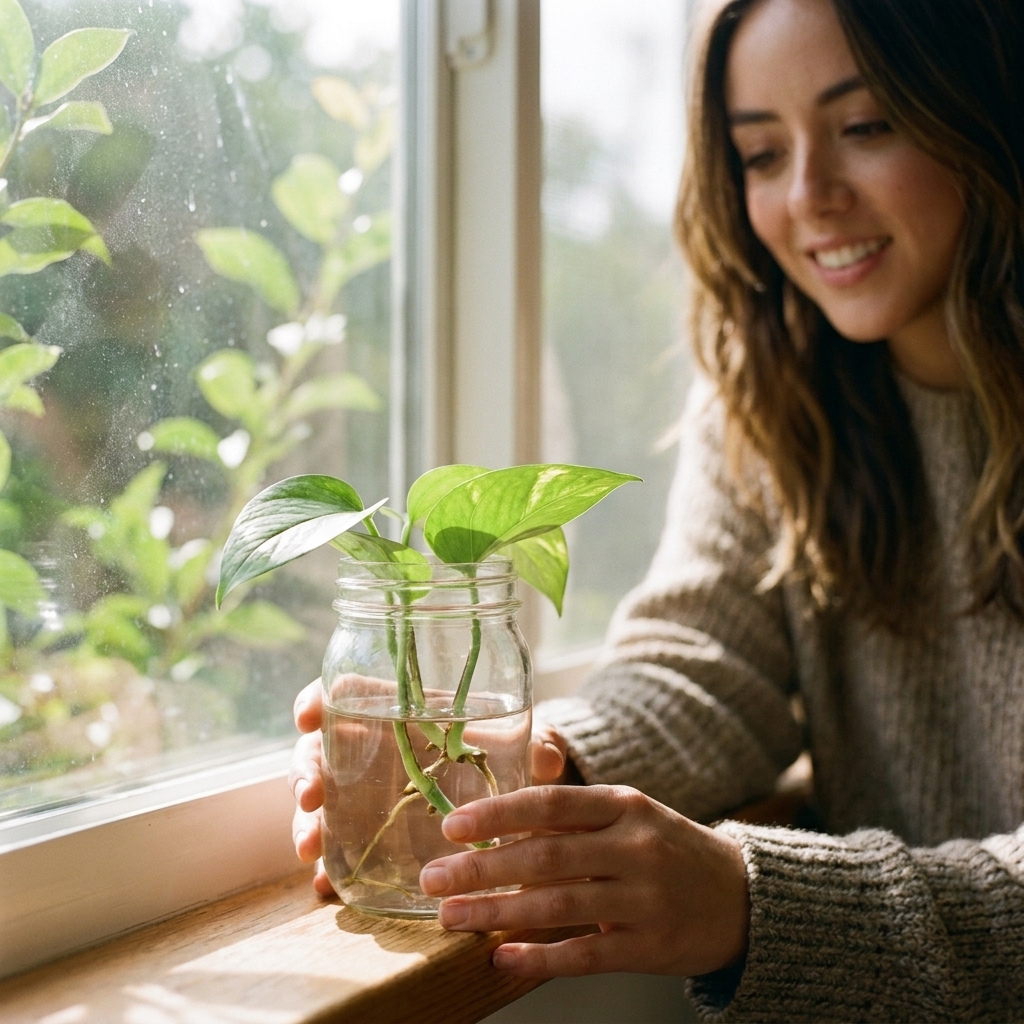
When your cutting is ready for soil
The most common mistake is potting too early. A single long root is not as helpful as multiple roots that can “hold” the cutting in place and feed it reliably.
A quick readiness checklist
- Root length: Aim for roots that are roughly 2 to 4 inches long.
- Root count: Ideally you have several roots, not just one.
- Branching: Even better if you see secondary roots (little offshoots).
- Plant health: Leaves look hydrated and firm, not limp or yellowing.
Plant-by-plant note: Aroids like pothos, philodendron, monstera, syngonium, and scindapsus usually transition very well. Many begonias and tradescantia can be fast too. Hoyas often need a little more patience before potting, because they can be slower to re-root after the move.
Quick caveat: succulents, cacti, and many woody cuttings often need different handling than the tropical houseplant approach in this guide (for example, letting cuts callus, using a grittier mix, and watering differently).
Prep: pot, mix, and tools
This is one of those moments where the boring details prevent most of the drama later.
Pick the right pot size
For one rooted cutting, small is safer. Oversized pots hold extra wet mix for too long, which raises the odds of rot.
- Single cutting: a 2 to 3 inch nursery pot is often plenty
- A few cuttings together: a 4 inch pot usually works
- Always: use a pot with drainage holes
Use a rooting-friendly mix
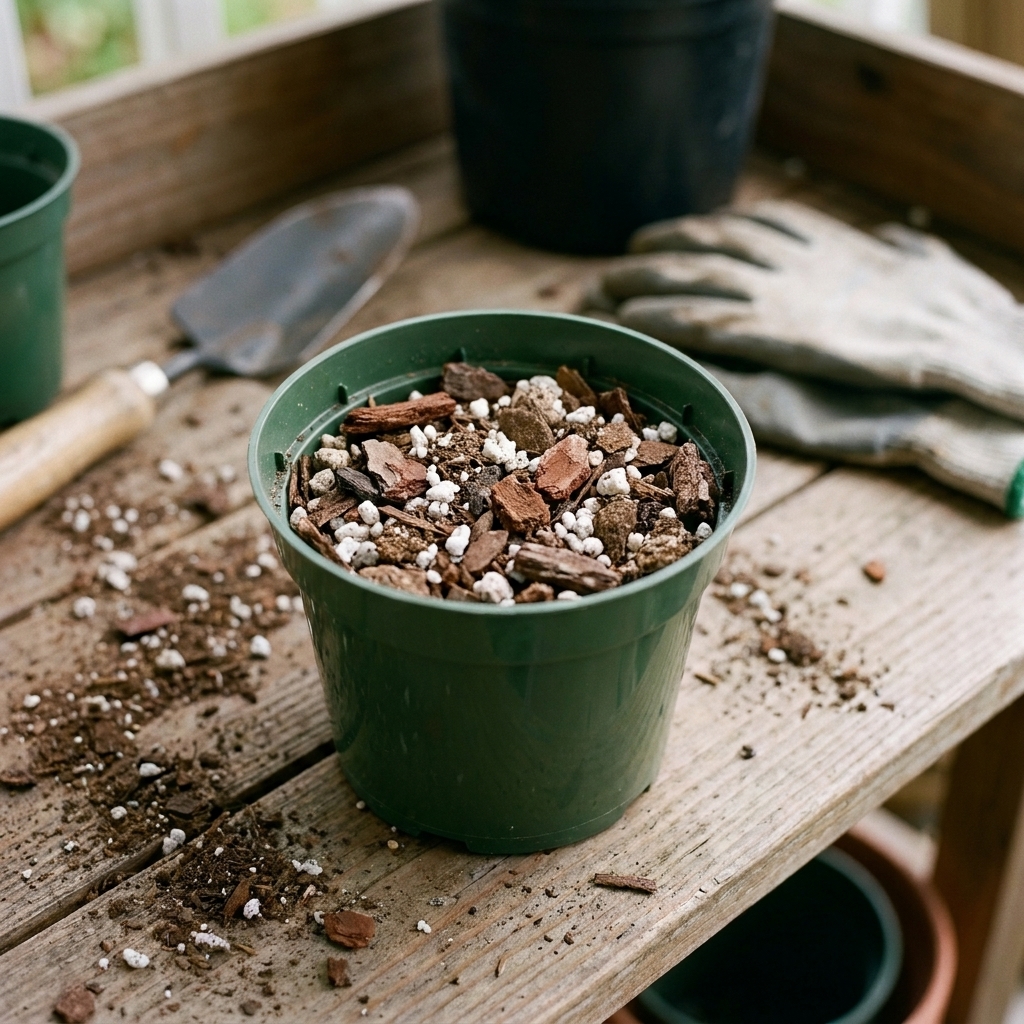
You want a mix that stays lightly moist but still breathes. My go-to starter blend for water-rooted cuttings:
- 2 parts quality indoor potting mix
- 1 part perlite
- 1 part orchid bark (or extra perlite if that’s what you have)
If you are transitioning something very thirsty (like tradescantia), you can reduce bark a bit. If you are transitioning something rot-prone, keep it chunkier.
Have these on hand
- Clean scissors or pruners
- A chopstick or pencil (for making planting holes)
- A saucer
- Optional: clear plastic bag or humidity dome
Clean matters: wipe tools with alcohol or wash with hot soapy water first. It is a small step that helps prevent spreading rot and disease to a fresh cut.
The low-wilt method: step by step
1) Pre-moisten the potting mix
This matters more than most people think. Pre-moistening helps you get good root to mix contact right away, and it prevents dry, hydrophobic pockets from resisting water when you do your first watering.
Moisten your mix before potting until it feels like a wrung-out sponge: damp, not dripping. If you squeeze a handful, you should not have a stream of water running out.
2) Rinse and inspect the roots
Take the cutting out of water and gently rinse the roots with room-temperature water. This removes any slippery biofilm that you do not really want sealed into the pot.
Check for:
- Healthy roots: white to tan, firm
- Problem roots: brown, mushy, or with a rotten smell
If you find mushy roots, trim them away with clean scissors. A cutting with one or two healthy roots left can still recover, but you want only firm tissue going into soil.
3) Make a deep enough hole first
Do not jam the cutting down into the pot. Use a chopstick or pencil to create a hole deep enough that the roots can drop in without bending sharply.
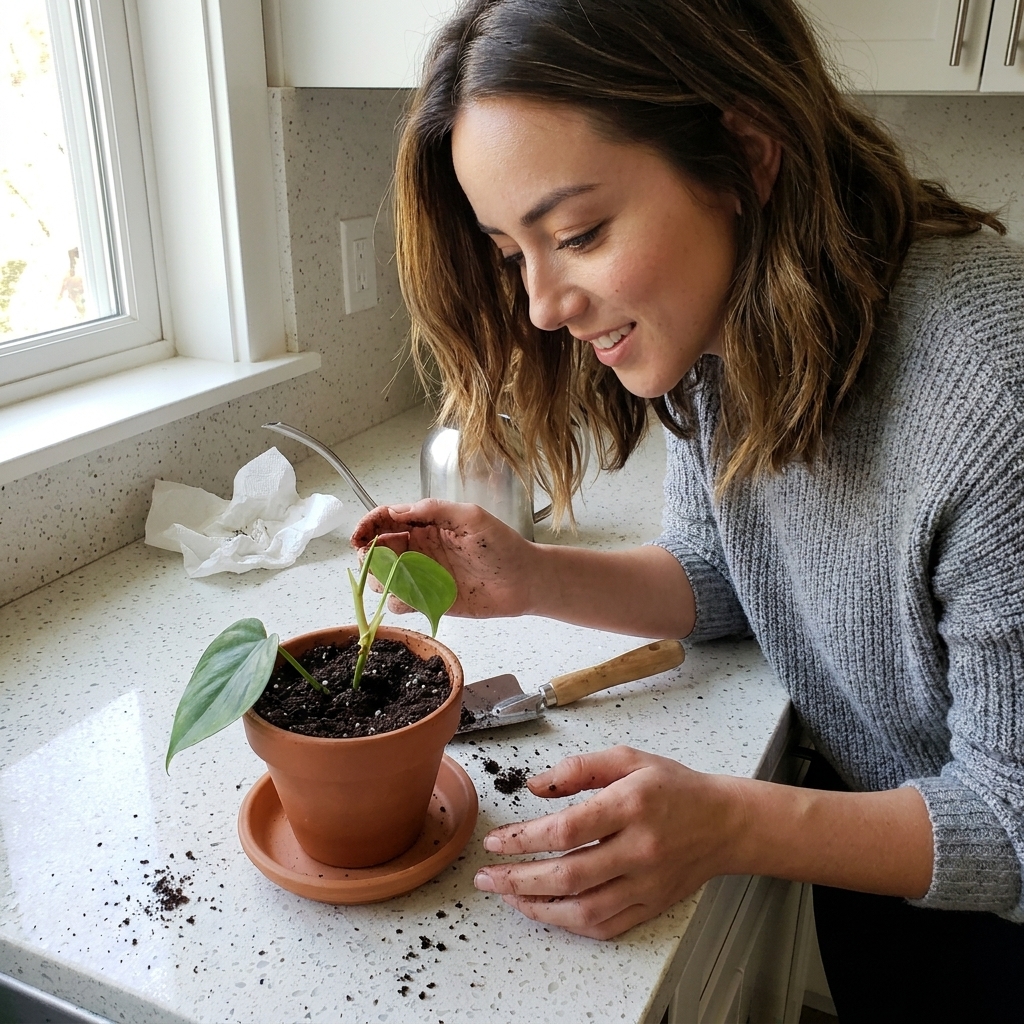
4) Plant and lightly firm the mix
Position the cutting so at least one node is in the mix (especially for aroids). Gently fill in around the roots and press just enough to remove big air gaps. Do not compact the mix like you are packing a suitcase.
5) Water in thoroughly once
Even though you pre-moistened, you still want a full water-in to settle the mix around the roots. Water until it runs out the drainage holes, then let it drain completely.
6) Give it recovery conditions for 10 to 14 days
For the first couple weeks, treat it like a plant in physical therapy.
- Light: bright, indirect light (avoid harsh direct sun while it’s stressed). Think an east window, or a few feet back from a bright south window.
- Humidity: higher than normal helps a lot, especially in dry homes
- Temperature: warm and stable, away from vents
- No fertilizer yet: wait until you see new growth
If your air is dry, loosely cover the plant with a clear bag for a week, leaving an opening for airflow. This reduces water loss through the leaves so the roots can catch up.
Watering after the transfer
The balancing act is simple to say and trickier to do: keep the mix evenly moist at first, then gradually let it dry a bit more between waterings.
Week 1
- Check moisture daily.
- Water when the top 1/2 inch feels barely damp instead of wet.
- Do not let the pot sit in runoff.
Week 2 to 3
- Let the top 1 inch dry before watering.
- Watch the leaves, but confirm with your finger in the mix. If leaves soften by evening and perk back up by morning, that can happen during transition, but it can also mean the mix is drying too fast or humidity is too low.
After you see new growth
New growth is your signal that soil-adapted roots are forming. At that point, you can shift toward the plant’s normal routine (for many aroids, letting the top couple inches dry is fine).
A gentler option: two-stage transfer
If you have struggled with wilting before, a two-stage approach can be extra forgiving.
Option A: Gradually thicken the water
This popular trick can work, but it can also go wrong if the container turns into stagnant muck.
If you try it, keep it light: over 5 to 7 days, add small spoonfuls of perlite or a very airy potting mix into the water container so the environment becomes more mix-like without packing tight. Change the water if it starts to smell, and pot up promptly once the cutting is stable and supported. If the jar turns sludgey or sour, skip this method and move to perlite or straight potting mix instead.
Option B: Perlite or sphagnum first
Move the cutting from water into damp sphagnum moss or straight perlite for a couple weeks, then pot into your permanent mix. This often helps develop tougher roots before the final move.
My note: For monstera and philodendron, I use the direct method most of the time. For hoya and more sensitive cuttings, I like a staged approach.
If it wilts anyway: a calm rescue plan
First, do not panic-water. A wilted cutting in fresh mix is not always thirsty. Sometimes it is stressed and temporarily unable to drink.
Step 1: Check the mix moisture
- If mix is dry: water thoroughly and let drain.
- If mix is wet: do not water again. Improve airflow and light, and consider unpotting to inspect roots.
Step 2: Reduce leaf load if needed
If the cutting has lots of leaves, it loses moisture faster than roots can replace it. Snip off one or two older leaves if you need to.
For plants with very large leaves (especially some aroids), you can also trim part of a leaf to reduce transpiration, but consider it optional. Make clean cuts with clean scissors, and skip this on plants that tend to sulk from extra wounding.
Step 3: Increase humidity for 3 to 7 days
Use a clear bag tent to reduce water loss. Keep it out of direct sun so it does not overheat.
Step 4: If rot is suspected, unpot and reassess
Signs of rot after transfer:
- Mix stays wet for many days
- Stem feels soft at the soil line
- Roots are brown and mushy
If you see rot, rinse the roots, trim anything mushy, and re-root the cutting in fresh water or damp perlite. Sometimes going back to the jar is the fastest way forward, and that is not a failure.
Common mistakes (and fixes)
- Pot is too big: go smaller. You want the mix to dry at a reasonable pace.
- Mix is too dense: add perlite and bark for airflow.
- Roots were not ready: wait for multiple roots and some branching.
- Direct sun right after potting: bright indirect is gentler for recovery.
- Fertilizing immediately: hold off until new growth appears.
- Letting it swing from soaking wet to bone dry: aim for steady, lightly moist conditions during the first weeks.
FAQ
How long should I keep a cutting in water before moving it to soil?
Most common houseplants are ready when they have several roots that are about 2 to 4 inches long, often a few weeks to a couple months depending on light and temperature. I care more about root quality and quantity than time.
Should I let water roots dry before planting?
No. Water roots dry out quickly. Keep them damp while you pot. If you need to pause mid-process, wrap roots in a damp paper towel for a minute.
Can I use regular potting soil without perlite?
You can, but it is riskier. Regular potting soil holds water longer and reduces airflow, which increases the chance of rot. If perlite is not available, orchid bark, pumice, or coarse coco chunks can help open it up.
Why is my cutting yellowing after I pot it up?
A little yellowing can be normal stress, especially on an older leaf. If multiple leaves yellow quickly, check for overwatering, a pot that is too large, or mushy roots.
When can I start fertilizing?
Wait until you see new growth and the cutting is clearly established, typically 3 to 6 weeks after potting. Start with a diluted dose.
A final encouragement
Transitioning from water to soil is less about a magic trick and more about stacking small advantages: a small pot, an airy mix, evenly moist conditions, and gentle light while roots retool themselves. If your first attempt wilts, it does not mean you are bad at plants. It means you are learning the moment where propagation becomes real plant care, and you are already doing the right thing by adjusting.
Give your cutting two weeks of steady support. Most of them bounce back and once they do, you will have a stronger plant than the one that started in that jar.